Practice Lab 6.2 – Business process flows
Scenario
You are a Power Platform functional consultant and have been assigned to the Fabrikam project for the next stage of the project.
In this practice lab, you will review the existing business process flow on the outcome table and add branching on approval. You will also configure security for the business process flow.
Exercise 1 – Review the business process flow
In this exercise you will run the business process flow to generate an approval. You will approve the request and finish the business process flow. You will then examine the business process flow components in the business process flow designer.
Task 1.1 - Run the app
-
Navigate to the Power Apps Maker portal https://make.powerapps.com.
-
Make sure you are in the Practice environment.
-
Select Solutions.
-
Click to open the Fabrikam Environmental solution.
-
In the Objects pane on the left, select Apps.
-
Select the Environmental Project Delivery app, click on the ellipses (…), and select Play.
-
In the left-hand navigation, select Outcomes.
-
Click + New
-
You should see the Outcome Lifecycle business process flow at the top of the form.
-
The business process flow has 5 stages (3 of which are showing):
- Preparation
- Target
- Planning
- Approval
- Review
-
Click on the Preparation stage.
-
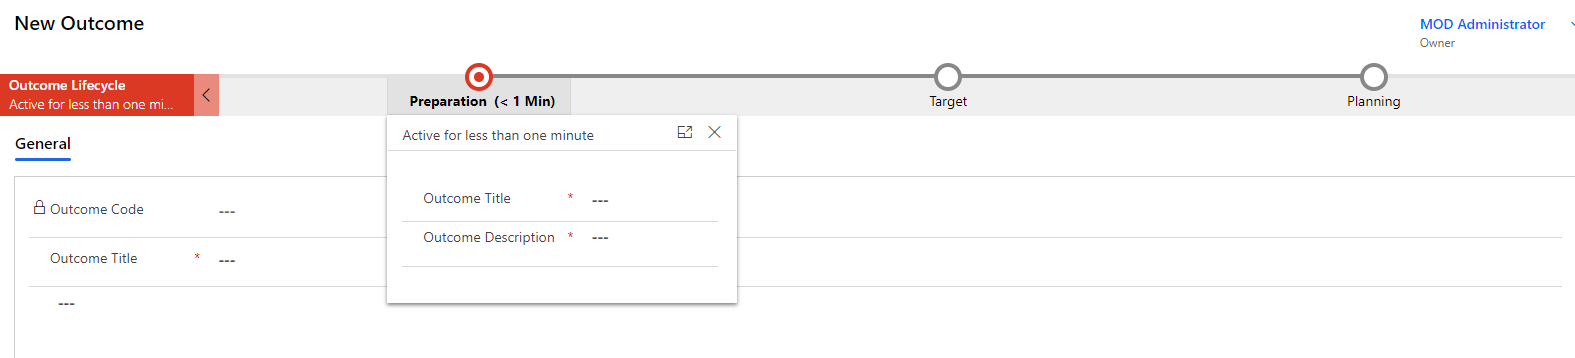
Enter an Outcome Title and an Outcome Description.
-
Click Save.
-
Click on the Preparation stage.
-
Click on Next Stage.
-
Click on Next Stage again and note that errors are shown for fields must be filled in.
-
Select an Aim.
-
Enter a Goal.
-
Click on Next Stage.
-
Select Yes for Stakeholders identified, Tasks created, and Tasks assigned.
-
Enter an Estimated Completion Date.
-
Select MOD Administrator for Approver
-
Note that the other stages appear when an approver is selected.
-
Click on Next Stage.
-
Click on Run Flow.
-
Click Continue.
-
Click Run flow.
-
Click Done.
-
This starts the Request approval cloud flow you enhanced in an earlier lab.
NOTE: The first time an approval is created in an environment, the approvals solution is automatically installed. This installation can take up to 10 minutes.
Task 1.2 - Approve the request
-
Open a new tab in the browser and navigate to Microsoft Teams https://teams.microsoft.com.
-
Sign in with your Microsoft 365 credentials.
-
Click Use the web app instead.
-
Click on Apps in the bottom of the left-hand rail.
-
Search for Approvals.
-
Select Approvals by Microsoft Corporation.
-
Click Open. The approvals app will be added to the left-hand rail. Right click on the app and select Pin.
-
Select the Practice environment.
-
Select the approval.
-
Click on Approve
-
Switch to the model-driven app. In the Outcome form, click Refresh
-
Click on the Approval stage. The Approved step should be set to Yes.
-
Click on Next Stage.
-
Select Yes for Tasks completed, and Impact assessment completed.
-
Click on Finish.
Task 1.3 - Review the business process flow
-
Navigate to the Power Apps Maker portal https://make.powerapps.com.
-
Make sure you are in the Practice environment.
-
Select Solutions.
-
Click to open the Fabrikam Environmental solution.
-
In the Objects pane on the left, select Processes.
-
Select Outcome Lifecycle, click on the ellipses (…), and select Edit.

-
Expand Details on the first stage. There are two data steps for Outcome Title and an Outcome Description.
-
Select the Condition tile. The rule checks that the Approver contains data.
-
Expand Details on the Approval stage. There is a flow step.
-
Click on the Flow Step. The flow run is Request Approval.
-
Expand Details on the Planning stage. Under Trigger Process there is a workflow step.
-
Click on the Workflow step. The workflow Outcome Lifecycle Change Status - On Schedule is triggered when the stage exits.
-
Click on the caret next to Global Workflow. These is a workflow step.
-
Click on the global workflow step. The workflow Outcome Lifecycle Change Status - Completed is triggered when the process is completed.
Exercise 2 – Modify business process flow
In this exercise, you will add branching on the approval to the business process flow.
Task 2.1 – Add branch
-
Navigate to the Power Apps Maker portal https://make.powerapps.com.
-
Make sure you are in the Practice environment.
-
Select Solutions.
-
Click to open the Fabrikam Environmental solution.
-
In the Objects pane on the left, select Processes.
-
Select Outcome Lifecycle, click on the ellipses (…), and select Edit.
-
Select the Components tab
-
Drag Condition and drop it on the white plus icon mark in between the Approval and the Review stages.
-
Select the Condition tile in the canvas and in the Properties pane enter Check Approval for Display Name.
-
In the Rule 1 section, select Approved for Field, select Equals for Operator, select Value for Type, and select Yes for Value.
-
Click Apply.
IMPORTANT: The designer does not auto-save. You must click on Apply when editing each element in the process.
-
Click on + Add and select Add Stage and then click the white plus icon underneath the Check Approval condition tile.
-
Select the New Stage tile, click Connector and select Disconnect.
-
Select the New Stage tile in the canvas and in the Properties pane enter Rejected for Display Name and select Resolve for Category.
-
Click Apply.
-
Expand Details on the Resolve stage.
-
Select Data Step #1 and in the Properties pane select Outcome status and check the Required box.
-
Click Apply.
-
Click Validate.
-
Click Update.
-
Close the business process flow designer.
-
Click Done.
Exercise 3 – Modify the Environmental user security role
In this exercise, you will enable users to use the business process flow.
Task 3.1 – Add privileges for business process flow
-
Navigate to the Power Apps Maker portal https://make.powerapps.com.
-
Make sure you are in the Practice environment.
-
Select Solutions.
-
Click to open the Fabrikam Environmental solution.
-
In the Objects pane on the left, select Security roles.
-
Select the Environmental user role and click Edit.
-
Select the Business Process Flows tab.
-
Click on Outcome Lifecycle name to change all privilege access levels to Organization.
-
Click Save and Close.
-
Click Done.
Exercise 4 – Solutions
In this exercise, you will export the solution from the Practice environment and import it into the MOD Administrator’s environment.
Task 4.1 – Export managed solution
-
Navigate to the Power Apps Maker portal https://make.powerapps.com.
-
Make sure you are in the Practice environment.
-
Select Solutions.
-
Select the Fabrikam Environmental solution but do not open it.
-
Select Export Solution.
-
Click Next.
-
The version number should have been incremented to 1.1.11.12.
-
Select Managed for Export As.
-
Click Export.
-
The export will be prepared in the background, when the solution is ready click the Download button.
Task 4.2 – Export unmanaged solution
-
Select the Fabrikam Environmental solution.
-
Select Export Solution.
-
Click Next.
-
The version number should have been incremented to 1.1.11.13.
-
Select Unmanaged for Export As.
-
Click Export.
-
The export will be prepared in the background, when the solution is ready click the Download button.
Task 4.3 – Import managed solution
-
Switch environments by using the Environment Selector in the upper right corner of the Maker portal.
-
Select the MOD Administrator’s Environment environment from the list.
-
Select Solutions.
-
Select Import solution.
-
Select Browse, change to the Downloads folder and select FabrikamEnvironmental_1_1_11_12_managed.zip and select Open.
-
Click Next.
-
Click Import. The solution will import in the background.