Practice Lab 5.1 – Build a Power Pages portal
Scenario
You are a Power Platform functional consultant and have been assigned to the Fabrikam project for the next stage of the project.
In this practice lab, you will explore your Power Pages portal and expose Milestone data to customers.
Exercise 1 - Explore and configure a Power Pages site
In this exercise, you will explore a Power Pages site and the Power Pages tools. You will make minor changes to the site content.
IMPORTANT: At the time of writing, Power Pages is in technical preview and the steps may differ. Refer to https://docs.microsoft.com/power-pages/getting-started/create-manage for the latest documentation.
Task 1.1 - Review the Power Pages site
-
Navigate to the Power Pages portal https://make.powerpages.microsoft.com/.
-
Make sure you are in the Practice environment.
-
Click on Preview and then select Desktop.
-
In the portal site, note the name of the tab in the browser, Home - Starter Portal.
-
Scroll down to the bottom of the page and note the page footer.
-
In the menu, select Pages and then select Subpage 2. You should see an empty page.
-
In the menu, select Contact us. You should see a form.
-
Complete the Fill in your details form with dummy data and click Submit.
Task 1.2 - Sign in to the Power Pages site
-
In the menu, select Sign in.
-
Click Azure AD. This will sign you in with your Microsoft 365 credentials.
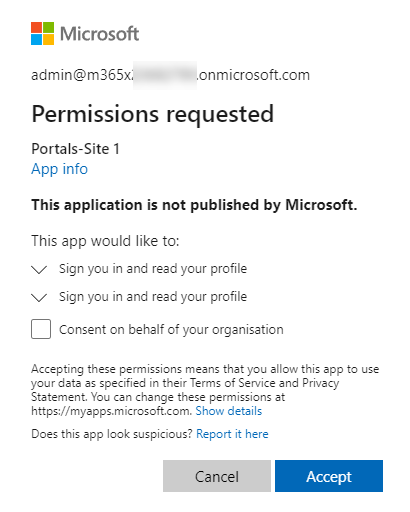
-
In the permissions requested dialog, click Accept.
Your user has been added to the portal site.
Task 1.3 - Review the Portal Management model-driven app
-
Navigate to the Power Apps Maker portal https://make.powerapps.com.
-
Make sure you are in your Practice environment.
-
Select Apps.
-
Select the Portal Management app, click on the ellipses (…), and select Play.
-
In the left-hand navigation, select Web Pages. You should see 9 pages including Subpage 2.
-
Select and edit Subpage 2. You should see that this page uses the Default studio template page template.
-
Click Default studio template. You should see that this page uses the Default studio template web template.
-
Click Default studio template. You should see the source for the web template.
-
In the left-hand navigation, select Web Templates. You should see many web templates.
-
In the left-hand navigation, select Contacts.
-
A contact has been created for your user, MOD Administrator.
-
Select and edit MOD Administrator.
-
Click the caret at the top-left of the form and select the Portal Contact form.
-
Select the Web Authentication tab. You are authenticating using https://sts.windows.net which is Azure Active Directory.
-
Select the Related tab and then select Web Roles. Note that you have the Administrators web role.
-
In the left-hand navigation, select Web Roles. You will see three web roles:
- Administrators
- Anonymous Users
- Authenticated Users
Task 1.4 - Edit the site footer in Portal Management
-
In the left-hand navigation, select Content Snippets.
-
Select and edit Footer. Do not navigate away from this page.
-
Select the HTML tab.
-
Replace the HTML with the following:
<p class="smallText">Copyright ©Fabrikam </p> <p class="smallText"></p> -
Click Save & Close.
NOTE: The footer on the site is not updated immediately.
Task 1.5 - Review Portal Designer
-
Navigate to the Power Pages portal https://make.powerpages.microsoft.com/.
-
Make sure you are in the Practice environment.
-
Edit Edit.
-
Scroll to the bottom of the page. You should see the footer that you changed in the earlier task.
-
In the Pages pane on the left-hand side, click to expand Pages. You should see Subpage 2.
-
Select Subpage 2. Do not navigate away from this page.
Task 1.6 - Update pages in the Portal Designer
-
Select the ellipses (…) and select Page settings.
-
Enter Milestones for Name.
-
Enter milestones for Partial URL.
-
Click OK.
-
In the canvas, click on the heading, Subpage 2, and enter Milestones.
-
In the canvas, click the line of text underneath the heading and enter Status of environmental miletones.
-
Click on the background in the canvas above the heading and select the section.
-
Click on Edit background.
-
Pick the Yellow color under Brand colors.
-
In the Pages pane on the left-hand side, select Subpage 1.
-
Select the ellipses (…) and select Delete.
-
Click Delete.
-
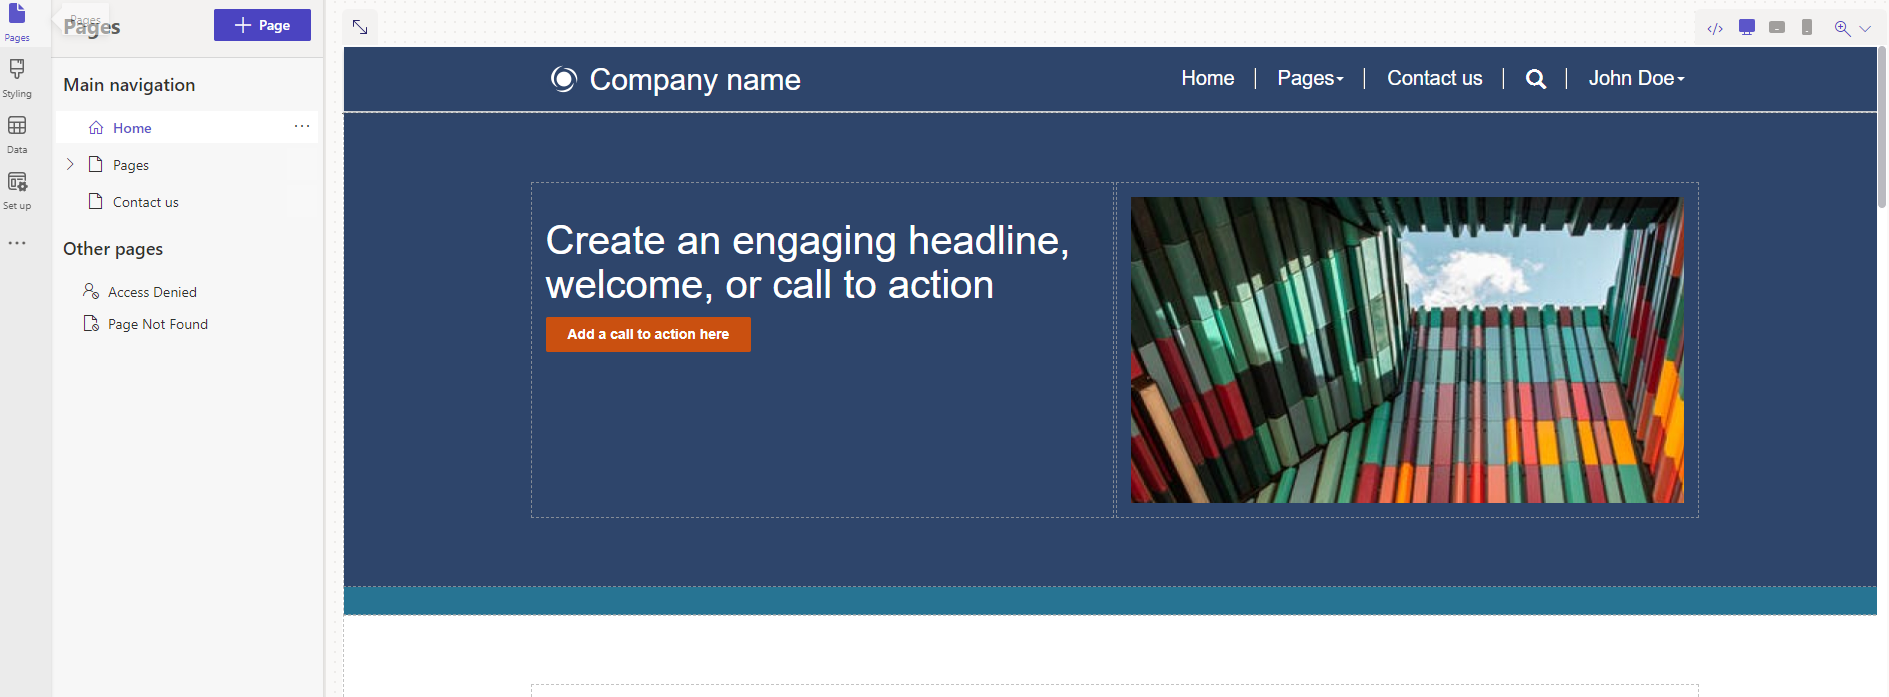
In the Pages pane on the left-hand side, select Home.
-
Click on Company name at the top of the page.
-
Enter Fabrikam Environmental.
Task 1.7 - View the changes to the site
-
In the top-right of the Power Pages designer, click on Sync.
-
Click on Preview and then select Desktop.
-
Verify your changes have been made.
Exercise 2 – Expose Dataverse data
In this exercise, you will add a list of Milestone rows to the page, add a form to edit rows, and configure security to allow the data to be changed in the portal site.
IMPORTANT: At the time of writing, Power Pages is in technical preview and the steps may differ. Refer to https://docs.microsoft.com/power-pages/getting-started/what-is-dataverse for the latest documentation.
Task 2.1 - Display Dataverse records
-
Navigate to the Power Pages portal https://make.powerpages.microsoft.com/.
-
Make sure you are in the Practice environment.
-
Edit Edit.
-
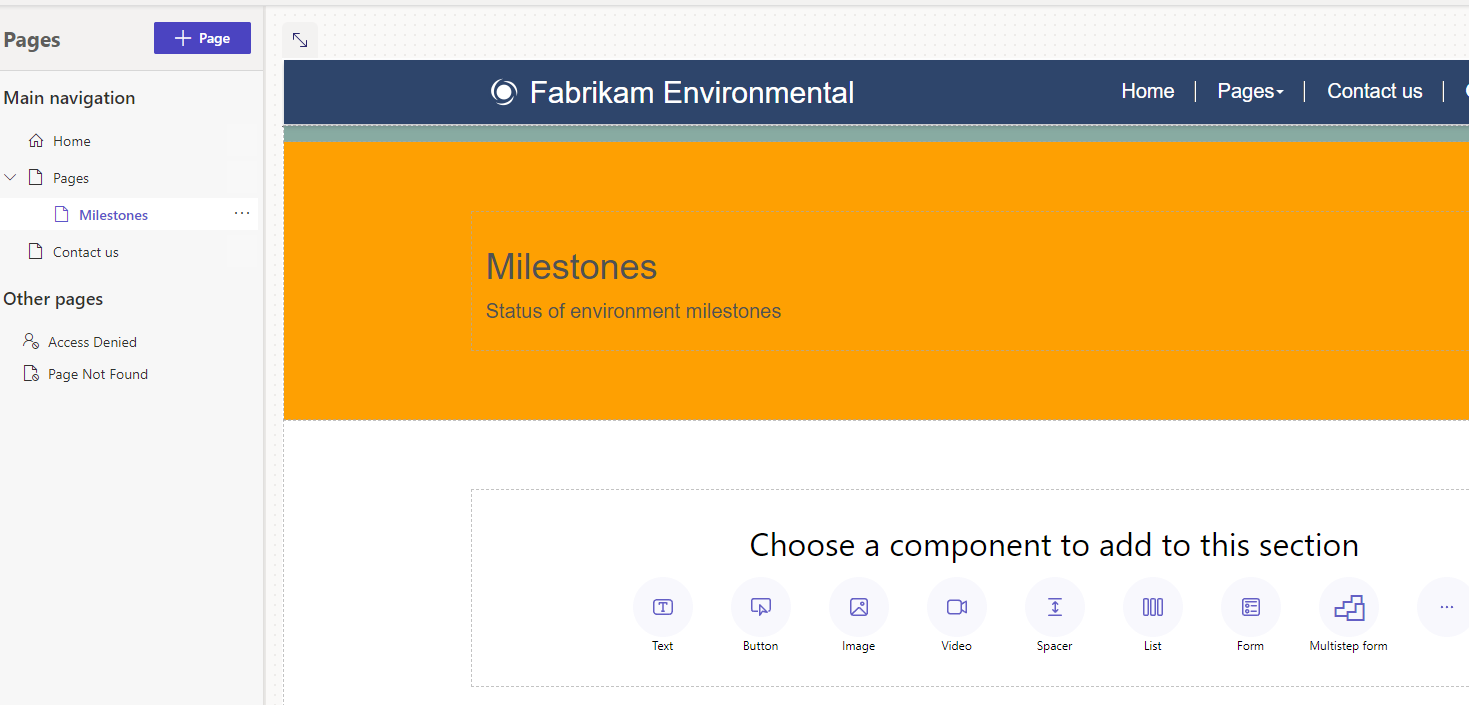
In the Pages pane on the left-hand side, click to expand Pages, and select Milestones.
-
In the canvas under Choose a component to add to this section, select the List icon.
-
Select Milestone (contoso_milestone) for Choose a table.
-
Select Milestones SubGrid for Select Dataverse views.
-
Enter Milestones for Name your copy of the select list.
-
Click OK.
Task 2.2 - Security
-
Click on Permissions in the list component editor (you may need to hover over the list to see this).
-
In the Table Permissions pane on the right-hand side, click + New permission
-
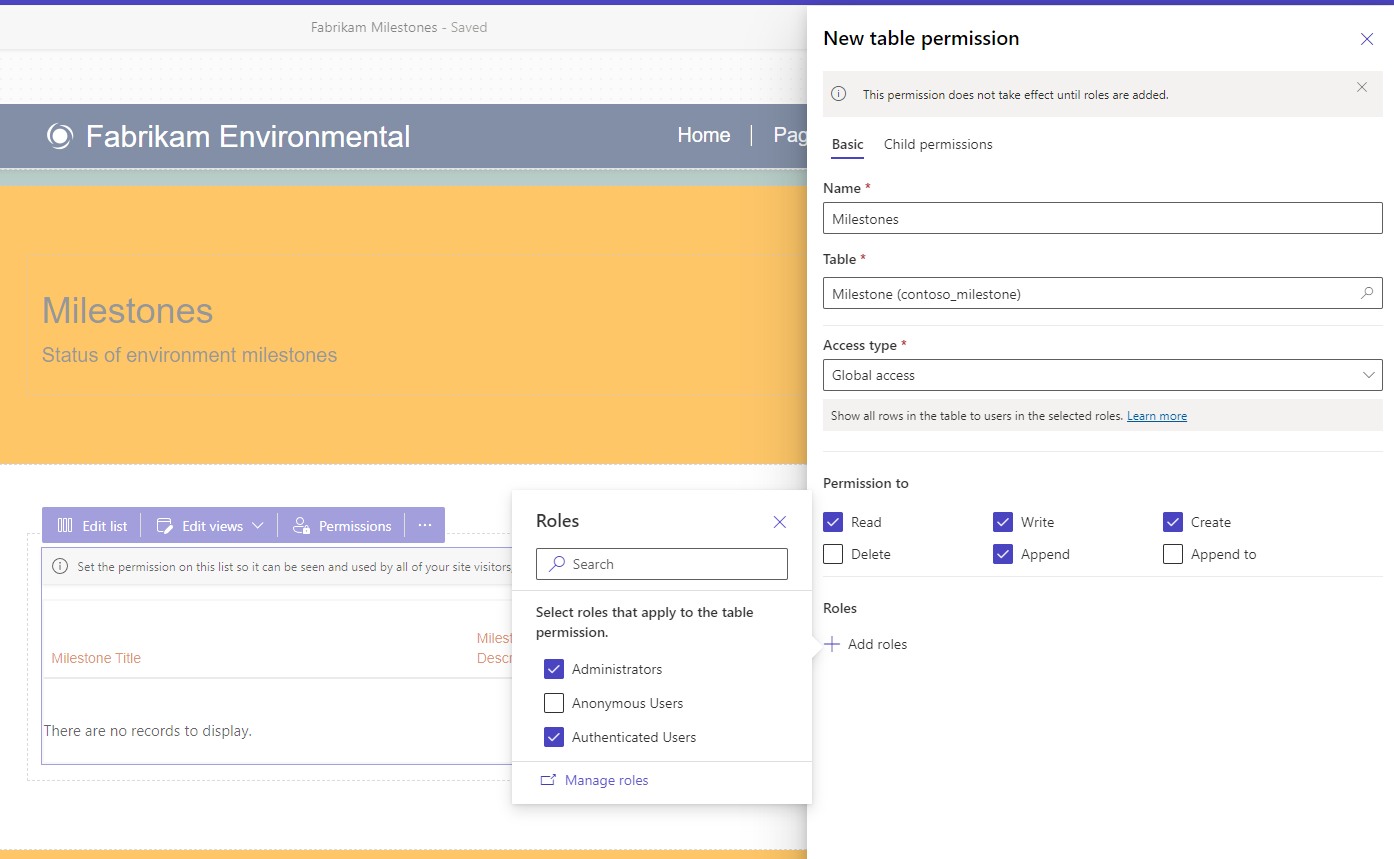
Enter Milestones for Name.
-
Select Milestone (contoso_milestone) for Table.
-
Select Global access for Access type.
-
Check the following permissions:
- Read
- Write
- Create
- Append
- Append To
-
Click + Add Roles
-
Check the following permissions:
- Administrators
- Authenticated Users
-
Click Save.
-
In the Table Permissions pane on the right-hand side, click New table permission
-
Enter Project for Name.
-
Select Project (contoso_project) for Table.
-
Select Global access for Access type.
-
Check the following permissions:
- Read
- Append To
-
Click + Add Roles
-
Check the following permissions:
- Administrators
- Authenticated Users
-
Click Save.
-
Click Close to close the Table permissions pane.
-
In the top-right of the Power Pages designer, click on Sync.
-
Click on Preview and then select Desktop.
-
Verify that milestone records are listed in the Power Pages site.
-
Close the Starter Portal tab.
Task 2.3 - Form
-
In the Pages pane on the left-hand side, and select Pages.
-
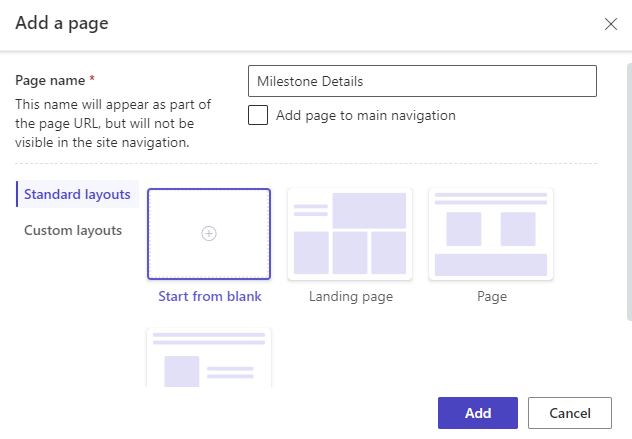
Select the ellipses (…) and select Add a new subpage.
-
Enter Milestone Details
-
Uncheck Add this page to main navigation
-
Select Start from blank.
-
Click Add
-
In the canvas under Choose a component to add to this section, select the Form icon.
-
Click + New form.
-
Select Milestone (contoso_milestone) for Choose a table.
-
Select Information for Select a form.
-
Enter Milestone for Name your copy of the select form.
-
Select Data.
-
Select Updates an existing record for Data from this form.
-
Select On submit.
-
Select Redirect to a page for When this form is submitted and then select the Milestones page.
-
Select CAPTCHA.
-
Uncheck both boxes.
-
Click OK.
-
In the Pages pane on the left-hand side, and select Milestones.
-
Select the ellipses (…) and select Promote this subpage.
-
In the Pages pane on the left-hand side, and select Pages.
-
Select the ellipses (…) and select Delete.
-
In the Pages pane on the left-hand side, and select Milestones.
-
In the canvas, select the Milestones list component.
-
In the list component editor, select Edit list.
-
Select Data.
-
Toggle View details to On.
-
Select Form for Target type.
-
Select Milestone for Forms.
-
Toggle Create a new record to On.
-
Select Form for Target type.
-
Select Milestone for Form.
-
Click OK.
-
In the top-right of the Power Pages designer, click on Sync.
-
Click on Preview and then select Desktop.
-
Test viewing and editing Milestones.