-
Open
Compare The Cost of QuickBooks Versus Microsoft Dynamics 365 Business Central
 Microsoft Dynamics 365 Business Central not only delivers more functionality than QuickBooks Online but is more cost-effective. It is phenomenal that you can get the power and functionality of Microsoft […]
The post Compare The Cost of QuickBooks Versus Microsoft Dynamics 365 Business Central appeared first on ERP Software Blog.
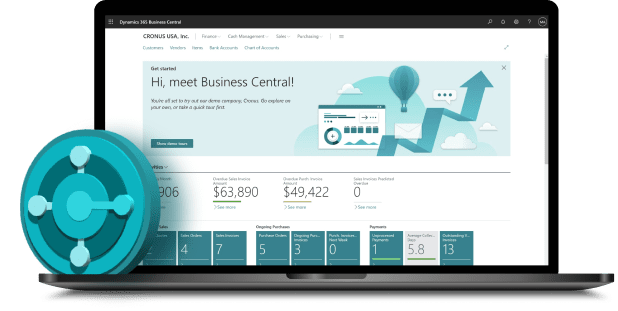
Microsoft Dynamics 365 Business Central is now available! Business without silos, actionable insights, built to evolve
Microsoft Dynamics GP is TEC Certified for Discrete Manufacturing
Give Me 5! Five Microsoft Dynamics GP User Licenses for 3K!
( 15
min )
Microsoft Dynamics 365 Business Central not only delivers more functionality than QuickBooks Online but is more cost-effective. It is phenomenal that you can get the power and functionality of Microsoft […]
The post Compare The Cost of QuickBooks Versus Microsoft Dynamics 365 Business Central appeared first on ERP Software Blog.
Microsoft Dynamics 365 Business Central is now available! Business without silos, actionable insights, built to evolve
Microsoft Dynamics GP is TEC Certified for Discrete Manufacturing
Give Me 5! Five Microsoft Dynamics GP User Licenses for 3K!
( 15
min )
Payment Processing: Credit Card Counter Sales vs. Retail POS with Microsoft Dynamics 365
 As cashless transactions become increasingly prevalent, the debate between credit card counter sales and retail point-of-sale (POS) systems intensifies. Both methods have distinct advantages and drawbacks, but comprehensive ERP solutions […]
The post Payment Processing: Credit Card Counter Sales vs. Retail POS with Microsoft Dynamics 365 appeared first on ERP Software Blog.
Dynamics 365 Business Central and Industry-Tailored Functionality
AP Invoice and Payment Processing Automation Checklist for GPUG
Jump-Start Your Accounts Payable in 2017 with Purchasing, Invoice and Payment Automation
( 14
min )
As cashless transactions become increasingly prevalent, the debate between credit card counter sales and retail point-of-sale (POS) systems intensifies. Both methods have distinct advantages and drawbacks, but comprehensive ERP solutions […]
The post Payment Processing: Credit Card Counter Sales vs. Retail POS with Microsoft Dynamics 365 appeared first on ERP Software Blog.
Dynamics 365 Business Central and Industry-Tailored Functionality
AP Invoice and Payment Processing Automation Checklist for GPUG
Jump-Start Your Accounts Payable in 2017 with Purchasing, Invoice and Payment Automation
( 14
min )
Enhancing Accounts Payable Automation with Intelligent Recognition
 Investing in intelligent recognition-enabled AP Automation technology goes beyond simply enhancing the Accounts Payable (AP) process. It establishes a foundation for a more efficient, precise and forward-looking financial management system. […]
The post Enhancing Accounts Payable Automation with Intelligent Recognition appeared first on ERP Software Blog.
How to Fix Common Invoice Discrepancies with Automation
AP Automation: Inside or Outside the ERP? Weighing the pros and cons
Adding AP Automation to Existing Systems
( 23
min )
Investing in intelligent recognition-enabled AP Automation technology goes beyond simply enhancing the Accounts Payable (AP) process. It establishes a foundation for a more efficient, precise and forward-looking financial management system. […]
The post Enhancing Accounts Payable Automation with Intelligent Recognition appeared first on ERP Software Blog.
How to Fix Common Invoice Discrepancies with Automation
AP Automation: Inside or Outside the ERP? Weighing the pros and cons
Adding AP Automation to Existing Systems
( 23
min )
Cavallo Launches Order Intelligence Platform to Empower Product-Centric Brands To Maximize Profit On Every Order
 Cavallo, a leading innovator in order management profitability, today announced its next-generation solution – the Cavallo Order Intelligence Platform. This AI-powered software empowers product-centric brands and distributors to unlock hidden […]
The post Cavallo Launches Order Intelligence Platform to Empower Product-Centric Brands To Maximize Profit On Every Order appeared first on ERP Software Blog.
Dynamics GP Implementation Tips for March Madness!
PaperSave Certified for Microsoft Dynamics GP 2013
Moving Accounting Functions to Electronic Workflow Saves Countless Hours, Millions of Dollars
( 14
min )
Cavallo, a leading innovator in order management profitability, today announced its next-generation solution – the Cavallo Order Intelligence Platform. This AI-powered software empowers product-centric brands and distributors to unlock hidden […]
The post Cavallo Launches Order Intelligence Platform to Empower Product-Centric Brands To Maximize Profit On Every Order appeared first on ERP Software Blog.
Dynamics GP Implementation Tips for March Madness!
PaperSave Certified for Microsoft Dynamics GP 2013
Moving Accounting Functions to Electronic Workflow Saves Countless Hours, Millions of Dollars
( 14
min )
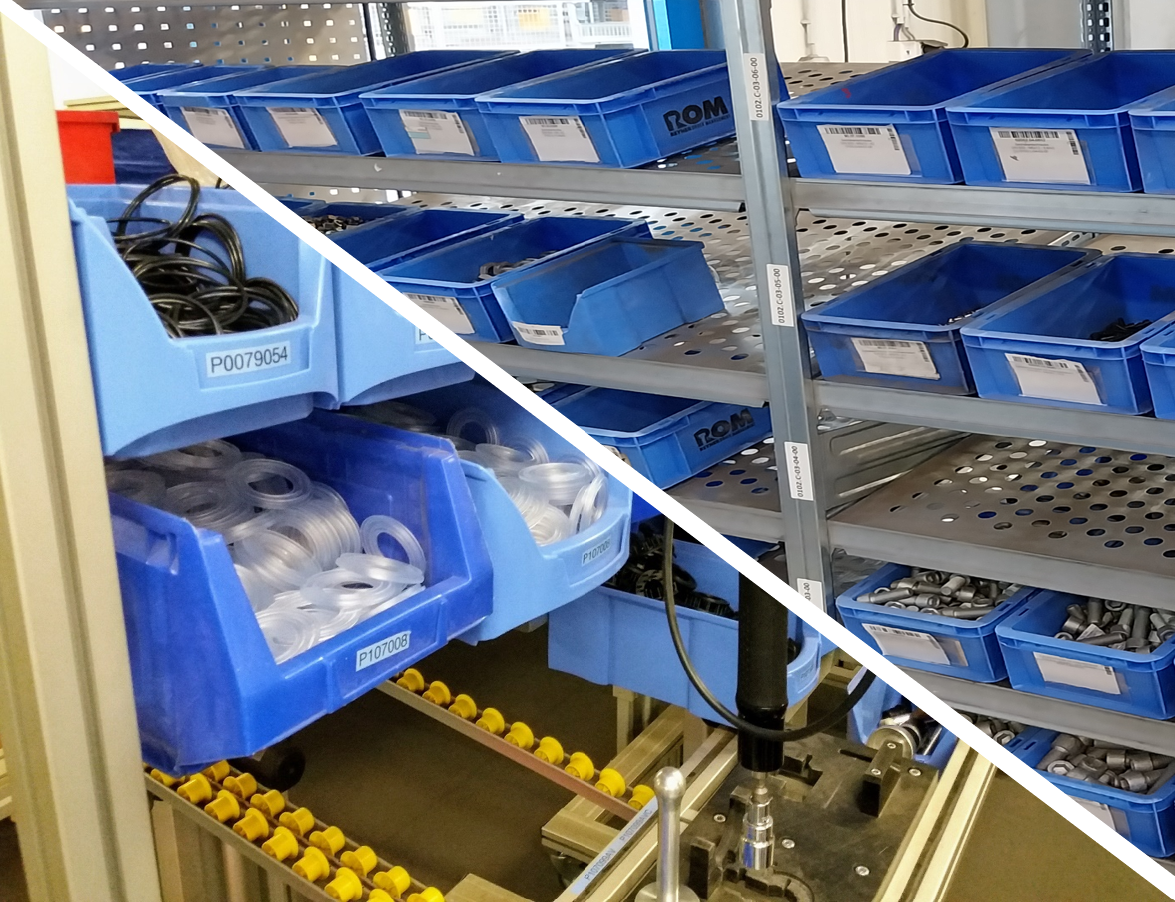
Overcoming 4 Common Challenges in Manufacturing Demand Planning
Demand planning in manufacturing is a complex process that involves forecasting product demand to optimize production and supply chain management. Effective demand planning enables manufacturers to meet market demand efficiently, […]
The post Overcoming 4 Common Challenges in Manufacturing Demand Planning appeared first on ERP Software Blog.
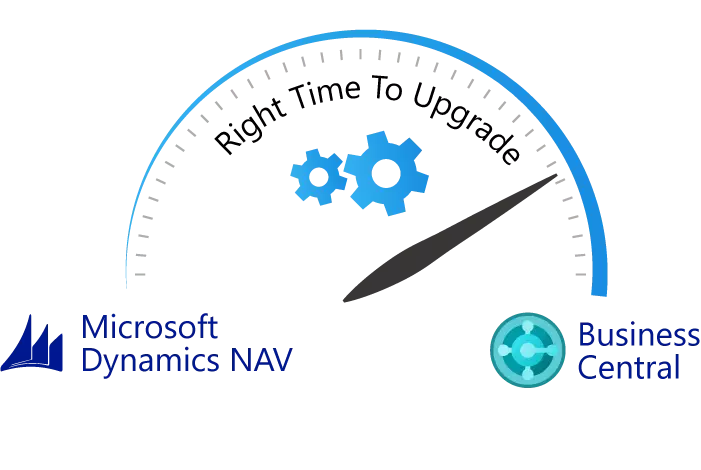
Get More in the Cloud with Dynamics 365 Business Central
Strategic Mindset for a Successful ERP implementation
Warehouse Insight Now Available for Dynamics 365 Business Central
( 25
min )
The Role of Dynamics 365 Business Central in Enhancing Customer Relationship Management
 Dynamics 365 Business Central is an all-in-one business management solution designed to streamline processes and enhance productivity. It integrates various functionalities including finance, operations, and customer relationship management (CRM) into […]
The post The Role of Dynamics 365 Business Central in Enhancing Customer Relationship Management appeared first on ERP Software Blog.
Give Customers Everything They Want This Year with Integrated ERP and CRM
Strengthen Your Technology by Integrating ERP With CRM
How can Microsoft Dynamics track more Financial Data in the Cloud in 2018?
( 25
min )
Dynamics 365 Business Central is an all-in-one business management solution designed to streamline processes and enhance productivity. It integrates various functionalities including finance, operations, and customer relationship management (CRM) into […]
The post The Role of Dynamics 365 Business Central in Enhancing Customer Relationship Management appeared first on ERP Software Blog.
Give Customers Everything They Want This Year with Integrated ERP and CRM
Strengthen Your Technology by Integrating ERP With CRM
How can Microsoft Dynamics track more Financial Data in the Cloud in 2018?
( 25
min )
-
Open
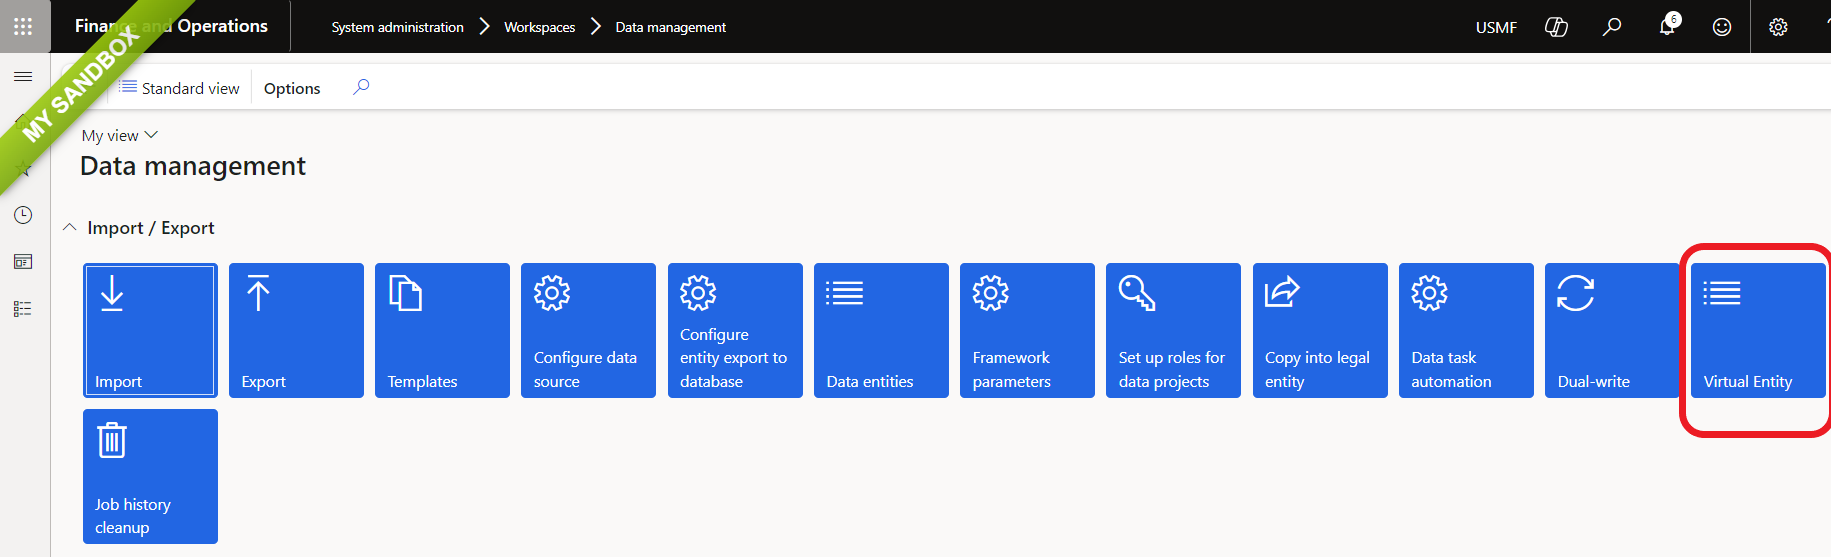
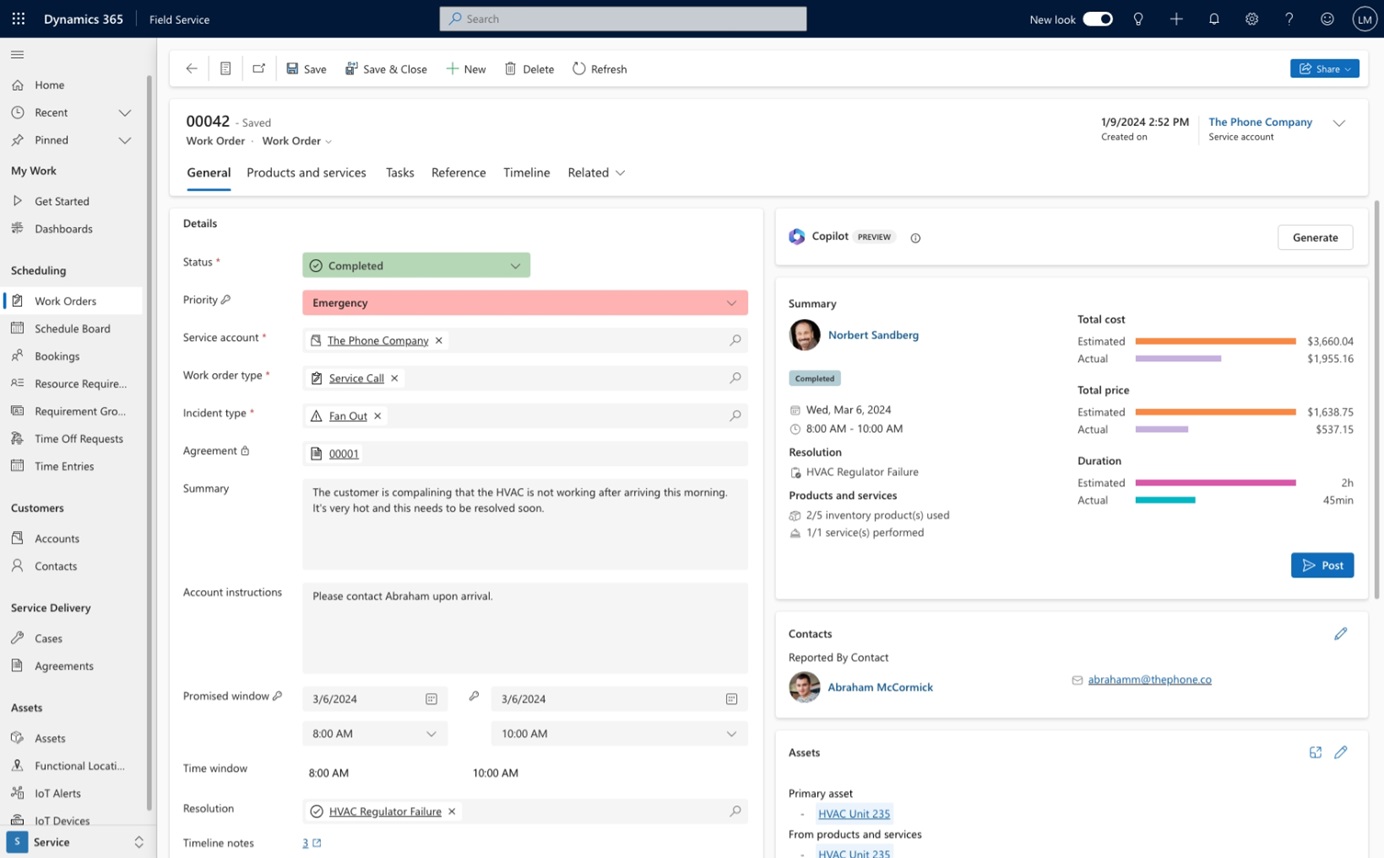
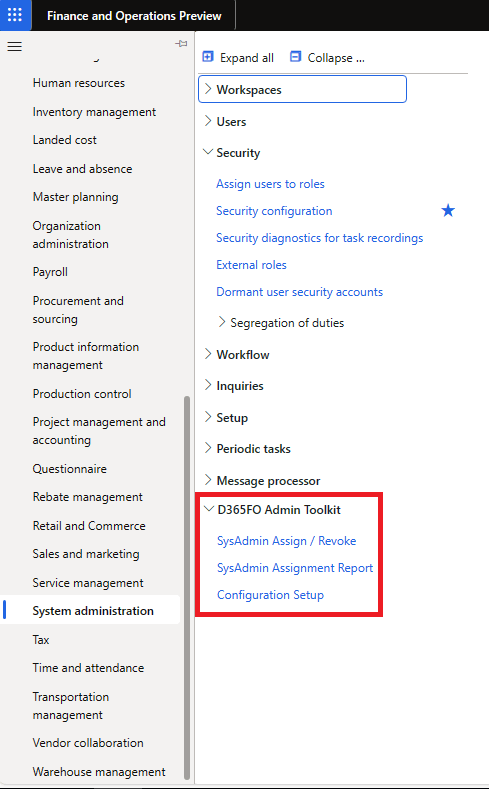
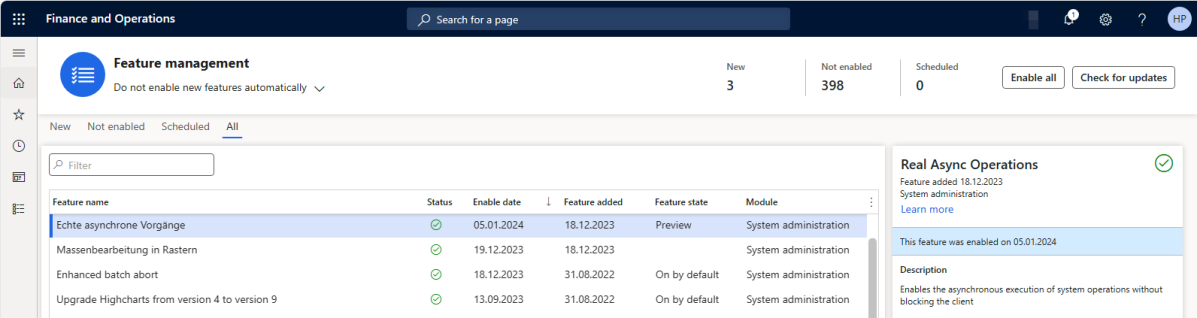
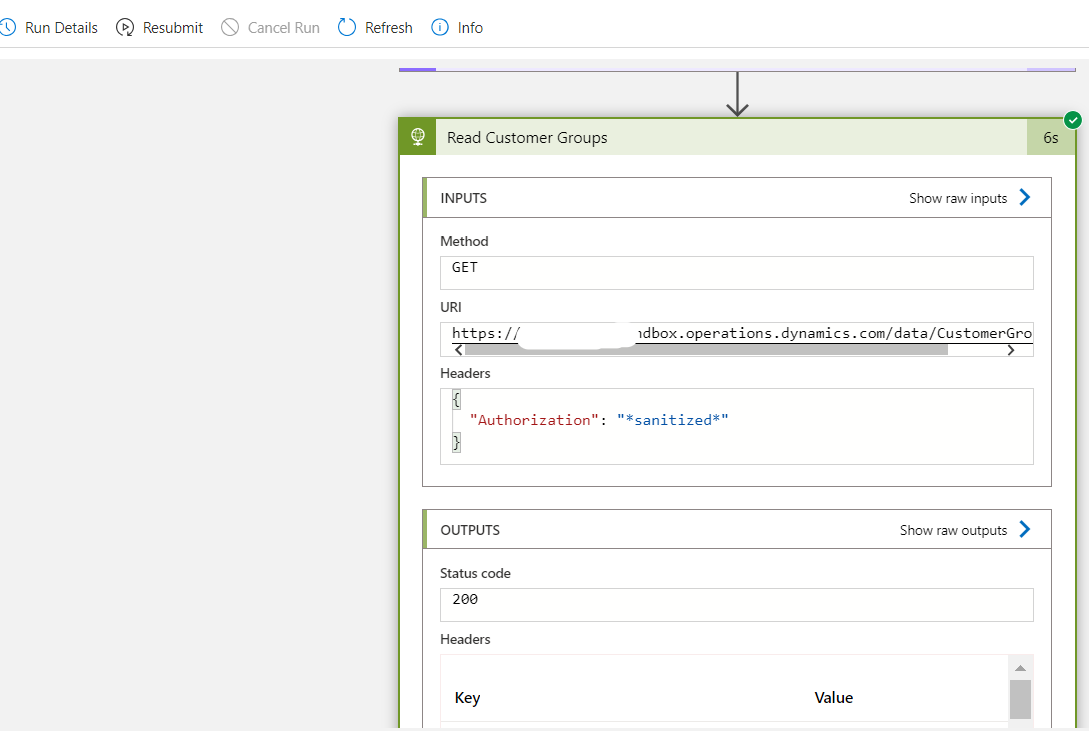
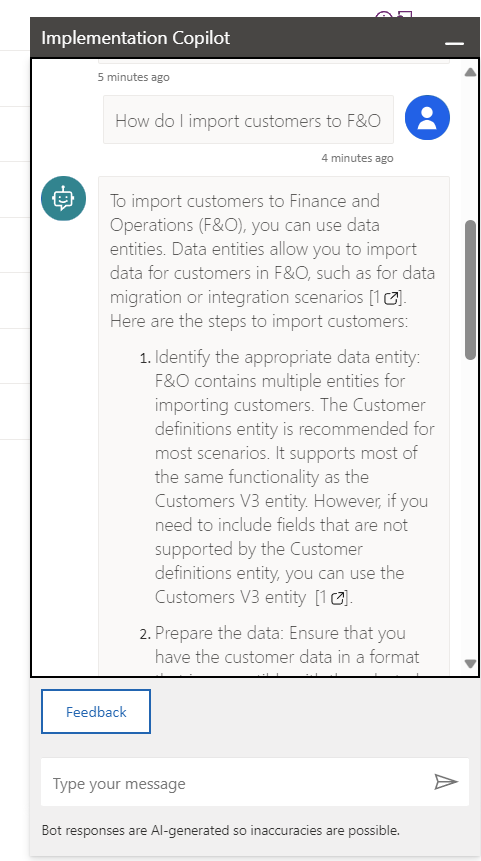
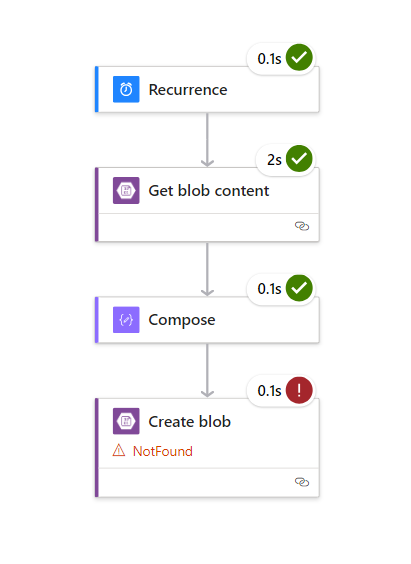
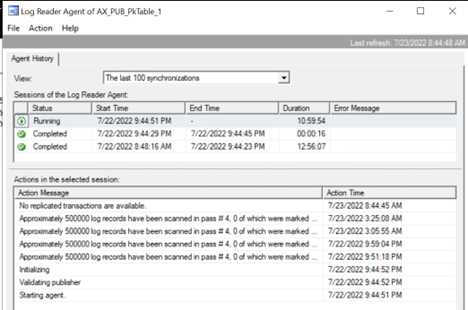
D365 – Will 10.0.41 be the release where Copilot shows it value?
 For quite some time we have heard that AI and Copilot will revolutionize everything. But I still feel I work in the same way as I have always done. There […]
( 11
min )
For quite some time we have heard that AI and Copilot will revolutionize everything. But I still feel I work in the same way as I have always done. There […]
( 11
min )
New Functionality In Microsoft Dynamics 365 Business Central 2024 Wave 1: Enable Sustainability Features for Integrations with APIs
 This post is part of the New Functionality In Microsoft Dynamics 365 Business Central 2024 Wave 1 series in which I am taking a look at the new functionality introduced […]
( 11
min )
This post is part of the New Functionality In Microsoft Dynamics 365 Business Central 2024 Wave 1 series in which I am taking a look at the new functionality introduced […]
( 11
min )
Fear Not: SC 100 Exam Data Protection Tactics – YouTube
 Learn how to protect your SC 100 exam data with M365 Security tactics. Evaluate your security posture with these essential tips. Episode Breakdown: 00:00 – Episode Intro 00:48 – Episode […]
( 11
min )
Learn how to protect your SC 100 exam data with M365 Security tactics. Evaluate your security posture with these essential tips. Episode Breakdown: 00:00 – Episode Intro 00:48 – Episode […]
( 11
min )
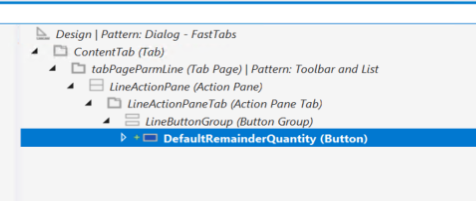
How To Use Reminders to Stop Losing Leads in Dynamics
 There are many ways to keep on top of leads in Dynamics. Your choice of technique will depend on a few things Your team size – do you need a […]
( 11
min )
There are many ways to keep on top of leads in Dynamics. Your choice of technique will depend on a few things Your team size – do you need a […]
( 11
min )
New Functionality In Microsoft Dynamics 365 Business Central 2024 Wave 1: Manage Subscription Billing and Revenue and Expense Recognition
This post is part of the New Functionality In Microsoft Dynamics 365 Business Central 2024 Wave 1 series in which I am taking a look at the new functionality introduced […]
( 11
min )
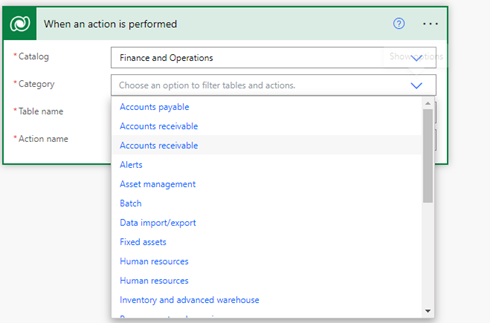
Enhanced ‘Selected Row’ Trigger Now Available in Power Automate
 We’re excited to witness the return of an enhanced ‘When a record is selected’ trigger in Power Automate, that was previously deprecated. The community has eagerly awaited its comeback ever […]
( 12
min )
We’re excited to witness the return of an enhanced ‘When a record is selected’ trigger in Power Automate, that was previously deprecated. The community has eagerly awaited its comeback ever […]
( 12
min )
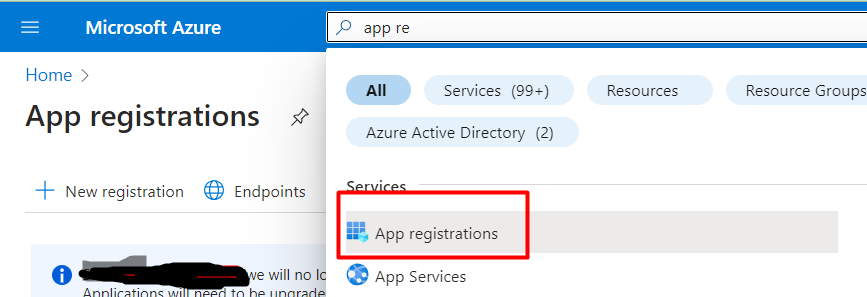
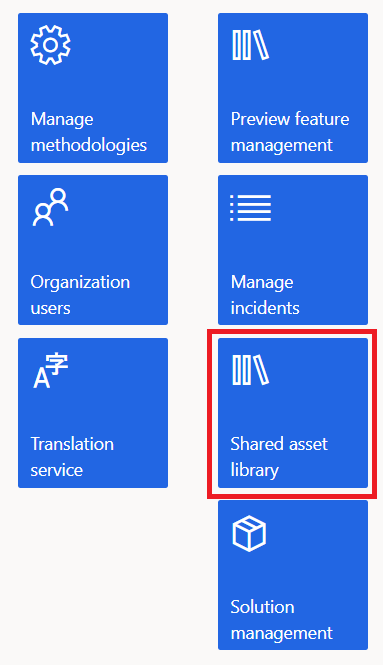
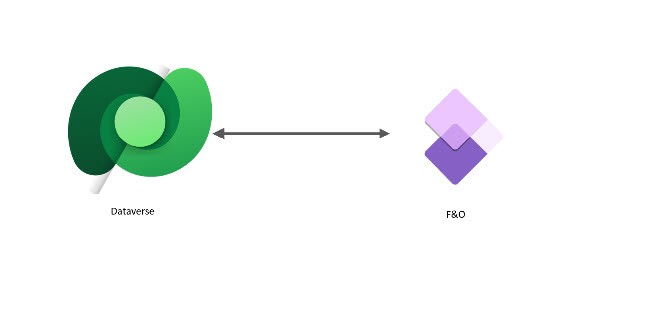
API playground feature not available in Dataverse Accelerator App?
 In my last article, I had discussed about API Playground feature in Dataverse Accelerator App, and I have another environment, where I cannot see this feature. Followed the below steps […]
( 11
min )
In my last article, I had discussed about API Playground feature in Dataverse Accelerator App, and I have another environment, where I cannot see this feature. Followed the below steps […]
( 11
min )
-
Open
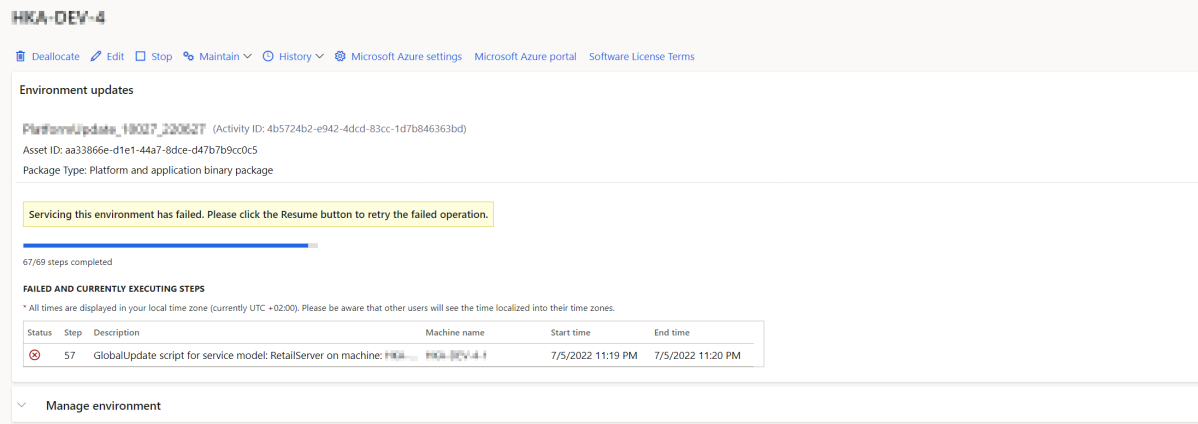
D365 – Will 10.0.41 be the release where Copilot shows it value?
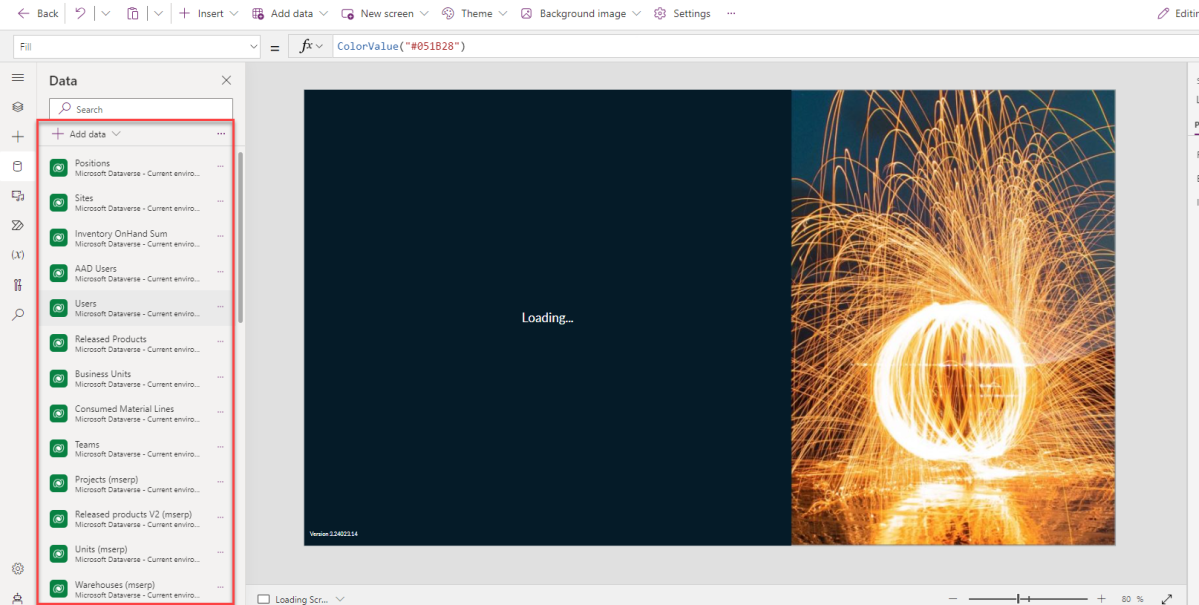
 For quite some time we have heard that AI and Copilot will revolutionize everything. But I still feel I work in the same way as I have always done. There are some clear benefits of correcting my spelling and language. I also love the Copilot in Visual Studio when working. But what it comes to … Continue reading D365 – Will 10.0.41 be the release where Copilot shows it value?
( 13
min )
For quite some time we have heard that AI and Copilot will revolutionize everything. But I still feel I work in the same way as I have always done. There are some clear benefits of correcting my spelling and language. I also love the Copilot in Visual Studio when working. But what it comes to … Continue reading D365 – Will 10.0.41 be the release where Copilot shows it value?
( 13
min )