Lab 10 – Application Lifecycle Management
Scenario
A regional building department issues and tracks permits for new buildings and updates the remodeling of existing buildings. Throughout this course you will build applications and automation to enable the regional building department to manage the permitting process. This will be an end-to-end solution which will help you understand the overall process flow.
In this lab you will use Azure DevOps for source control of your solution assets. As you have been building your app you have been tracking all the changes in a Permit Management solution. You have exported this solution, so you had a back up copy. You have also manually imported the managed version of the solution into your production environment. As part of this lab you will see how you can automate working with solutions and use the Power Apps Azure DevOps tasks to check the changes into an Azure DevOps repository. This is the start of an overall ALM process that you would put in place to automate the complete lifecycle form development to production using Azure DevOps automation. In this lab, you will be completing the first phase of that automation.
High-level lab steps
As part of configuring Azure DevOps ALM automation, you will complete the following
-
Sign in to your Azure DevOps account
-
Create an Azure DevOps project
-
Configure the Power Platform ALM tasks
-
Build an export solution pipeline
-
Test the export from dev to Azure DevOps
Things to consider before you begin
-
How often are you planning to run the build process?
-
Is it going to be fully automated or run manually?
-
How many users will be committing changes into the repositories and how often?
-
How many instances are you planning to control?
-
Are there any other build tasks you should consider?
Requirement
To avoid abuse Azure Pipelines now requires approval in free accounts to run pipelines. If you completed Lab 0 Exercise 3 and applied an Azure pass you are ready to proceed. Alternatively, you can use the following form to request the free grant of parallel jobs in Azure Pipelines. Please fill out this form This must be approved before you can complete the steps in this lab.
You will receive an email when your approval request is completed.
Exercise #1: Initialize Azure DevOps
Objective: In this exercise, you will use your Azure DevOps account to track the solution assets of the Permit Management app.
Task #1: Sign in for Azure DevOps
-
Sign in for Azure DevOps
-
Navigate to Azure DevOps
-
Provide your admin credentials and sign in.
-
-
Create the Azure DevOps project
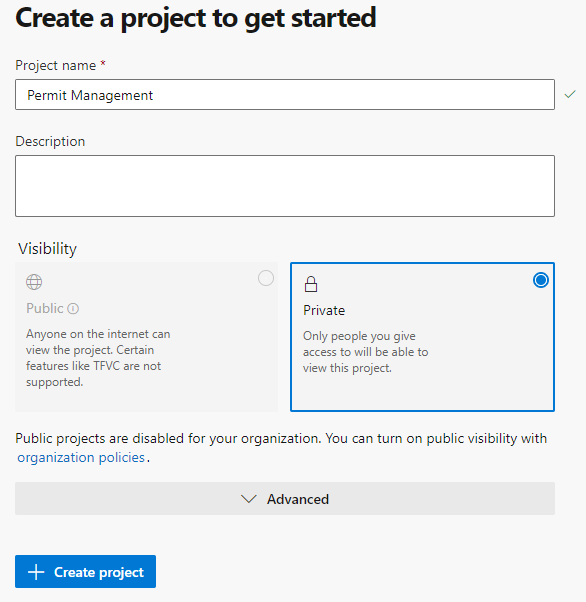
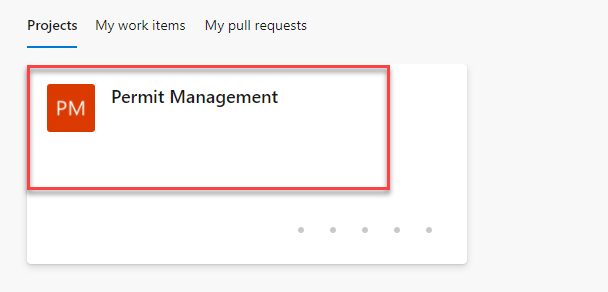
- Enter Permit Management for Project Name, select Private, and then select + Create project.
-
Initialize Repository
- Select Repos.
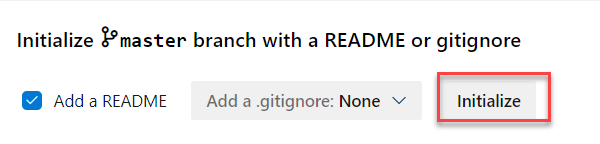
- Scroll down to the bottom, make sure the Add a Readme checkbox is checked, and select Initialize.
Task #2: Configure Power Platform ALM Tasks
-
Get Power Platform Build Tools
-
Sign in to Visual Studio marketplace
-
Search for Power Platform Build Tools.
-
Select Power Platform Build Tools.

- Select Get it Free.
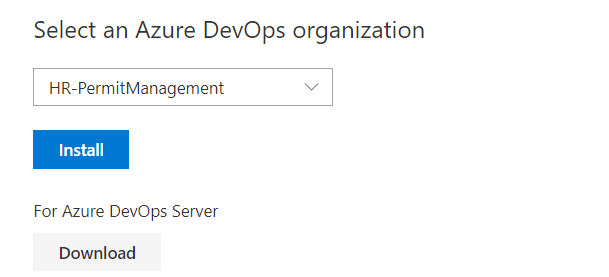
- Select the Azure DevOps organization you created and then select Install.
- Select Proceed to Organization.
-
-
Go to Git repositories security
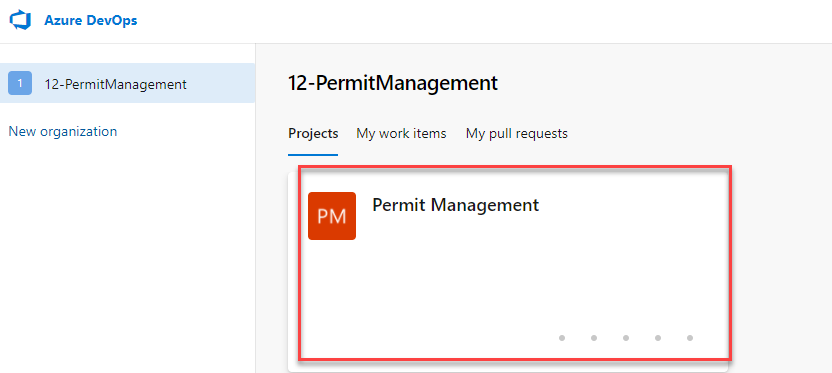
- Open the Permit Management project you created.
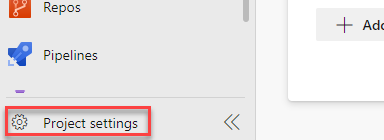
- Select Project Settings.
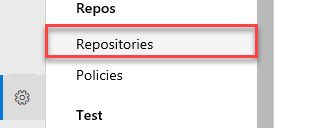
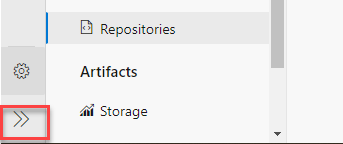
- Select Repositories.
-
Add permissions to allow the build account to check in solution assets
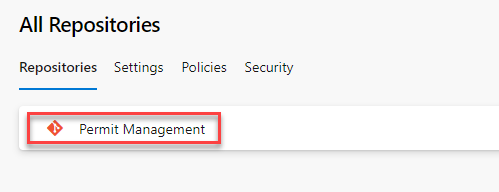
- Select the Permit Management project.
-
Select the Security tab.
-
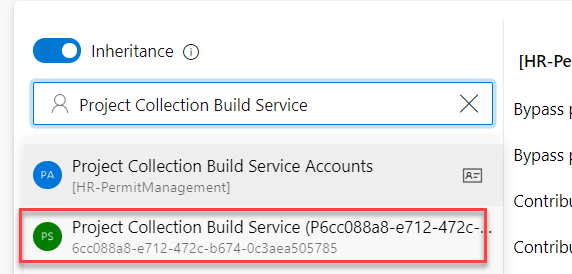
Search for Project Collection Build Service and select the one without the accounts Project Collection.
-
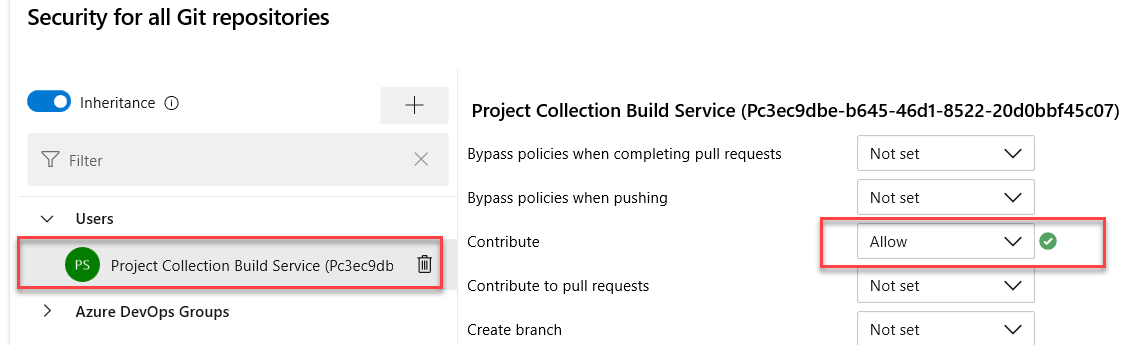
Set Contribute permission for the Service Accounts
-
Select the Project Collection Build Service.
-
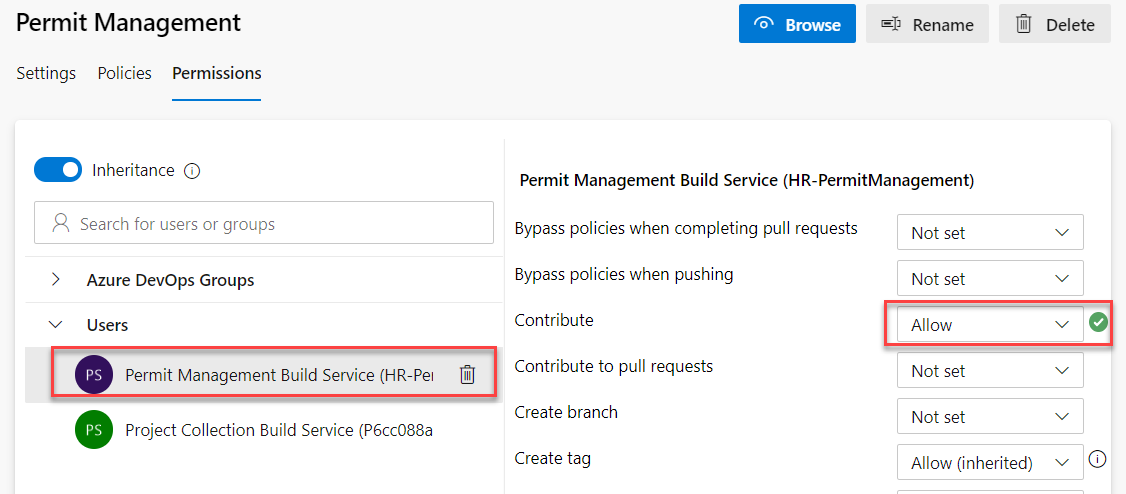
Locate the Contribute permission and select Allow.
- Select Show More to expand the menu.
-
Exercise #2: Build Export Pipeline
Objective: In this exercise, you will build an Azure DevOps pipeline that will export the solution from the development Microsoft Dataverse environment, unpack the solution file to individual files and then check those files into the repository.
Task #1: Export the Solution
-
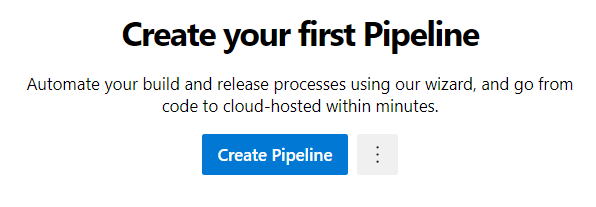
Create Build Pipeline
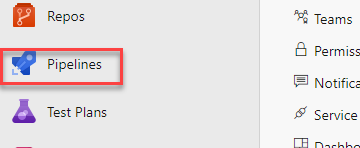
- Expand Pipelines.
- Select New Pipeline.
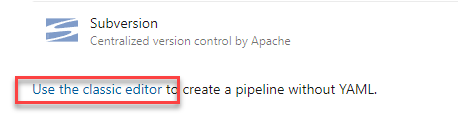
- Select Use the Classic Editor.
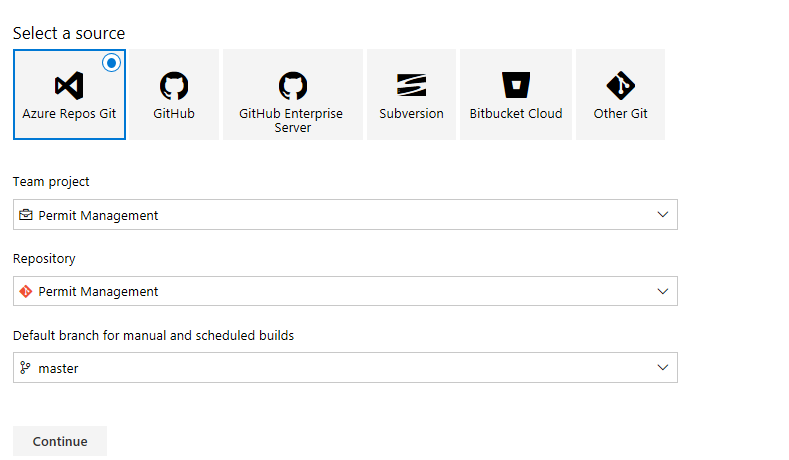
- Don’t change the default values. Select Continue.
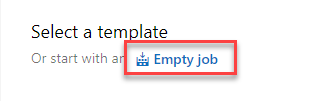
- Select Empty Job.
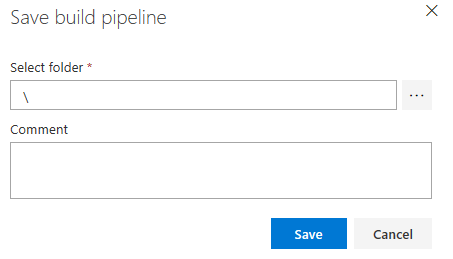
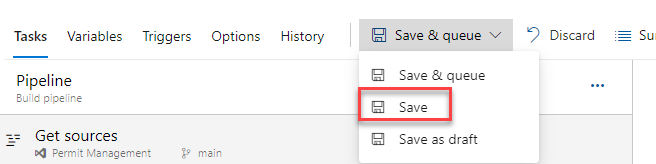
- Select Save and Queue and then select Save.
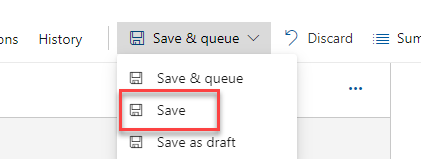
- Select Save.
-
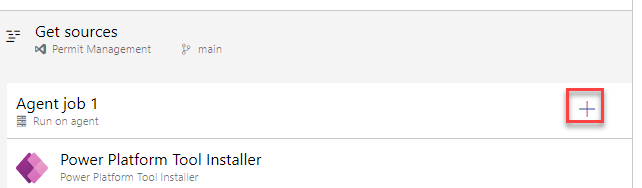
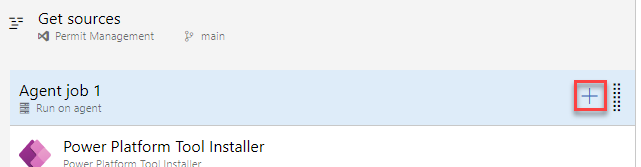
Add Power Platform Tool Installer task
Note: The Power Platform Tool Installer needs to be run before any other Power Platform ALM tasks.- Select + icon to add task to Agent Job 1.
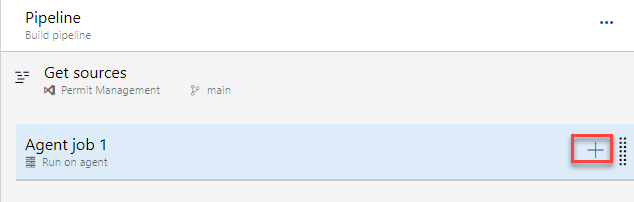
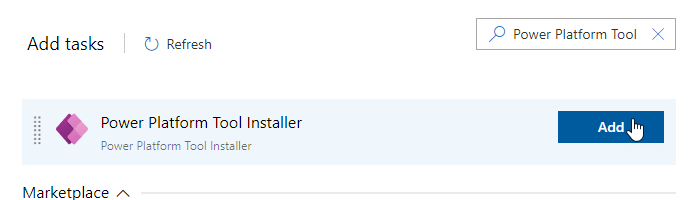
- Search for Power Platform Tool, hover over select Power Platform Tool Installer and select Add.
-
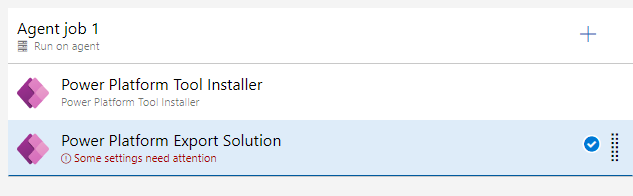
Add Power Platform Export Solution task
-
Search for Export.
-
Hover over Power Platform Export Solution and select Add.

-
-
Open Power Platform Export Solution
- Select the Power Platform Export Solution task.
-
Get your Dev Environment URL
-
Start a new browser window or tab and sign in to Power Platform admin center
-
Select Environments and open the Dev environment.
-
Copy the Environment URL and keep it in your clipboard.
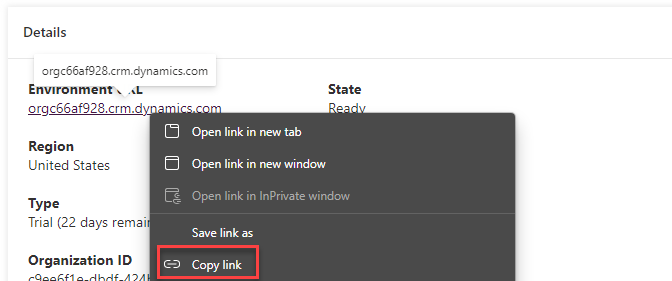
- Close the Power Platform Admin browser window or tab.
-
-
Create Generic Service Connection
-
Go back to the Pipeline.
-
Make sure you still have the Power Platform Export Solution task selected.
-
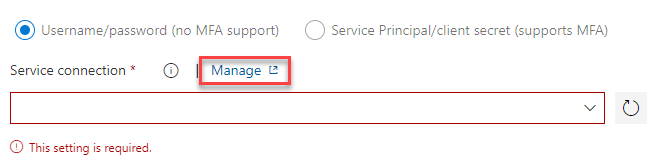
Select Manage service sonnection. This will open a new window.
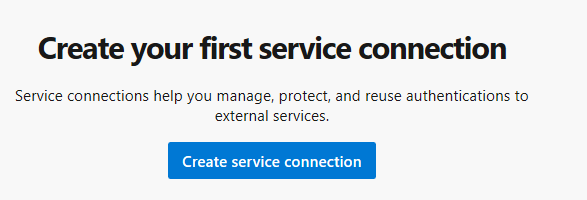
- Select Create Service Connection.
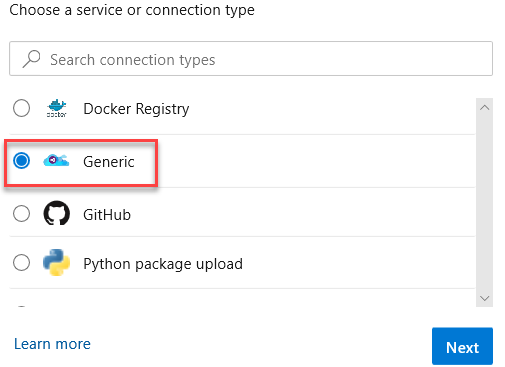
- Select Generic and then select Next.
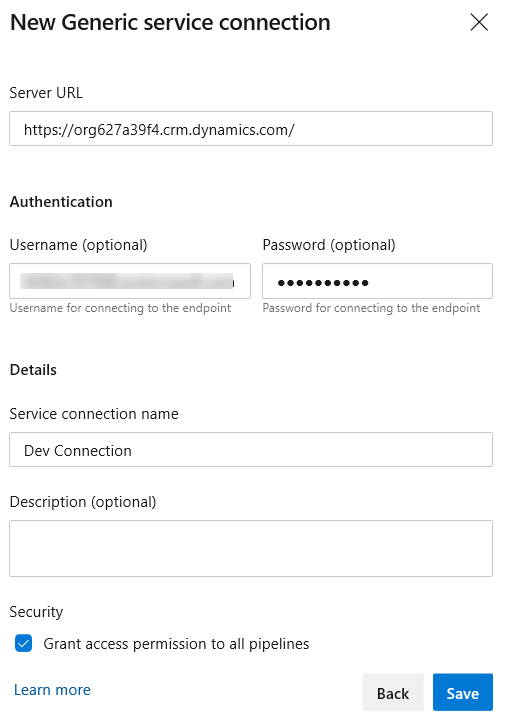
- Paste the Environment URL you copied in Server URL, provide your admin credentials, provide a connection name, and select Save.
- Close the Service Connections browser window or tab.
-
-
Select the Generic Service Connection you created as the Service connection
-
Go back to the Build Pipeline tasks and make sure you still have Power Platform Export Solution task selected.
-
Locate the Service connection column and select Refresh.
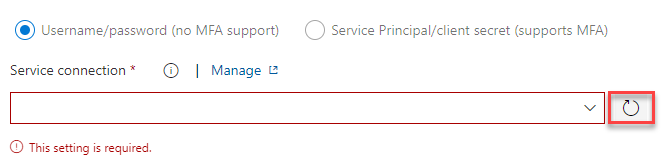
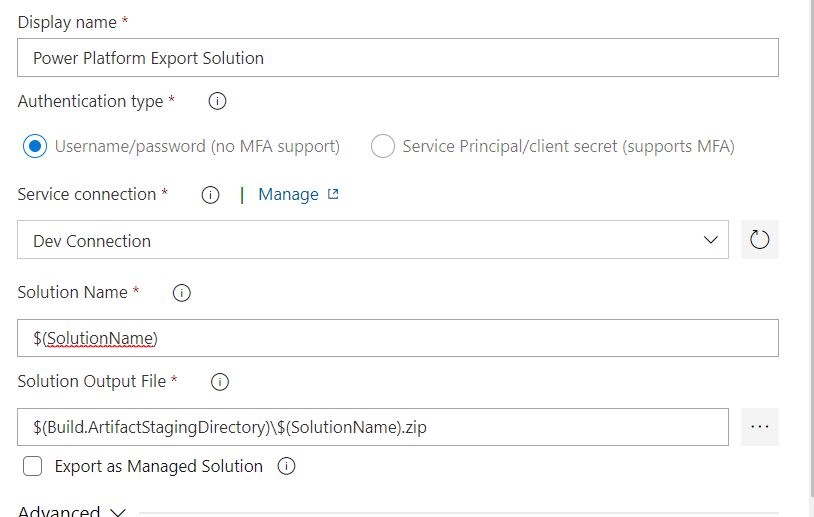
- Select the Generic Service Connection you created.

- Enter $(SolutionName) for Solution Name, $(Build.ArtifactStagingDirectory)$(SolutionName).zip for Solution Output File.
- Select Save and Queue and then select Save.
- Select Save again.
-
-
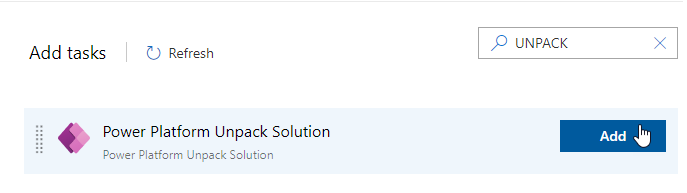
Add Unpack task. This task will take the solution zip file and expand it into a file for each solution component.
- Select Add Task.
-
Search for Unpack.
-
Hover over Power Platform Unpack Solution and select Add.
-
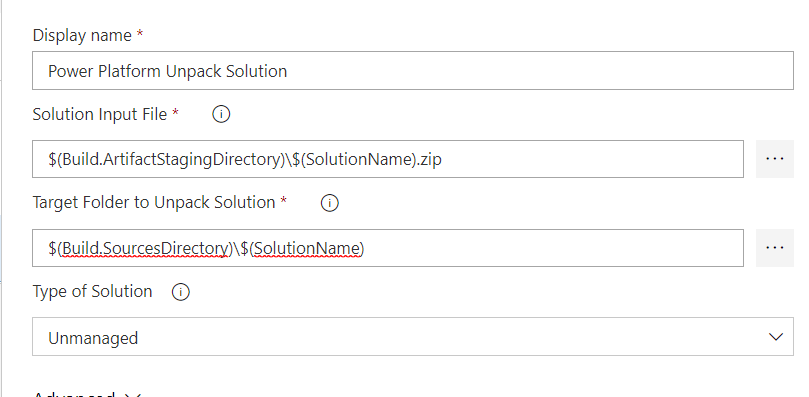
Provide Unpack settings information
-
Select the Unpack task.
-
Enter $(Build.ArtifactStagingDirectory)$(SolutionName).zip for Solution Input File, $(Build.SourcesDirectory)$(SolutionName) for Target Folder.
-
Select Save and Queue and then select Save.
-
Select Save again.
-
-
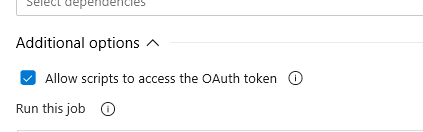
Allow scripts to access the OAuth Token.
- Select Agent Job 1.
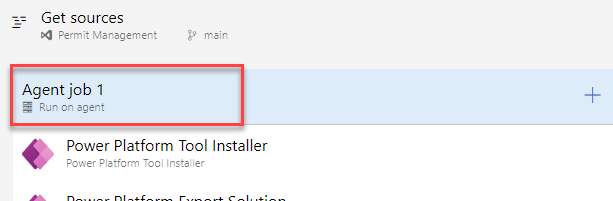
- Scroll down and check the Allow Scripts to Access the OAuth Token checkbox.
-
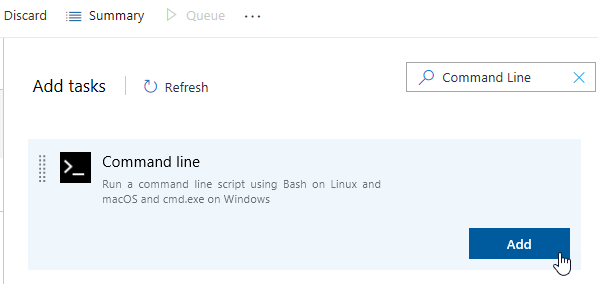
Add Command Line task
- Select + Add a Task.
-
Search for Command Line.
-
Hover over Command Line and select Add.
-
Add Scripts to the Command Line task. This task will be used to check in the solution file changes to the repo.
-
Select the Command Line task.
-
Paste the script below in the Script text area. Replace user@myorg.onmicrosoft.com with your admin username.
  echo commit all changes
  git config user.email "user@myorg.onmicrosoft.com"
  git config user.name "Automatic Build"
  git checkout main
  git add --all
  git commit -m "solution init"
  echo push code to new repo
  git -c http.extraheader="AUTHORIZATION: bearer $(System.AccessToken)" push origin main

-
-
Add Solution Name variable
-
Select the Variables tab.
-
Select + Add.
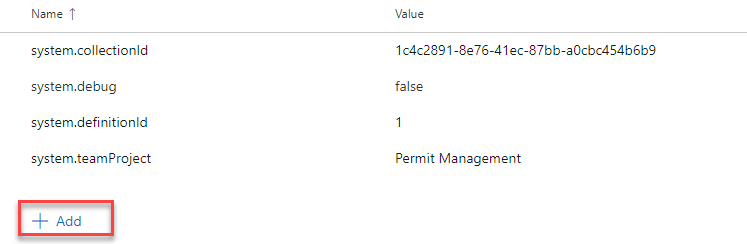
- Enter SolutionName for Name and PermitManagement for Value.

-
Select Save and Queue and then select Save.
-
Select Save again.
-
Exercise #3: Test the Pipeline
Objective: In this exercise, you will test the build pipeline you created.
Task #1: Run the Pipeline
-
Open the build pipeline
- Sign in to Azure DevOps and open the Permit Management project.
- Select Project Settings.
- Select Repositories.
-
Select the Permit Management repository.
-
Select the Security tab.
-
Select Permit Management Build Service and Allow Contribute.
-
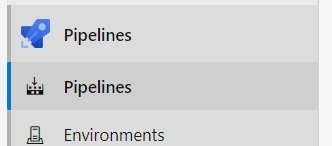
Select **Pipelines Pipelines**.
-
Select Permit Management-CI.
-
Select Run Pipeline.
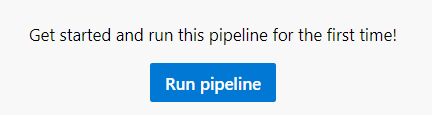
- Select Run again and wait.
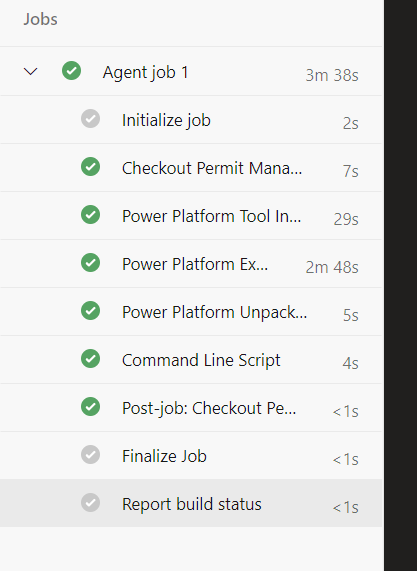
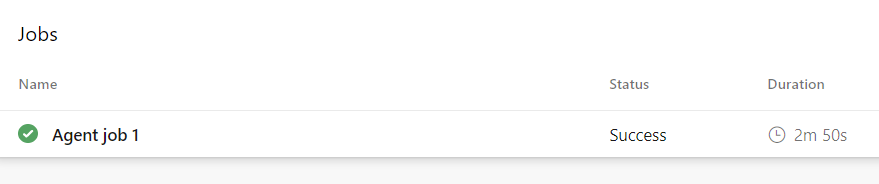
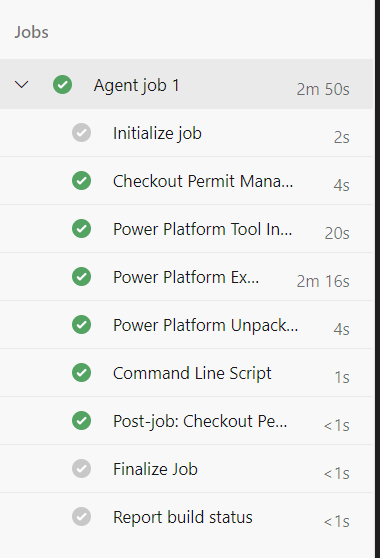
- Wait until the job completed and then open it.
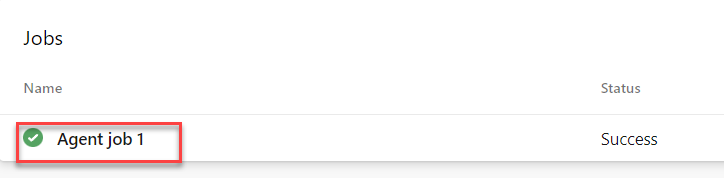
- The Build tasks should run and succeed
-
Review the Repository
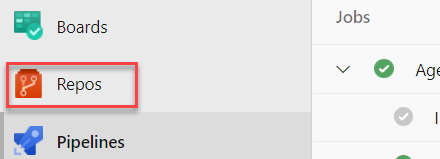
- Select Repos.

- You should see PermitManagement folder. Open the folder.
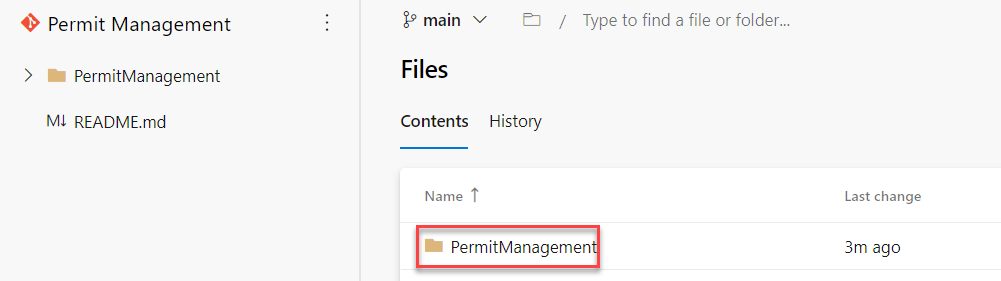
- The content of the folder should look like the image below.
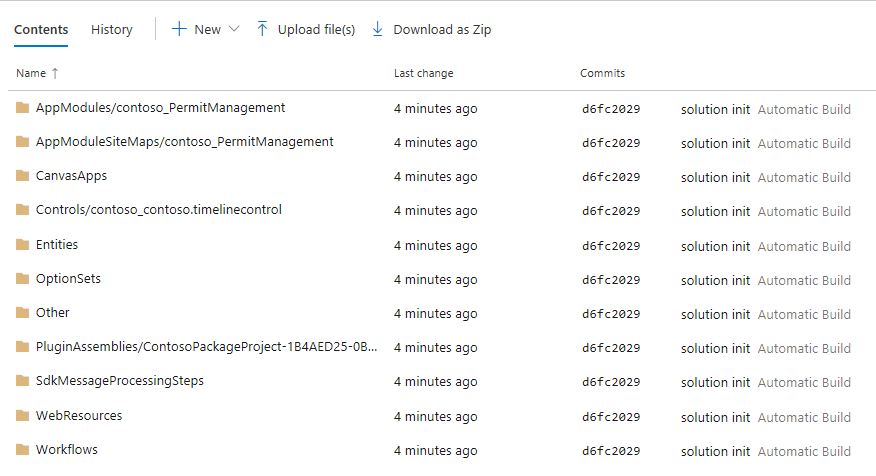
You may examine the content of each folder.
Task #2: Modify Solution
-
Open the Permit Management solution
-
Sign in to Power Apps maker portal and make sure you have the Dev environment selected.
-
Select Solutions.
-
Open the Permit Management solution.
-
-
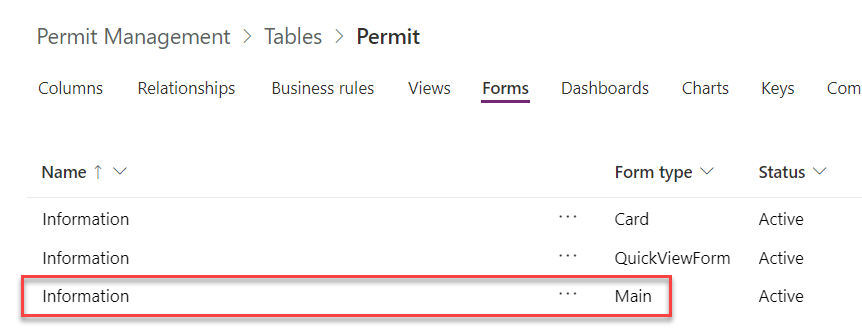
Open the Permit table form for edit
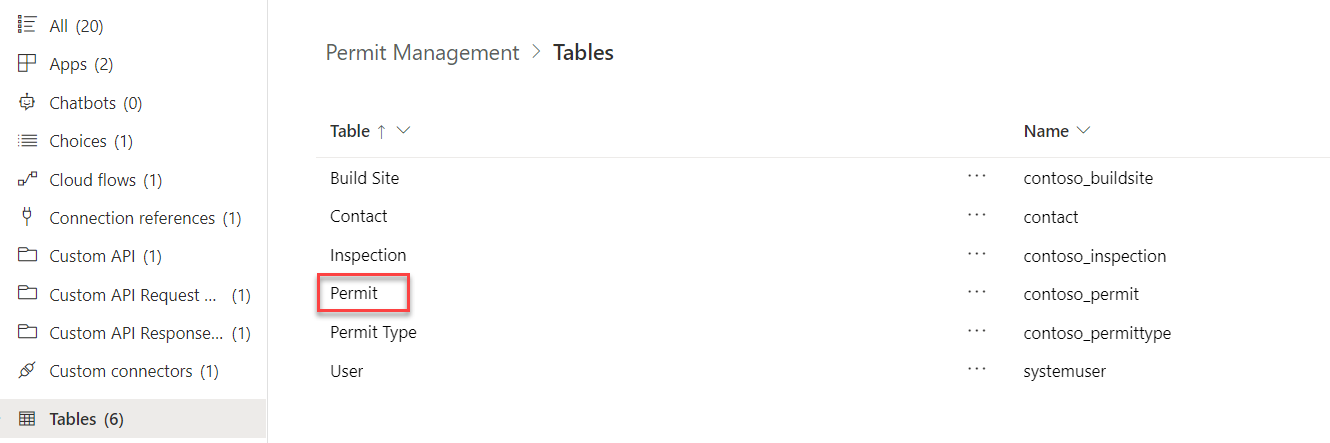
- Select Tables and open the Permit table.
- Select the Forms tab and open the Main form.
-
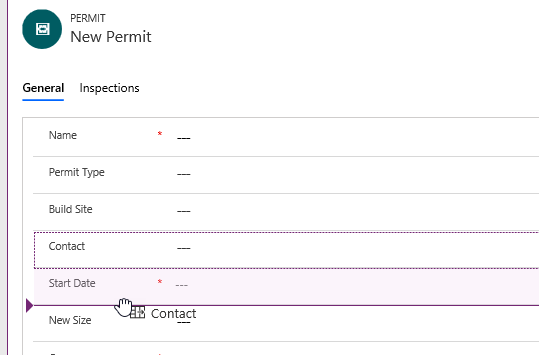
Move the Contact lookup column
- Drag the Contact lookup column and drop it between the Start Date and New Size columns.
-
Select Save.
-
Select Publish and wait for the publishing to complete.
Task #3: Run Build Pipeline
-
Open Permit Management DevOps project
-
Sign in to Azure DevOps
-
Open the Permit Management project
-
-
Run the build pipeline again
- Select Pipelines.
-
Select Permit Management-CI.
-
Select Run Pipeline.
-
Select Run and wait for the run to complete.
-
Open the job after it completes.
- All the tasks should succeed again.
-
Check the Repository for the new changes
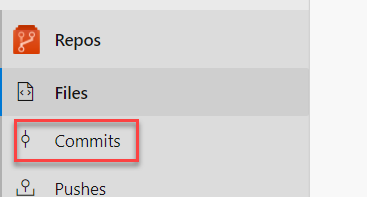
- Select Repos.
- Select Commits.
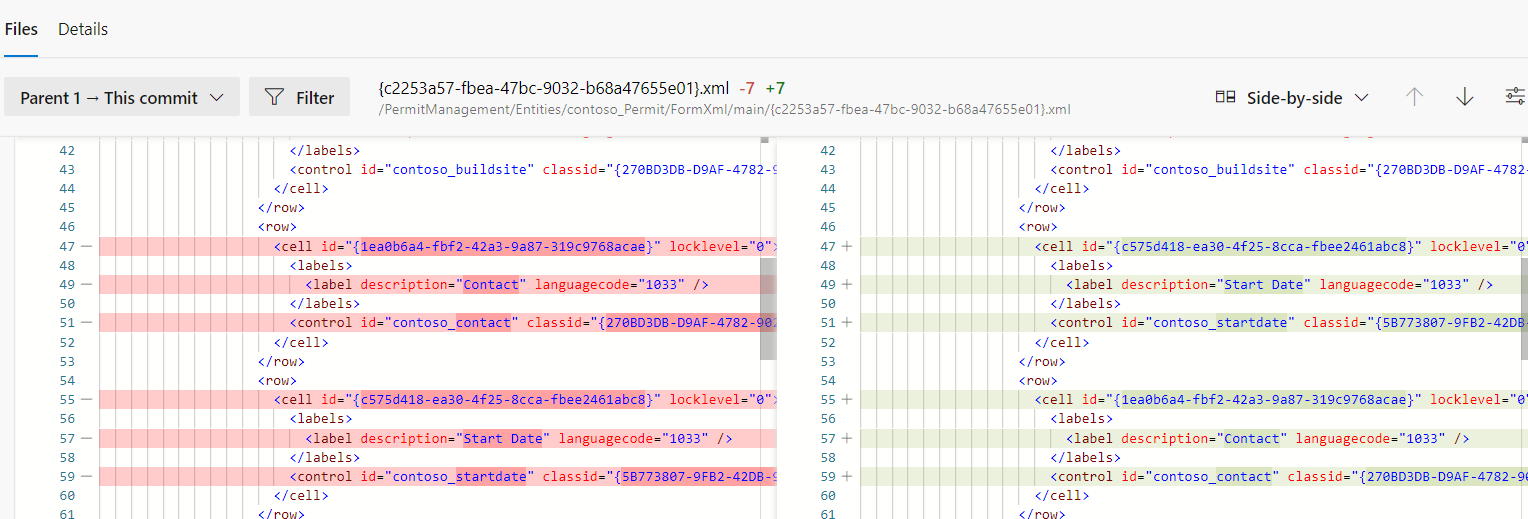
- Open the topmost commit.
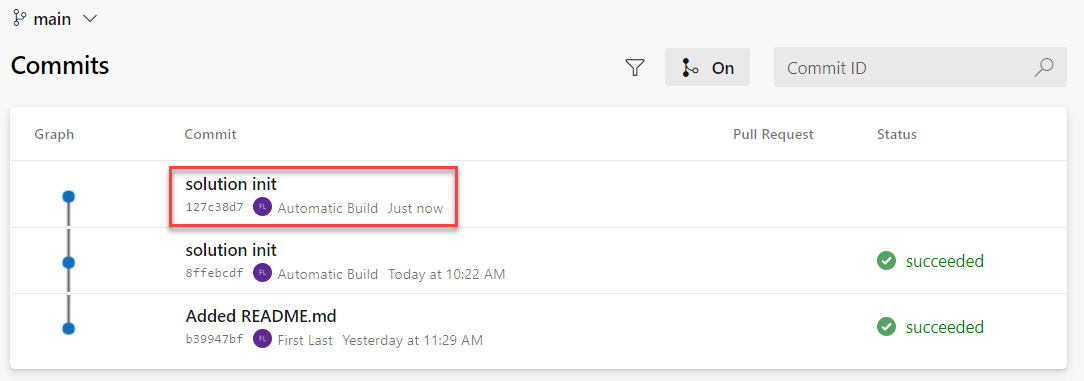
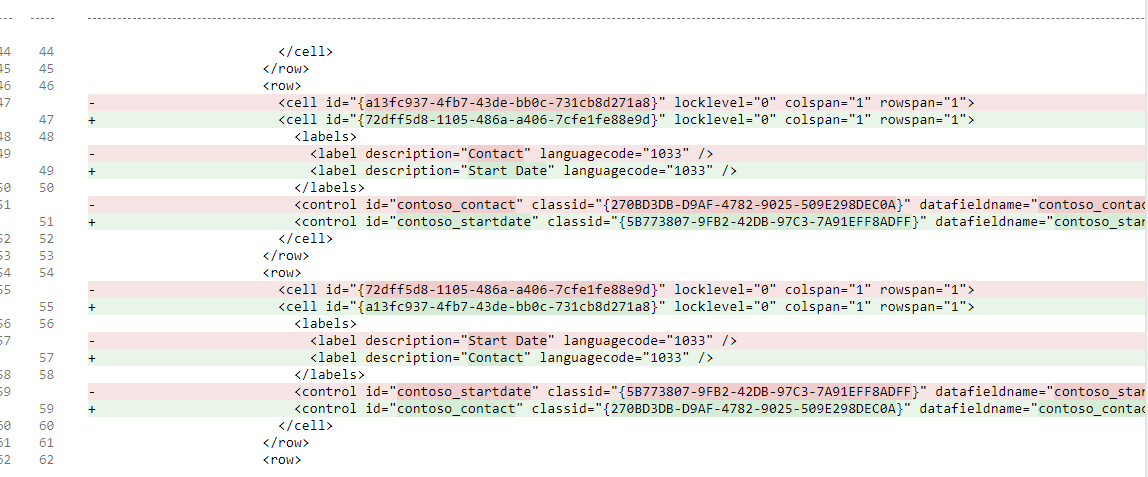
- The changeset should look like the image below.
-
View side-by-side.
- Select View.

- Side-by-side view should load.