Lab 09 – Custom Connector
Scenario
A regional building department issues and tracks permits for new buildings and updates for remodeling of existing buildings. Throughout this course you will build applications and automation to enable the regional building department to manage the permitting process. This will be an end-to-end solution which will help you understand the overall process flow.
In this lab you will build a custom connector that can be used from Power Apps and Power Automate. Custom connectors describe existing APIs and allow them to be used easily. In this lab, you will build an API that has common calculations used by inspectors so that they can be used by applications. After building the API, you will create a custom connector definition to make it available to Power Apps and Power Automate.
The connector could have multiple actions defined on it. However, for our lab we will define a single action Get Required CPM – where CPM stands for Cubic
After building the API and the custom connector you will modify the inspector app. You will use the same connector and invoke an action from Power Automate.
High-level lab steps
As part of configuring the custom connector, you will complete the following
-
Create an Azure function that implements the CPM API
-
Create a custom connector in a solution
-
Configure the security and actions on the custom connector
-
Test the custom connector
-
Configure a Power Apps canvas app to use the connector
-
Configure a Power Automate to use the connector
Things to consider before you begin
-
Is there a standard approved connector already available that can be used?
-
What security will we use in our connector?
-
What are possible triggers and actions of the connector?
-
Are there any API rate limits that could potentially affect the connector?
Exercise #1: Create the Azure Function
Objective: In this exercise, you will create an Azure function app and the function that will calculate the CPM.
Task #1: Create CPM Calculation Function
-
Create the function app
-
Sign in to Azure portal
-
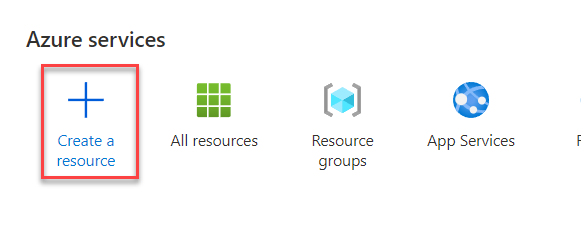
Select Create a Resource.
- Search for Function and select Function App.

-
Select Create.
-
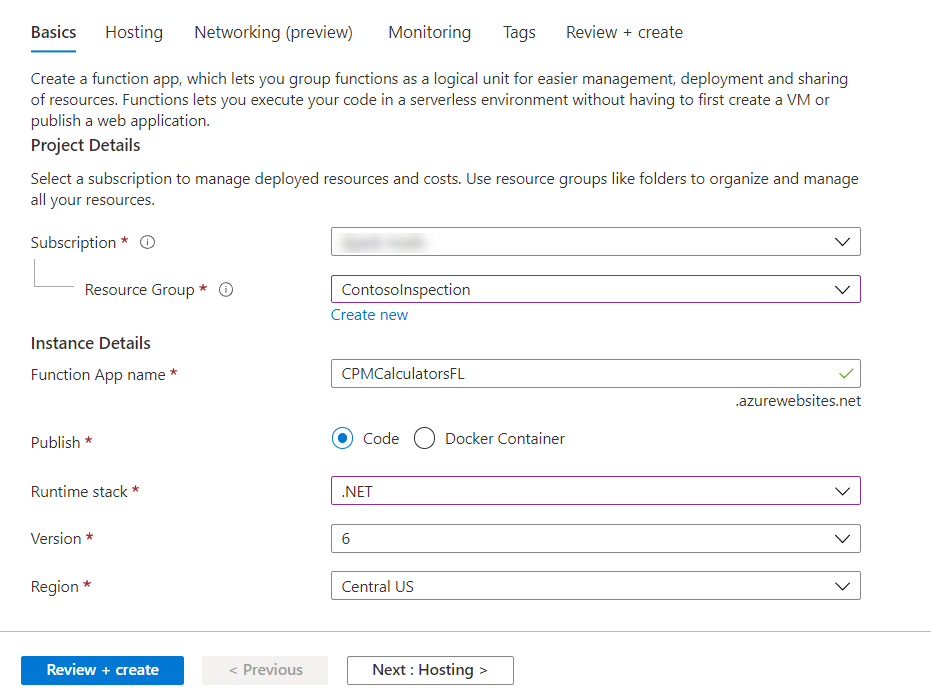
Enter CPMCalculator for App Name. Provide a unique name, if CPMCalculator is not available.
-
Create New Resource Group. You may select an existing Resource Group if you already created one for this course.
-
Select .NET for Runtime Stack, select 6 for Version, select your Region and select Review + Create.
- Select Create. Wait for the function app to be created
-
-
Create function
- Select Go to Resource.
- Select Functions and then select + Create.

- Select HTTP trigger and then select Create.
-
Add the Using Statements and CPMCalcRequest class to the function.
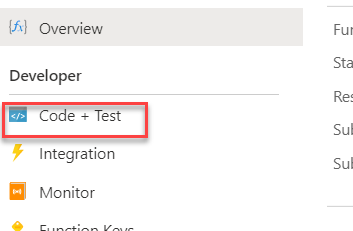
- Select Code + Test.
-
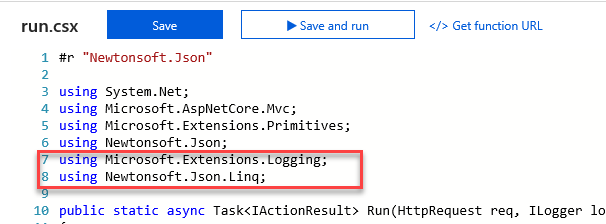
Add the Using Statements below to the function.
  using Microsoft.Extensions.Logging;
  using Newtonsoft.Json.Linq;
-
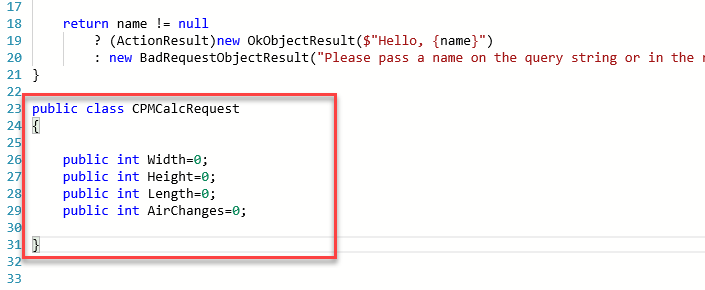
Add the public class below to the function. This will describe the request that will be sent from the applications using the API.
  public class CPMCalcRequest
  {
      public int Width=0;
      public int Height=0;
      public int Length=0;
      public int AirChanges=0;
  }
-
Clean up the Run method
-
Go to the Run method.
-
Remove everything but the log line from the Run method.

-
-
Get the Request body and deserialize it as CPMCalcRequest
-
Get the request Body from the request argument. Add the code below inside the Run method.
string requestBody = await new StreamReader(req.Body).ReadToEndAsync(); -
Deserialize the request body. Add the code below inside the Run method.
CPMCalcRequest calcReq = JsonConvert.DeserializeObject<CPMCalcRequest>(requestBody);

-
-
Calculate the CPM and return it form the Run method
-
Calculate the CPM and log the calculated value. Add the code below inside the Run method.
var cpm = ((calcReq.Width*calcReq.Height*calcReq.Length) * calcReq.AirChanges) / 60; log.LogInformation("CPM " + cpm); -
Return the calculated CPM. Add the code below inside the Run method.
  return (ActionResult)new OkObjectResult(new{
      CPM = cpm
  });

-
-
Select Save to save your changes.
-
Copy the Function URL.
- Select Get Function URL.

- Select Copy.

- Keep the URL you copied on a notepad. You will need this URL while creating the custom connector.
Exercise #2: Create the Custom Connector
Objective: In this exercise, you will create the Custom Connector. This same approach could be used to describe any existing API you create or that has been created by any third party.
Task #1: Create the Custom Connector
-
Open the Permit Management solution
-
Sign in to Power Apps maker portal and make sure you are in the Dev environment.
-
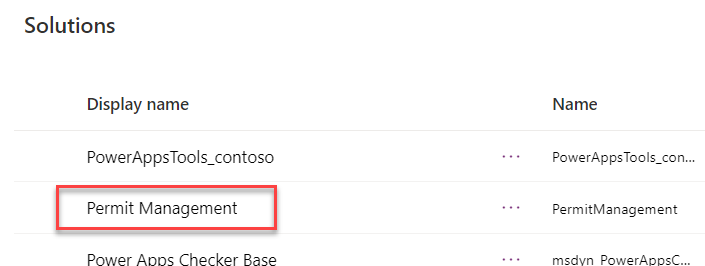
Select Solutions and open the Permit Management solution.
-
-
Create Custom Connector
-
Select + New.
-
Select Automation > Custom Connector.

- Change the Connector Name from Untitled to CPM Calculator.

-
Locate the Host column and paste the Function URL you copied in Exercise 1.
-
Remove https:// and everything after .net.

-
-
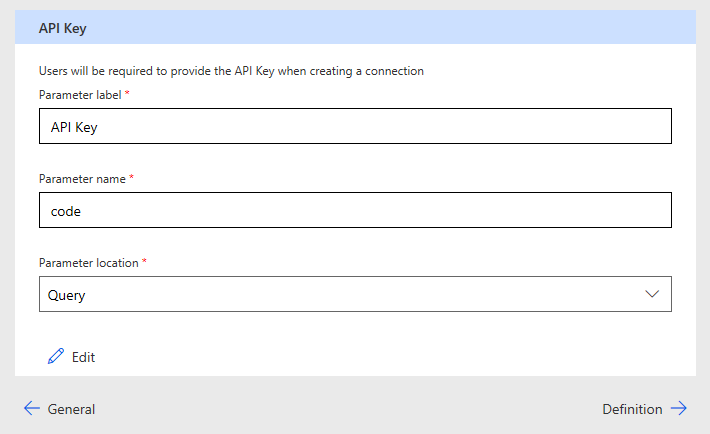
Select API key for security and create the connector
- Advance to Security.

- Select API Key.

- Enter API Key for Parameter Label, code for Parameter Name, and select Query for Parameter Location.
-
Create Connector
- Advance to Definition.

- Select Create Connector and wait for the connector to be created.

-
Create Action
- Select New Action. The action describes each operation that the API has. These can be manually defined like we are doing here or can be imported from Open API or Postman collection files for larger APIs.
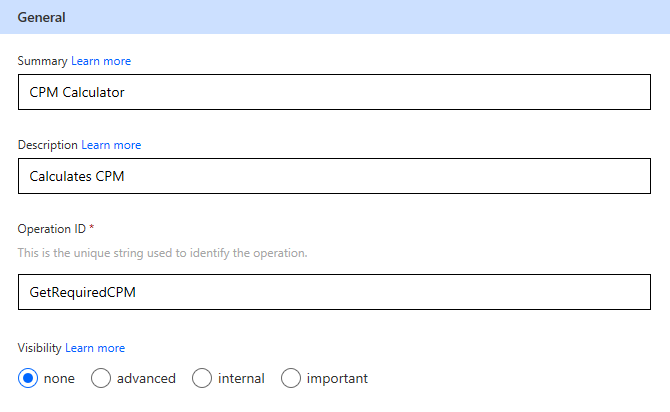
- Enter CPM Calculator for Summary, Calculates CPM for Description, and GetRequiredCPM for Operation ID.
-
Import request from sample
- Select + Import from Sample.

-
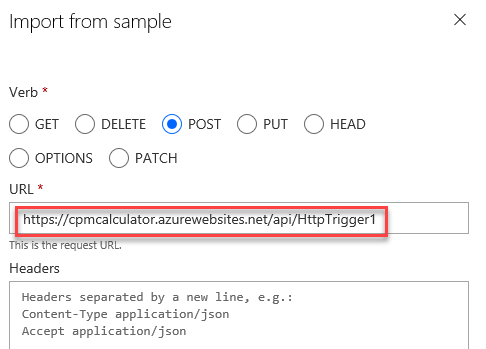
Select Post for Verb.
-
Paste the function URL from your notepad and remove everything after HttpTrigger1.
-
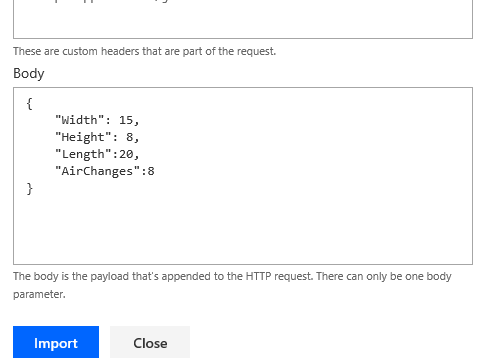
Paste the json below in the Body field and select Import.
  {
      "Width": 15,
      "Height": 8,
      "Length":20,
      "AirChanges":8
  }
-
Add Default response
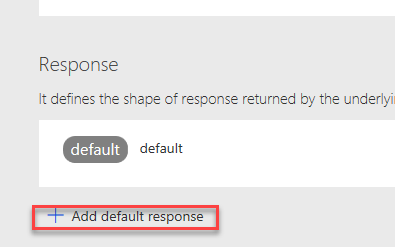
- Scroll down to the Response section and select + Add Default Response.
-
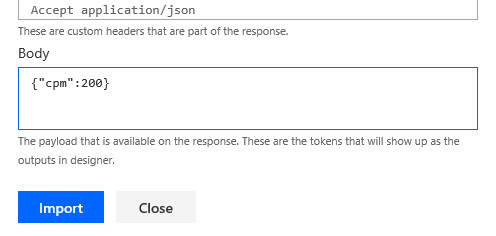
Paste the json below in the Body and select Import.
{"cpm":200}
- Select Update Connector.

-
Test the connector
- Advance to Test.

- Select New Connection. This will open a New window.

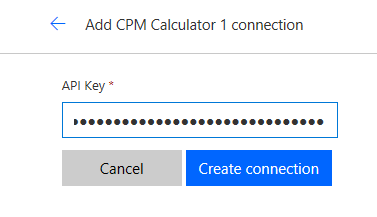
- Go to your notepad and copy only the value of the code.

- Go back to the connector, paste the value you copied, and select Create Connection.
-
Refresh the connections and select the connection you just created.
-
Provide values for Width, Height, Length, and AirChanges.
-
Select Test Operation.
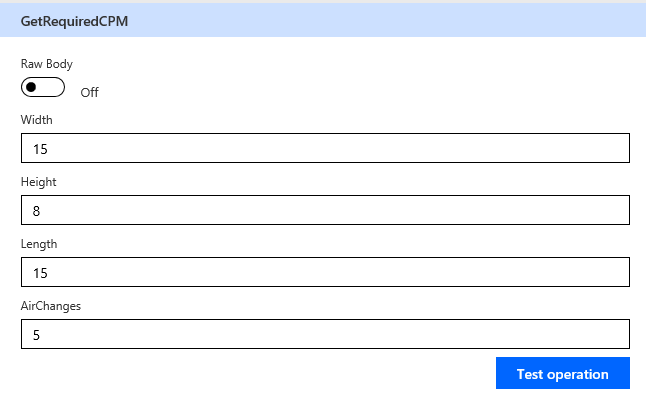
- You should get a CPM value back.
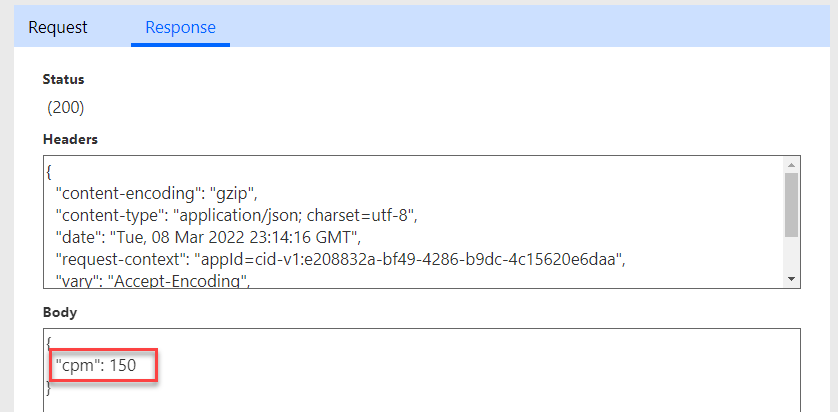
-
Close the window and go back to Solution window and select Done.
-
Select Publish all Customizations and wait for the publishing to complete.
Exercise #3 Test Connector
Objective: In this exercise, you will use the Custom Connector from a Power Apps canvas app and a Power Automate.
Task #1: Test on Canvas App
-
Open the Permit Management solution
-
Sign in to Power Apps maker portal and make sure you are in the Dev environment.
-
Select Solutions.
-
Open the Permit Management solution.
-
-
Open the Inspector canvas application in edit mode
- Select Apps and open the Inspector Canvas app.

-
Add new screen to the application
- Select New Screen and then select Blank.
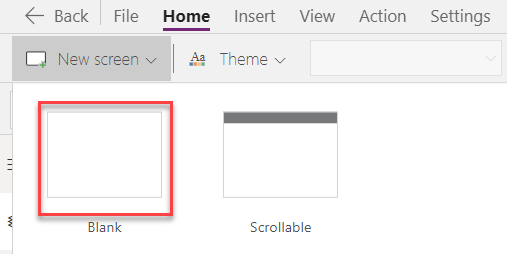
- Rename the screen CPM Calc Screen
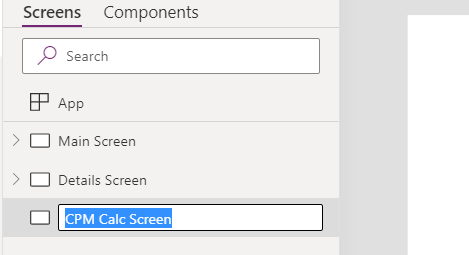
-
Add Input Text to the new screen
-
Select the CPM Calc Screen.
-
Select Insert.
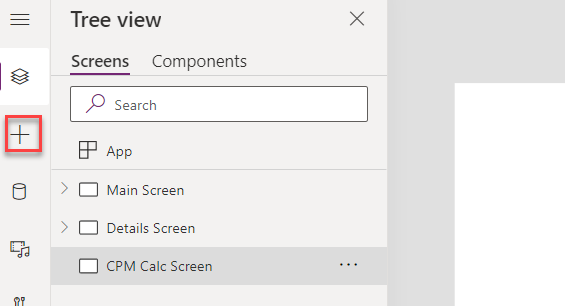
- Select Text Input.
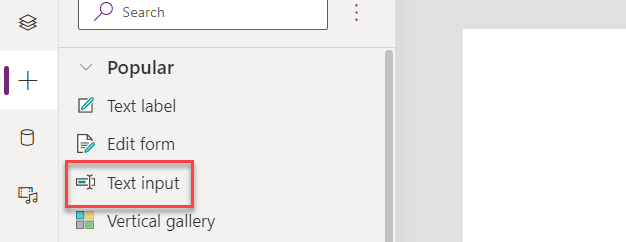
- Select the Tree View.

-
Rename the Text Input Width Text.
-
Remove the Default property of the Width text input.

- Change the HintText property of the Width text input to Provide Width.

- The Width Text input should now look like the image below.

-
-
Add Height, Length, and Air Change Input Text controls
- Copy the Width Text.
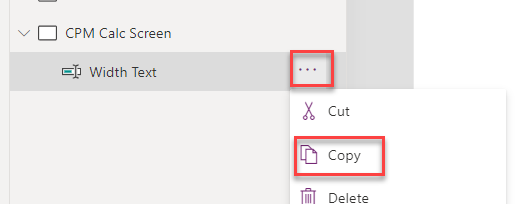
- Paste the text input you copied to the CPM Calc Screen.

-
Paste the text input you copied to the CPM Calc Screen two more times.
-
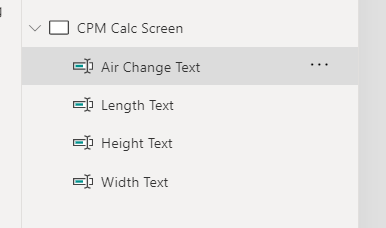
The CPMCalcScreen should now have total of four text inputs.
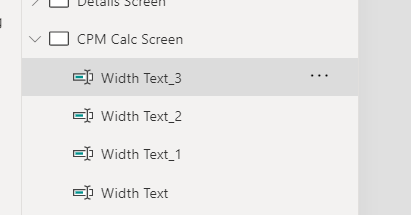
- Rename the input text controls Height Text, Length Text, and Air Change Text.
-
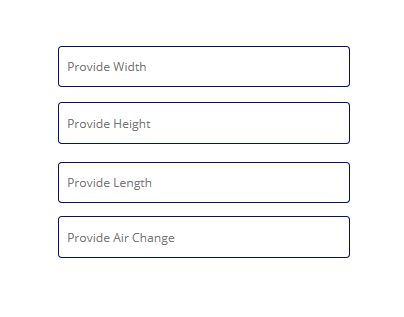
Change the HintText for the three text inputs you renamed to Provide Height, Provide Length, and Provide Air Change, respectively.
-
Resize and reposition the text inputs as shown in the image below.
-
Add button
- Go to the Insert tab and select Button.

-
Rename the Button Calculate Button.
-
Change the Calculate Button Text value to Submit.
-
Resize and reposition the button as shown in the image below.

-
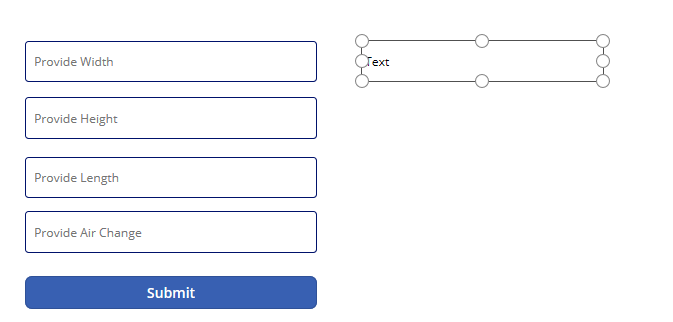
Add the result label to the screen
-
Go to the Insert tab and select Label.
-
Rename the Label Result Label.
-
Place the label to the right of the text inputs.
-
-
Add the Custom Connector to the application.
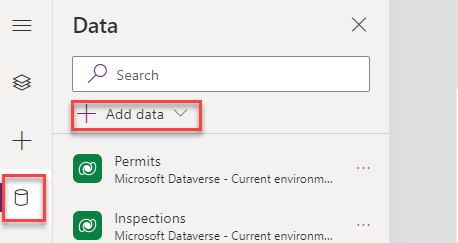
- Select the Data tab and then select + Add data.
-
Expand Connectors.
-
Select the CPM Connector.
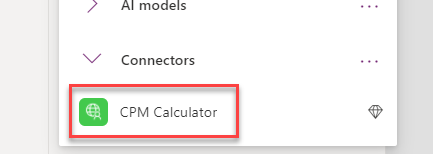
-
Select CPM Calculator again.
-
The CPM Calculator should now be listed in the In your App section.
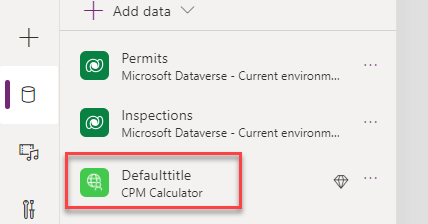
-
Get the calculated value when the button is selected
-
Select the Calculate Button.
-
Set the OnSelect value of the Calculate Button to the formula below.
Set(CalculatedValue, Concatenate("Calculated CPM ", Text(Defaulttitle.GetRequiredCPM({Width: 'Width Text'.Text, Height: 'Height Text'.Text, Length: 'Length Text'.Text, AirChanges: 'Air Change Text'.Text}).cpm)))
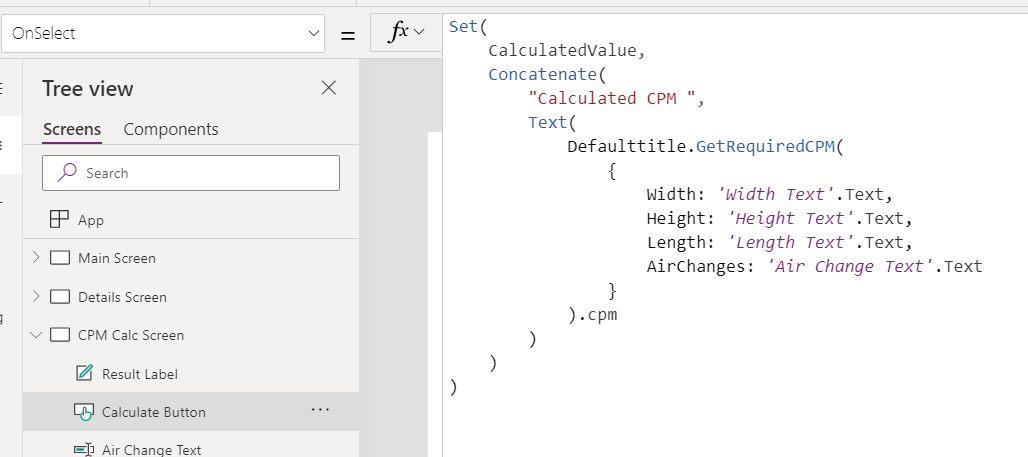
- Select the Result Label and set the Text value to the CalculatedValue variable.

-
-
Add navigation button to the Main screen
-
Select the Main Screen.
-
Go to the Insert tab and select Button.
-
Rename the Button CPM Button.
-
Change the CPM Button Text value to CPM Calculator.
-
Place the button on the bottom right of the Main Screen.
-
-
Steps to navigate to the CPM Calc Screens
-
Select the CPM Calculator.
-
Set the OnSelect value of the CPM Calculator to the formula below.
Set(CalculatedValue, ""); Navigate('CPM Calc Screen', ScreenTransition.None)

-
-
Run the Application
- Select the Main Screen and select Preview the App.

-
Select on CPM Calculator button.
-
The CPM Calculator screen should load.
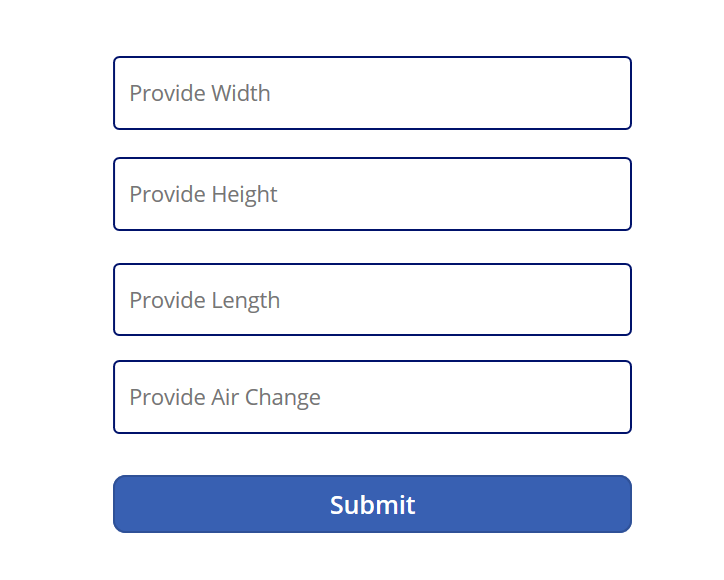
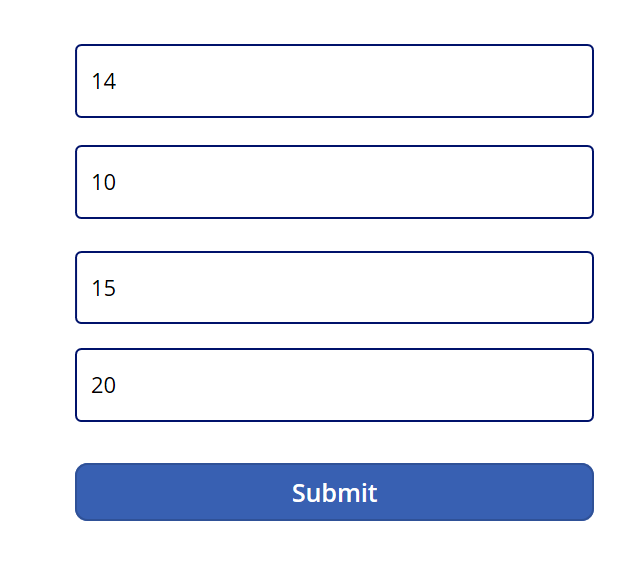
- Provide values and then select Submit. You can notice the loading dots on top of the screen, which confirms that the request has been initiated.
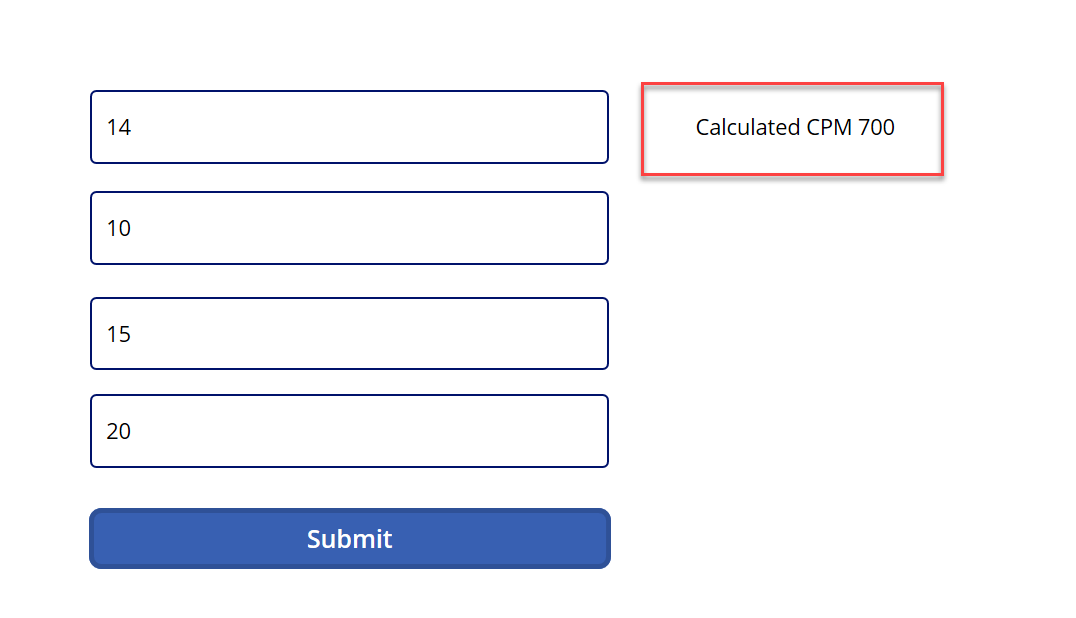
- The Result Label should show the calculated result from the Custom Connector.
-
Close the Preview.
-
Select File and then select Save.
-
Publish the changes.
-
Select Close.
Task #2: Test on Flow
-
Open the Permit Management solution
-
Sign in to Power Apps maker portal and make sure you are in the Dev environment.
-
Select Solutions.
-
Open the Permit Management solution.
-
-
Create flow and add trigger.
-
Select + New.
-
Select **Automation Cloud flow Instant**.

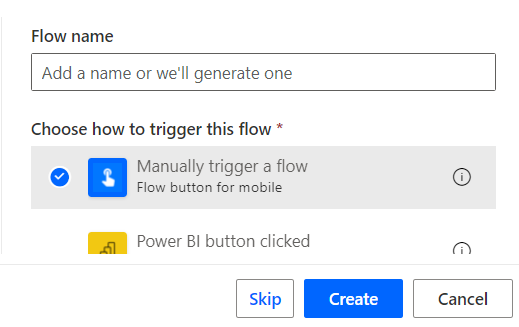
- Select Manually Trigger Flow and then select Create.
-
-
Add a step that will use the Custom Connector
- Select + New Step.

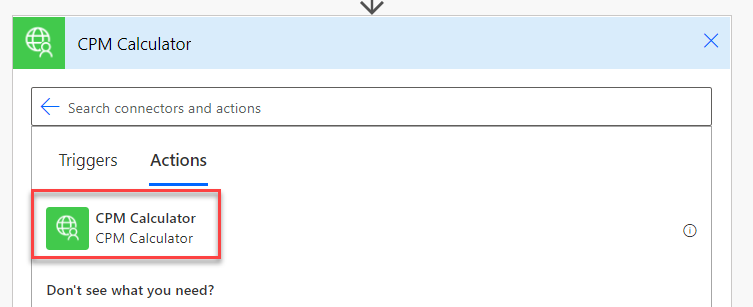
- Select the Custom tab and then select CPM Calculator.
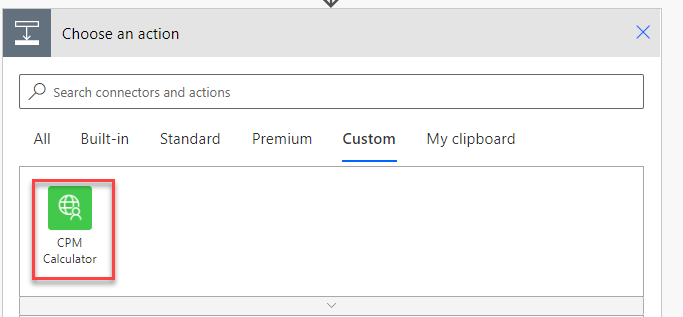
- Select CPM Calculator action.
-
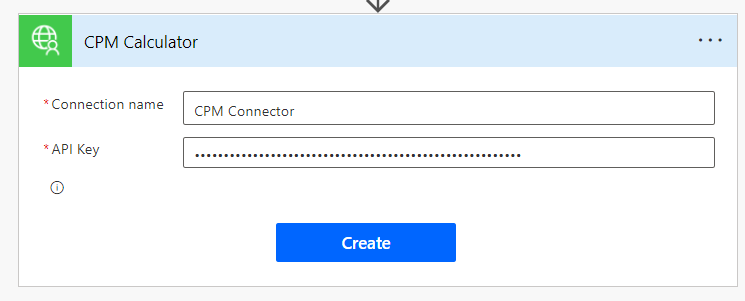
Enter CPM Connector for Connection name.
-
Copy the key form the notepad and paste it on the API Key field.
-
Select Create.
-
Provide values and save
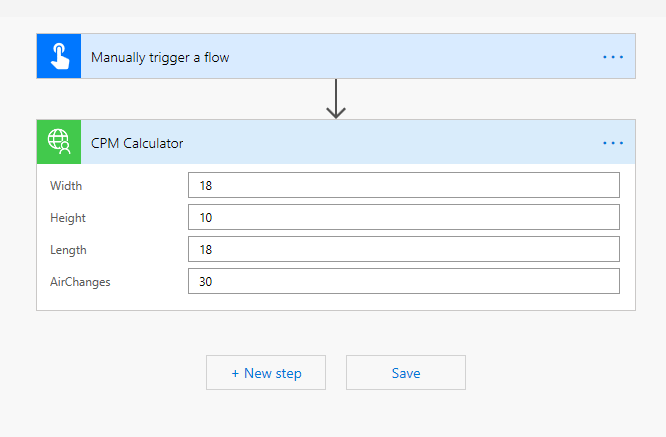
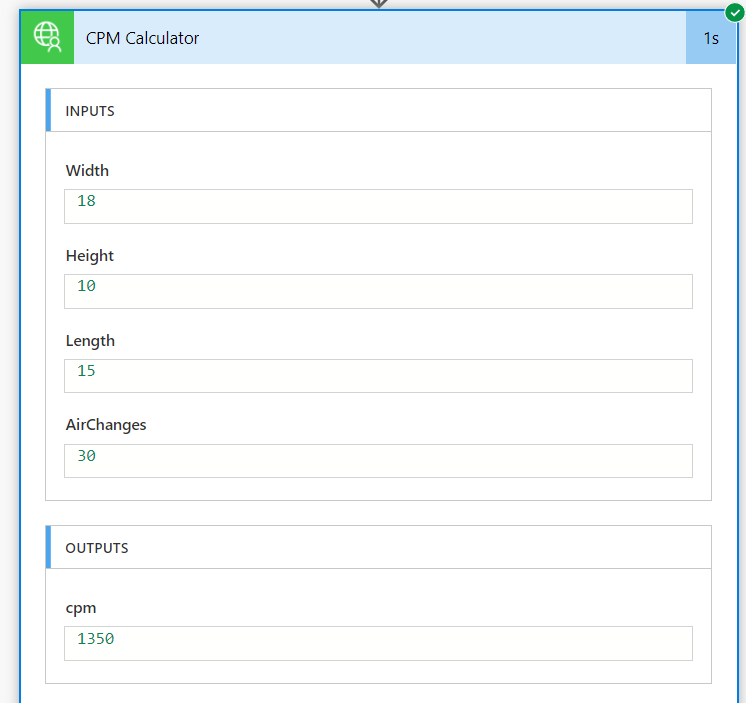
- Enter 18 for Width, 10 for Height, 18 for Length, 30 for AirChanges, and select Save.
-
Test the flow
- Select Test.

-
Select Manually and then selectTest.
-
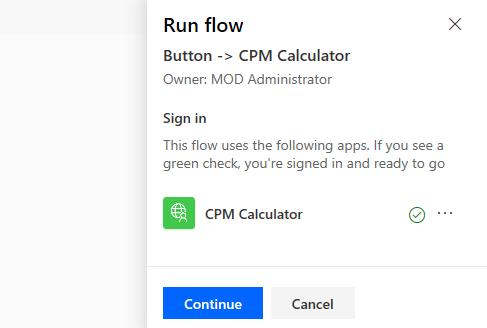
Select Continue.
-
Select Run Flow.
-
Select Done. The flow should run successfully. In the flow run history, expand the CPM Calculator action.

- You should be able to see the calculated result from the custom connector in the output of the action.
- Select the <- back button

-
Select Publish all Customizations.
-
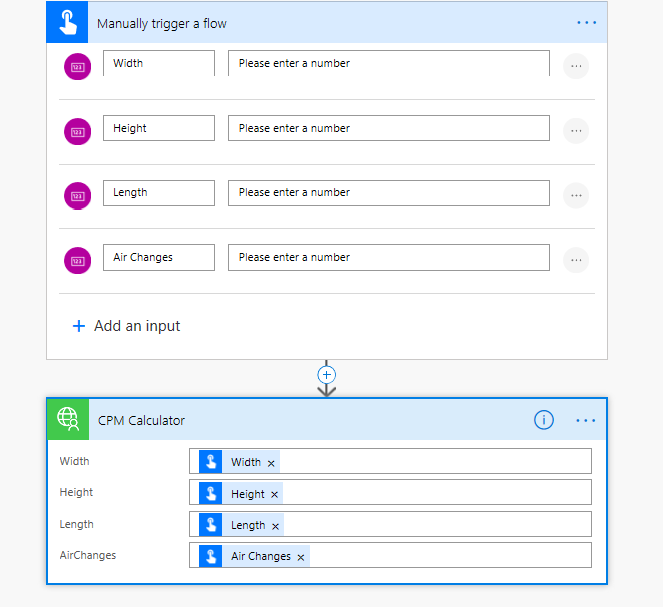
If you finish early, try adding input values to the Manual Button trigger for the room dimensions and use those to call the custom connector. You could also use the notification connector to send the user the required CPM. Finally, if you want to test this in a real device install the Power Automate mobile application.
