Lab 08 – Publishing Events Externally
Scenario
A regional building department issues and tracks permits for new buildings and updates for remodeling of existing buildings. Throughout this course you will build applications and automation to enable the regional building department to manage the permitting process. This will be an end-to-end solution which will help you understand the overall process flow.
In this lab you will use the event publishing capability of Microsoft Dataverse. When a permit results in changing the size of the build site, an external taxing authority needs to be notified so they can evaluate if additional taxing is required. You will configure Microsoft Dataverse to publish permits with size changes using the Webhook. To simulate the taxing authority receiving the information you will create a simple Azure function to receive the post.
High-level lab steps
As part of configuring the event publishing, you will complete the following:
-
Create an Azure Function to receive the Webhook post
-
Configure Microsoft Dataverse to publish events using a Webhook
-
Test publishing of events
Things to consider before you begin
-
Do we know what events will trigger our Webhook?
-
Could what we are doing with the Webhook, be done using Power Automate?
-
Remember to continue working in your DEVELOPMENT environment. We’ll move everything to production soon.
Exercise #1: Create an Azure Function
Objective: In this exercise, you will create an Azure Function that will be the endpoint to accept and log incoming web requests.
Task #1: Create Azure Function App
-
Create new function application
-
Sign in to Azure portal and login.
-
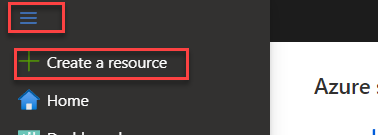
Select Show portal menu and then select + Create a resource.
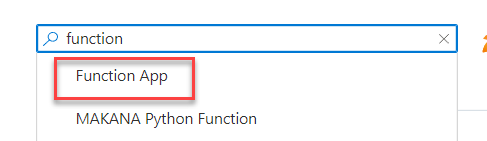
- Search for Function App and select it.
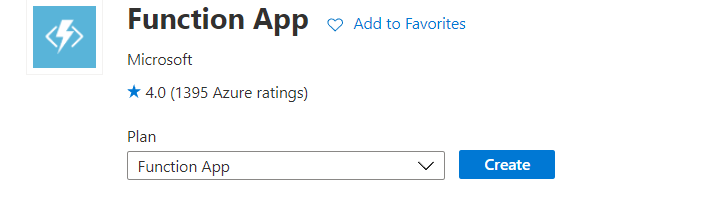
- Select Create.
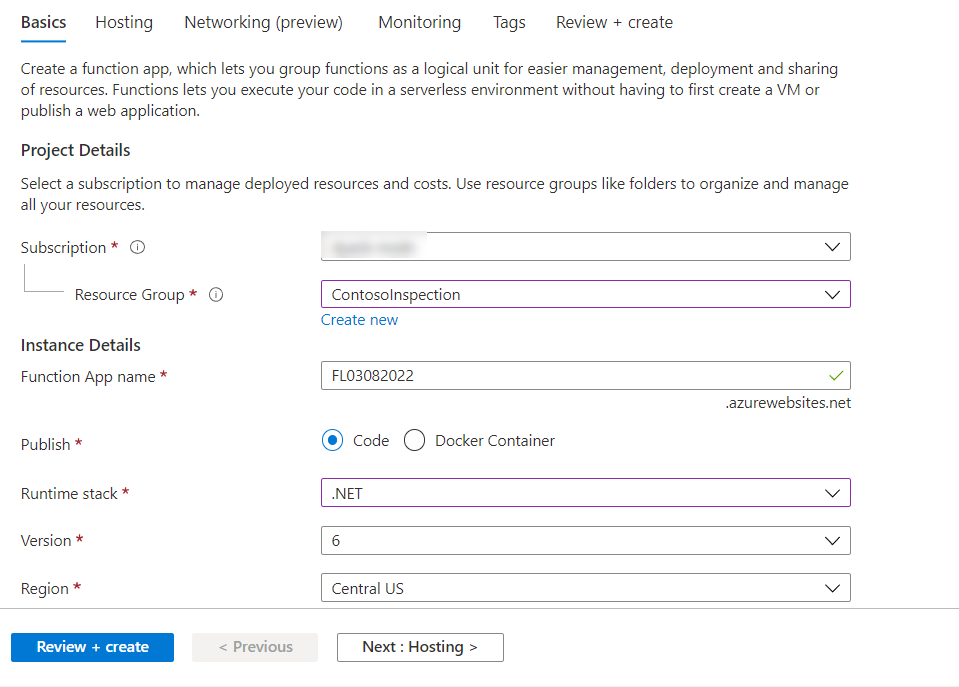
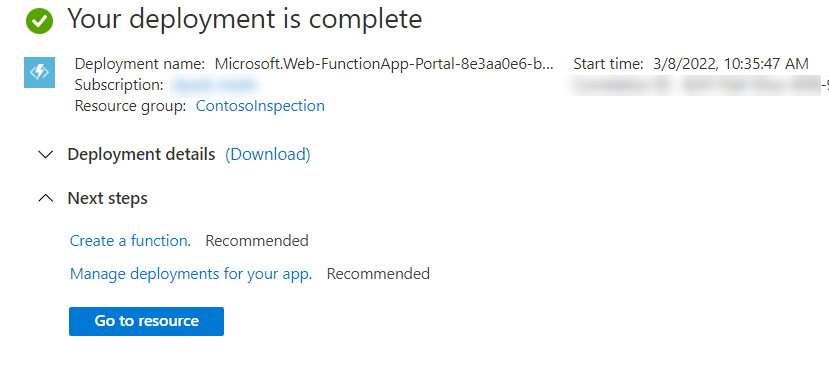
- Enter your initials plus today’s date for App Name, select your Subscription, select Create New for Resource Group, select .NET for Runtime Stack, 6 for Version, select location in the same region as Microsoft Dataverse, and then select Review + Create.
- Select Create and wait for the deployment to complete.
-
Task #2: Create an Azure Function
-
Create a new function
- Select Go to resource.
- Select Functions and then select + Create.
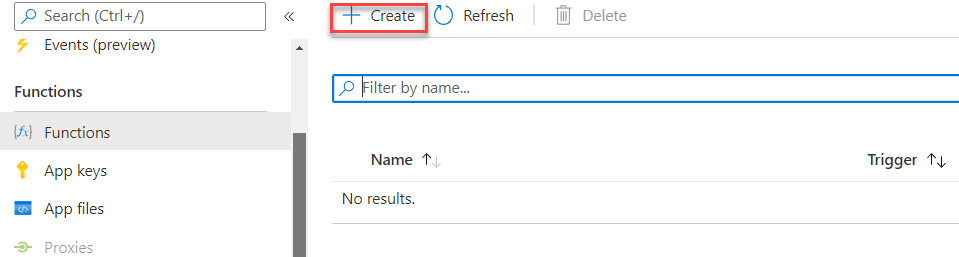
- Select HTTP trigger for template and then select Create.

-
Test the function
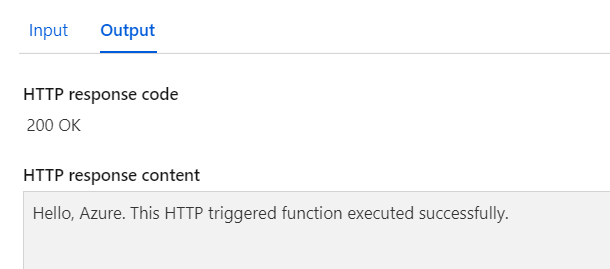
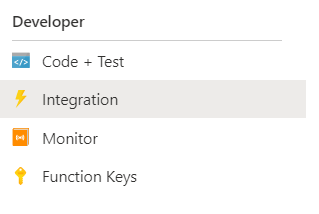
- Select Code + Test.

- Select Test/Run.

-
Select Run.
-
You should see Hello, Azure in the output.
- Close the test pane.
-
Edit the function
-
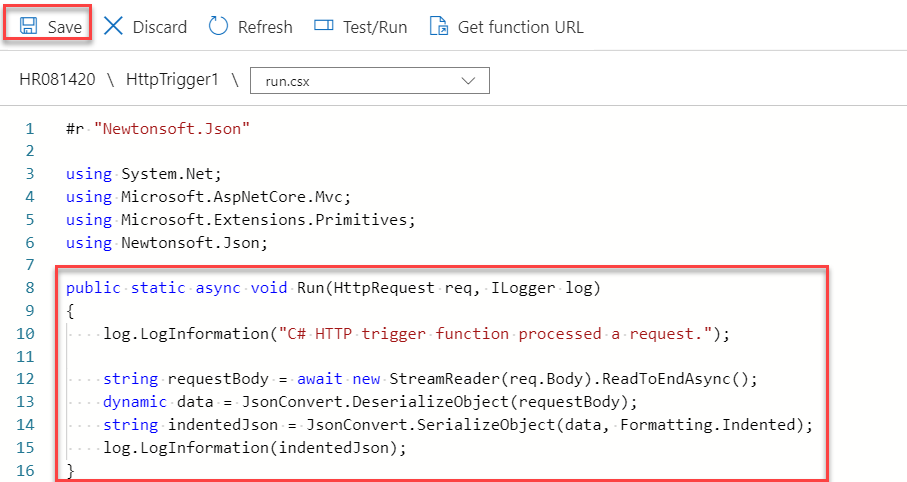
Replace the Run method with the method below.
public static async void Run(HttpRequest req, ILogger log) { log.LogInformation("C# HTTP trigger function processed a request."); string requestBody = await new StreamReader(req.Body).ReadToEndAsync(); dynamic data = JsonConvert.DeserializeObject(requestBody); string indentedJson = JsonConvert.SerializeObject(data, Formatting.Indented); log.LogInformation(indentedJson); } -
Save your changes.
-
-
Remove HTTP output
- Select Integration.
- Select the HTTP Output.

- Select Delete.
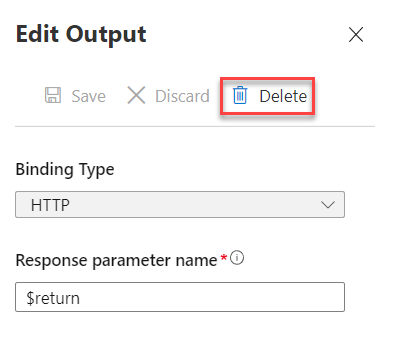
- Select OK.
-
Get the function URL
- Select Overview and then select Get Function URL.

- Select Copy and then select OK to close the popup.

- Save the URL, you will need it in the next exercise.
Exercise #2: Configure Webhook
Task #1: Configure publishing to a Webhook
-
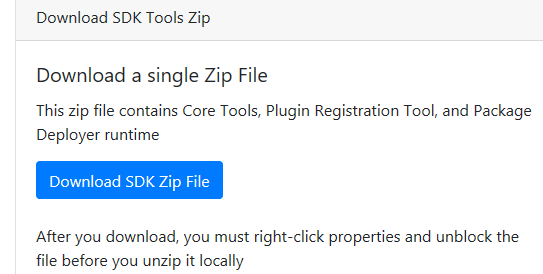
Download the SDK Toolkit. If you already have the Plugin Registration tool from the previous lab you can proceed to step three of this task.
-
Navigate to https://xrm.tools/SDK
-
Select Download SDK Zip File.
-
Save the zip file on your machine.
-
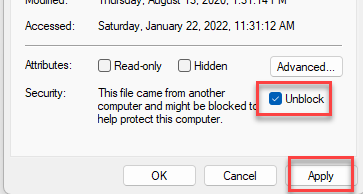
Right click on the downloaded sdk.zip file and select Properties.
-
Check the Unblock checkbox and then select Apply.
-
Select OK.
-
Right click on the sdk.zip file again and select Extract All.
-
Complete extracting.
-
-
Start the Plugin Registration Tool
- Open the sdk folder you extracted and open the PluginRegistration folder.
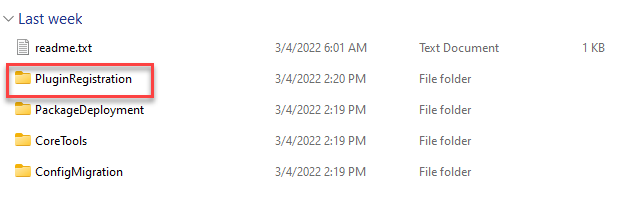
- Locate and double click PluginRegistration.exe.

-
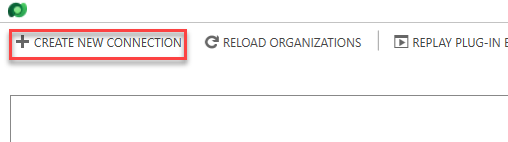
Create new connection
- Select Create New Connection.
-
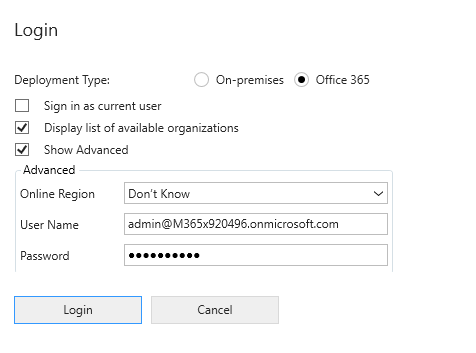
Select Office 365 and check the Display List of available organization and Show Advanced checkboxes. Select Online Region where your organization is located. If you are unsure what region to select, select Don’t Know.
-
Provide your Microsoft Dataverse credentials and Login.
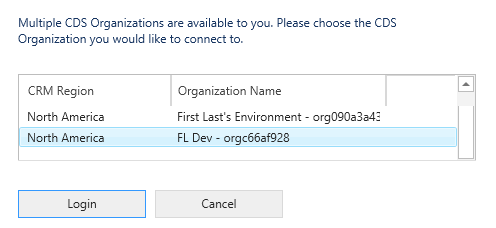
- Select the Dev environment and then select Login.
-
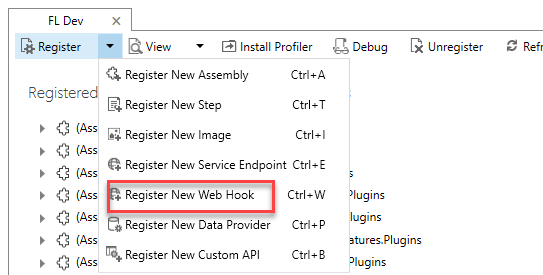
Register new Webhook
- Select Register and then select Register New Webhook.
-
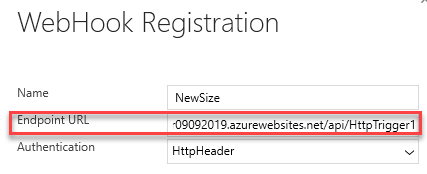
Enter NewSize for Name.
-
Go to the notepad where you saved the function URL and copy everything before the ‘?’.

- Go back to the Plugin Registration tool and paste the URL you copied in the Endpoint URL field.
-
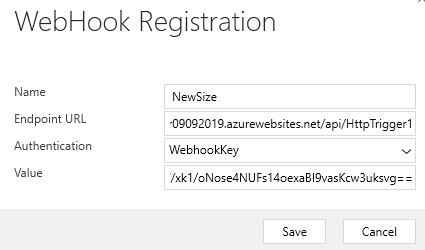
Select WebhookKey for Authentication.
-
Go back to the notepad and copy the key.

- Go back to the Plugin Registration tool, paste the key you copied in the Value field and select Save.
-
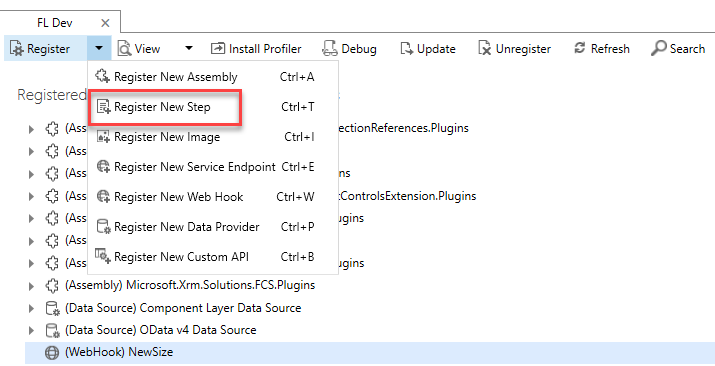
Register new step
- Select the Webhook you registered, select Register and then select Register New Step.
- Select Update Message, contoso_permit for Primary Entity, and select Filtering Attributes.
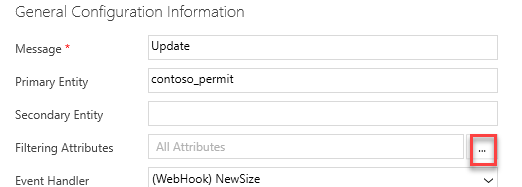
- Select only New Size and then select OK.

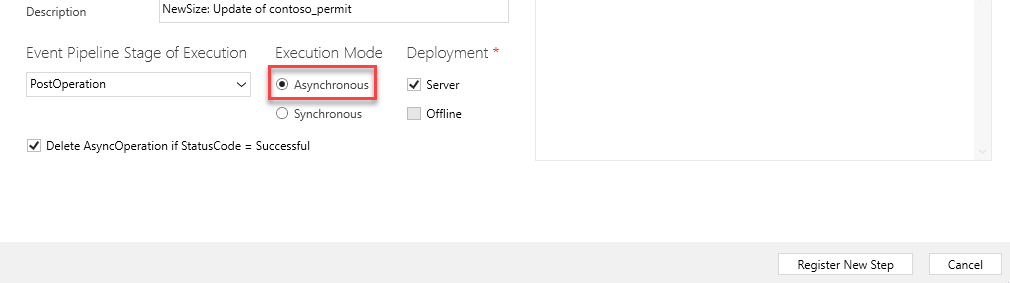
- Select Asynchronous for Execution Mode and then select Register New Step.
Task #2: Test the Webhook
-
Start the Permit Management application
-
Sign in to Power Apps maker portal and make sure you have the Dev environment selected.
-
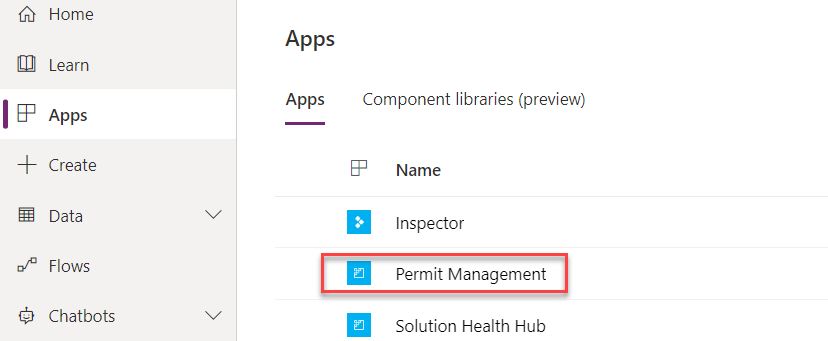
Select Apps and launch the Permit Management application.
-
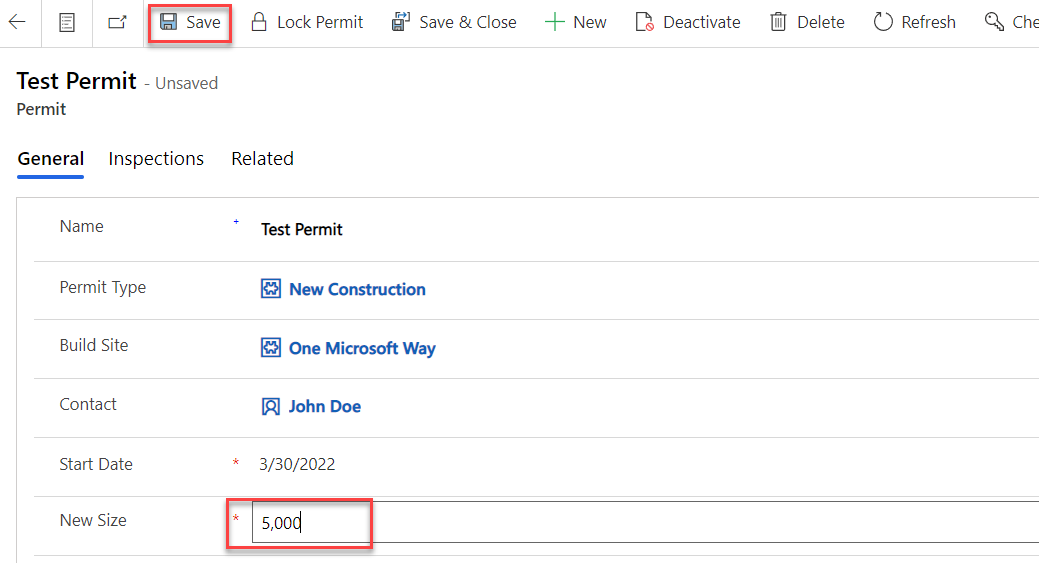
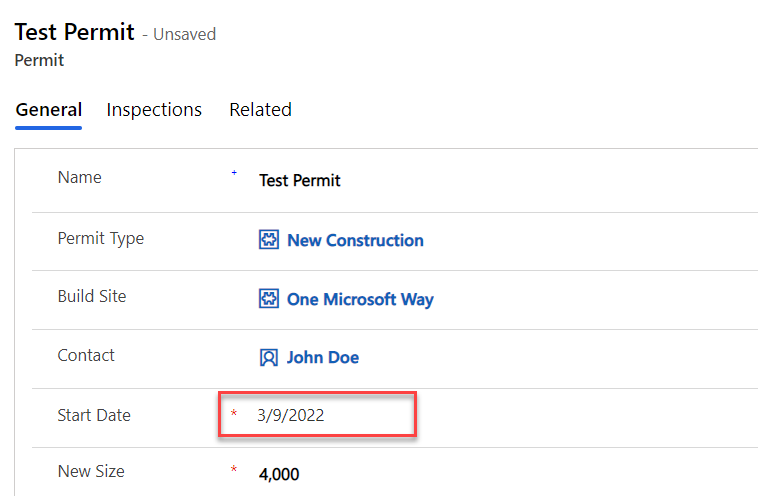
Select Permits and open one of the permit records. Create new if you don’t have a Permit record.
-
Change the New Size to 5000 and Save.
-
-
Check Azure Output
-
Go back to your Azure Function.
-
Select Code + Test.
-
Show Logs.
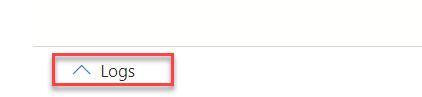
- You should see logs like the image below. The Output is a serialized RemoteExecutionContextobject object

-
Hint: If the log is not showing in the console (sometimes this happens), select Monitor on the left and check execution log. Select entry, details will be on the right (this could be delayed up to a few minutes).
-
Confirm the function executes only when the New Size value changes
-
Go back to the Permit Management application.
-
Change the Start Date to tomorrow’s date and select Save.
-
Go back to the Azure Function and make sure the function did not execute.
Task #3: Configure an entity image
This step allows you to avoid unnecessarily querying Microsoft Dataverse and make a request only when you need information from the primary table. It can also be used to get the prior value of a column before an update operation.
-
Register New Image
-
Go back to the Plugin Registration tool.
-
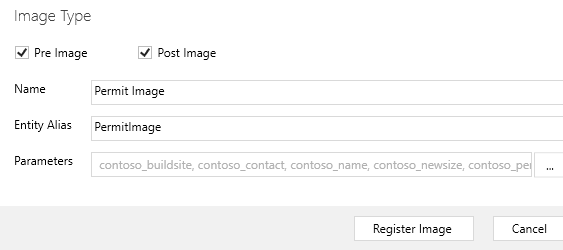
Select the NewSize step you created, select Register and then select Register New Image.
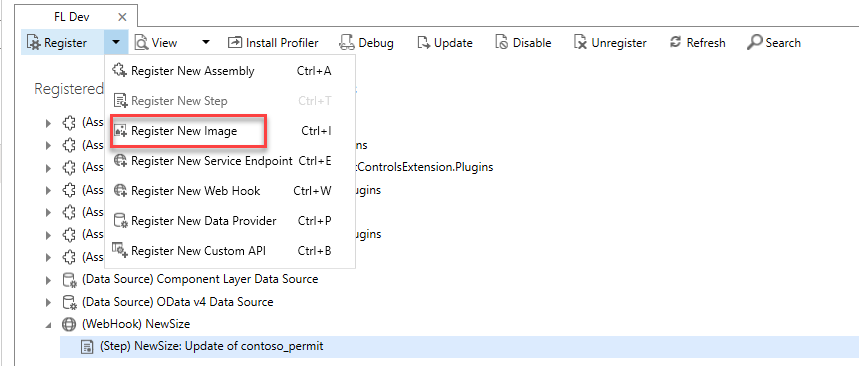
-
Check both Pre and Post images checkboxes.
-
Enter Permit Image for Name, PermitImage for Entity Alias, and then select the Parameters button.
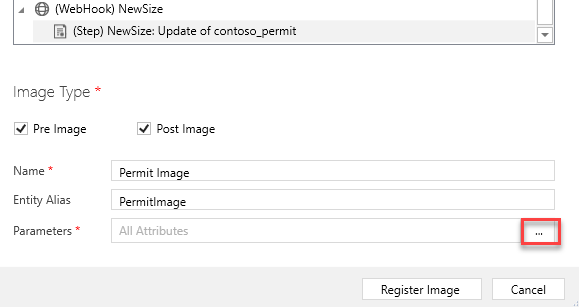
- Select Build Site, Contact, Name, New Size, Permit Type, and Start Date, and then select OK.
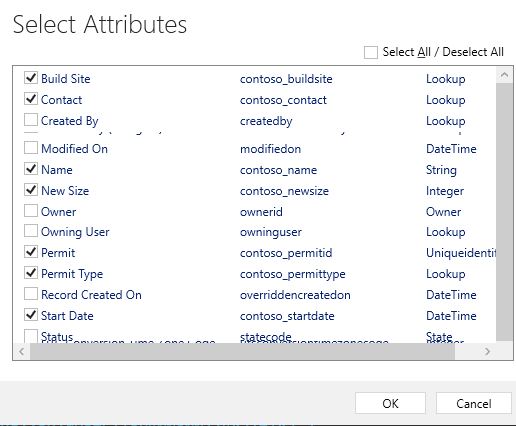
- Select Register Image.
-
-
Clear Azure log
-
Go back to the Azure Function.
-
Select Clear logs.

-
-
Update Permit record
-
Go to the Permit Management application.
-
Select Permits and open one of the Permit records.
-
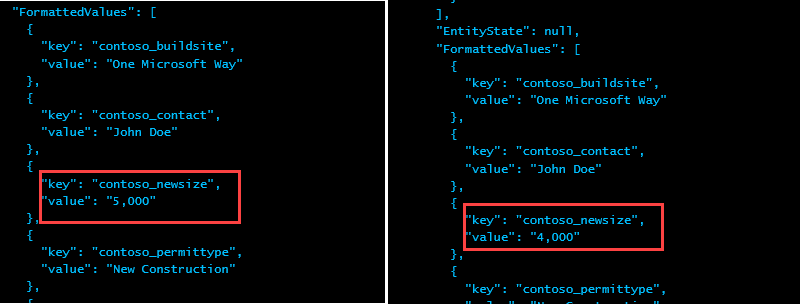
Change the New Size to 4000 and select Save
-
-
Check Azure logs
-
Go back to the Azure Function.
-
Maximize the log pane.

- The logs should now show both Pre and Post entity images. In this case you should see the old value 5000 in Pre image and the new value 4000 in the Post image
-
Note: Technically, we have the data in the target object already. However, if there are plugins modifying the data, PostImage will contain the copy as recorded in Microsoft Dataverse while Target contains the data was submitted on Save. In addition to that, preimage contains data before the save operation took place.