Lab 03 – Canvas app
Scenario
A regional building department issues and tracks permits for new buildings and updates for remodeling of existing buildings. Throughout this course you will build applications and automation to enable the regional building department to manage the permitting process. This will be an end-to-end solution which will help you understand the overall process flow.
As we continue to build our solution, we will now design a Power Apps canvas app that the inspectors will use in the field on their mobile devices. Canvas apps are low code apps that can be designed for a tablet or mobile phone layouts. You will build a two-screen canvas app that allows inspectors quickly access and process the inspections.
High-level lab steps
We will follow the below basic steps to design the canvas app:
-
Create the app using the tablet form factor.
-
Connect to Microsoft Dataverse as a data source.
-
Configure a gallery control to show the pending inspections.
-
Use a Microsoft Dataverse view to populate the gallery.
-
Configure a detail page with inspection info.
-
Handle saving the inspection results to Microsoft Dataverse.
-
Export the solution with the data model and apps and import it to the “Production” environment.
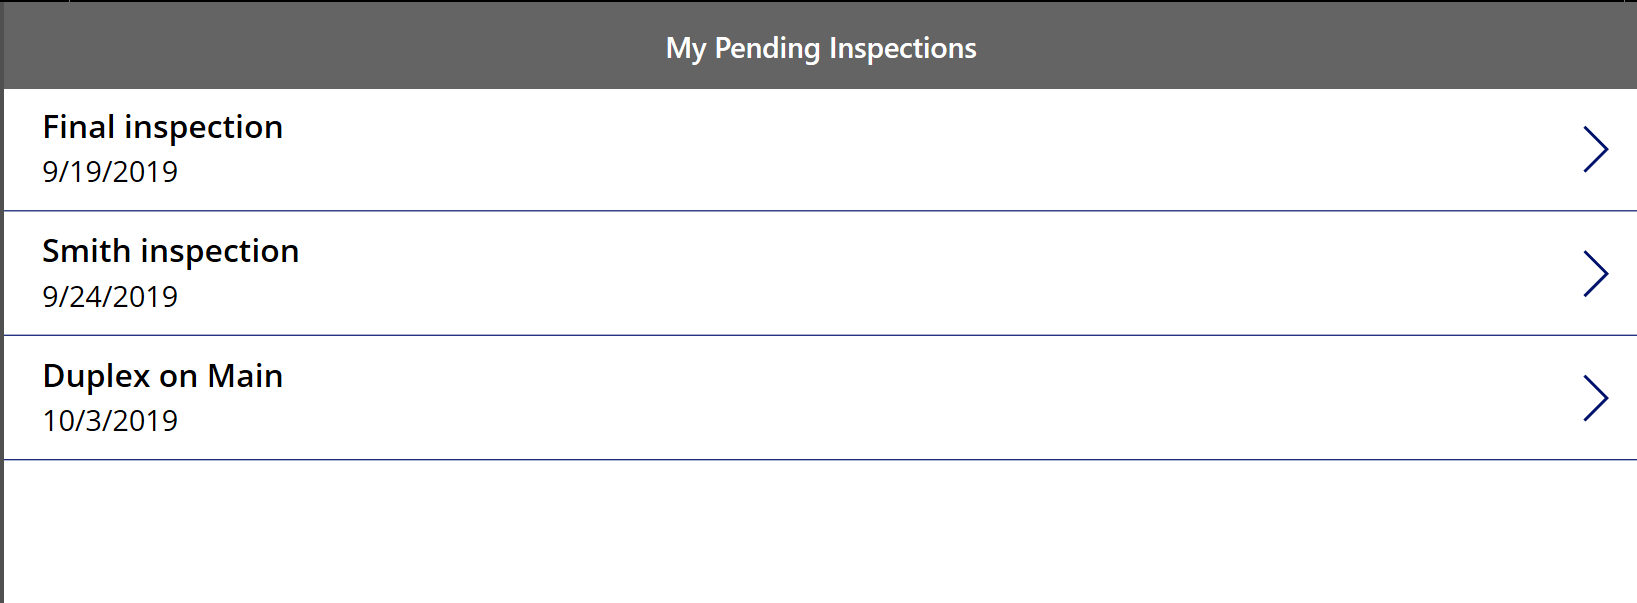
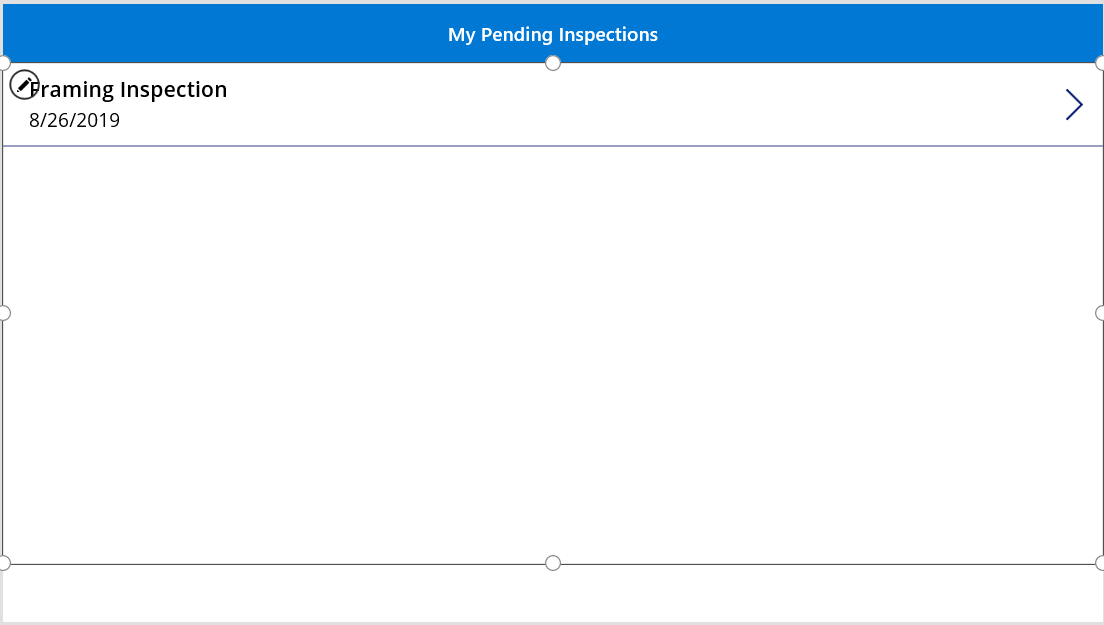
This is the first screen of the application, it will show all Pending Inspections for the logged in Inspector.
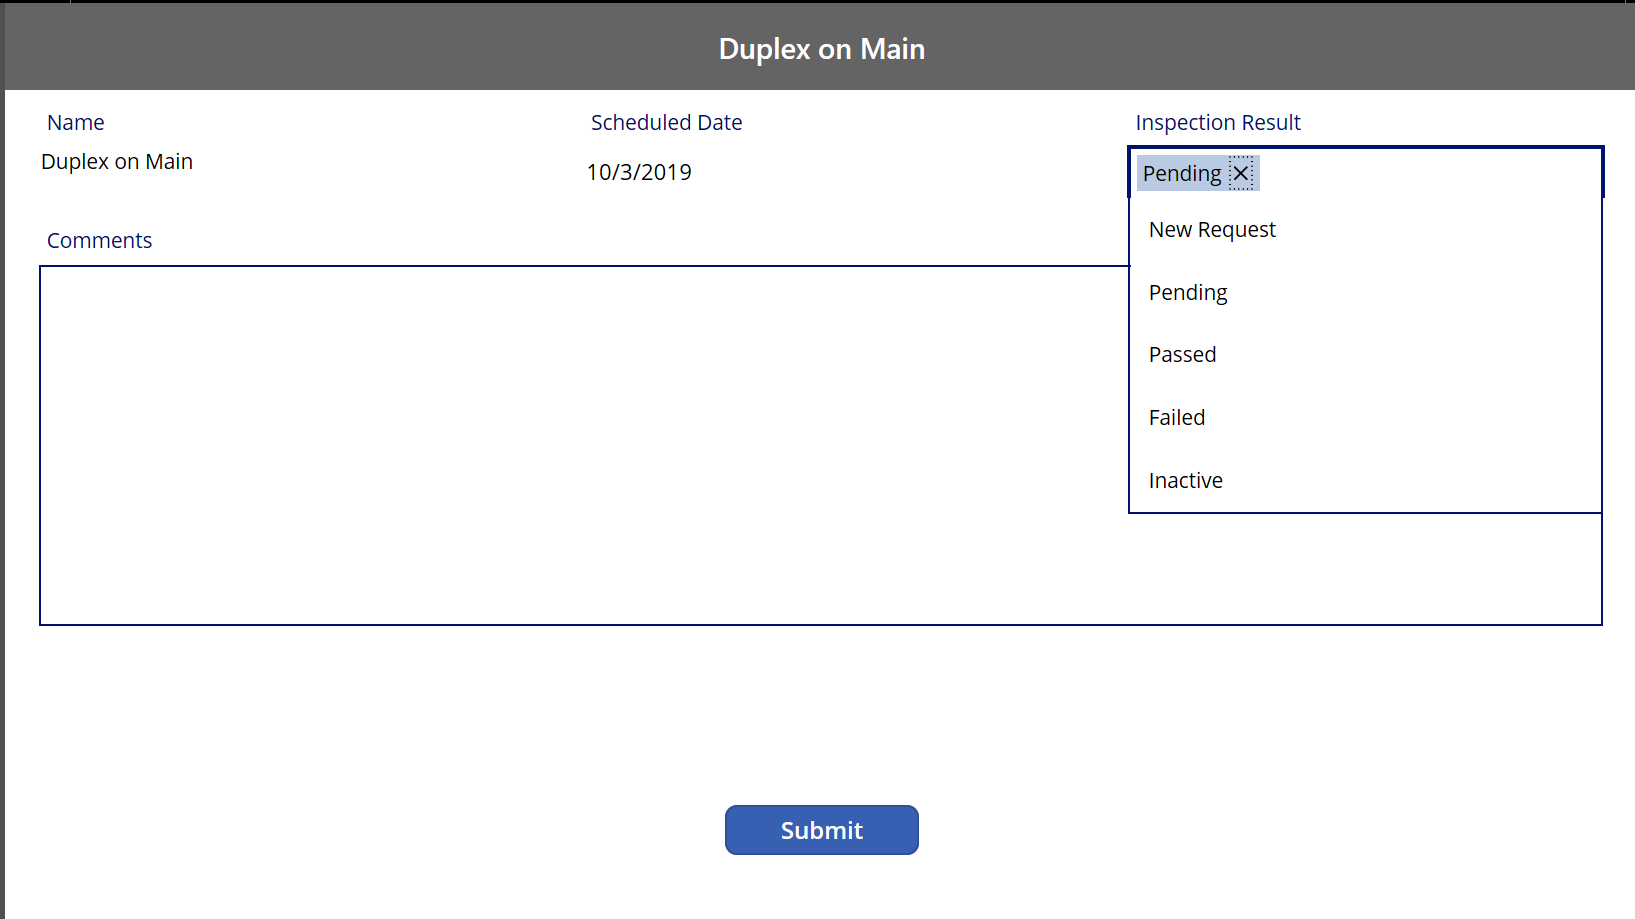
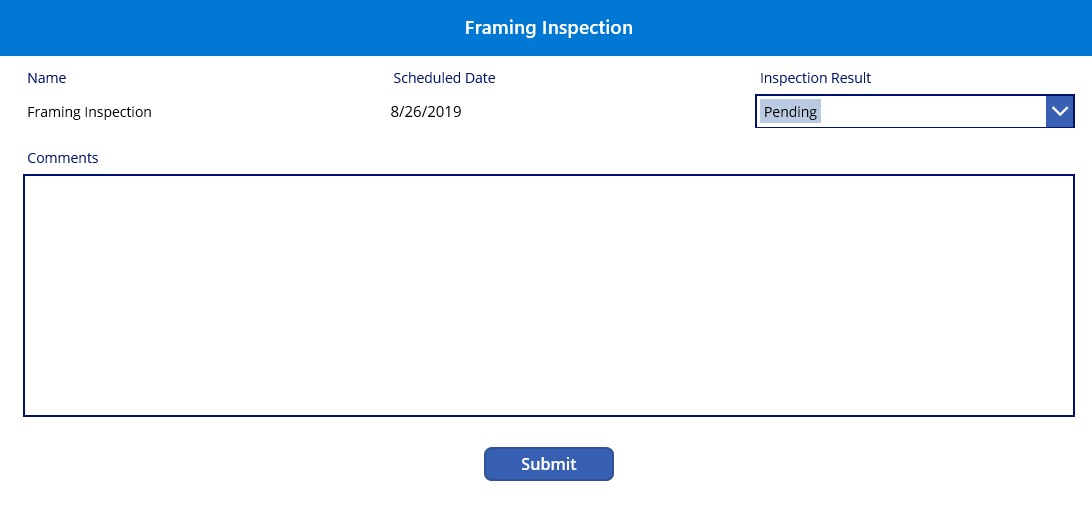
This second screen it will let the inspector update the selected Inspection.
Things to consider before you begin
-
What would an inspector need quick access to while in the field?
-
How do we move our solution from the development to the production environment?
-
Remember to continue working in your DEVELOPMENT environment. We’ll move everything to production in Exercise 2 of this lab.
Exercise #1: Create Canvas App
Objective: In this exercise, you will create a canvas app.
Task #1: Create Canvas App
-
Open the Permit Management solution.
-
Sign in to Power Apps maker portal
-
Select your Dev environment.
-
Select Solutions.
-
Open the Permit Management solution.
-
-
Create new canvas application
-
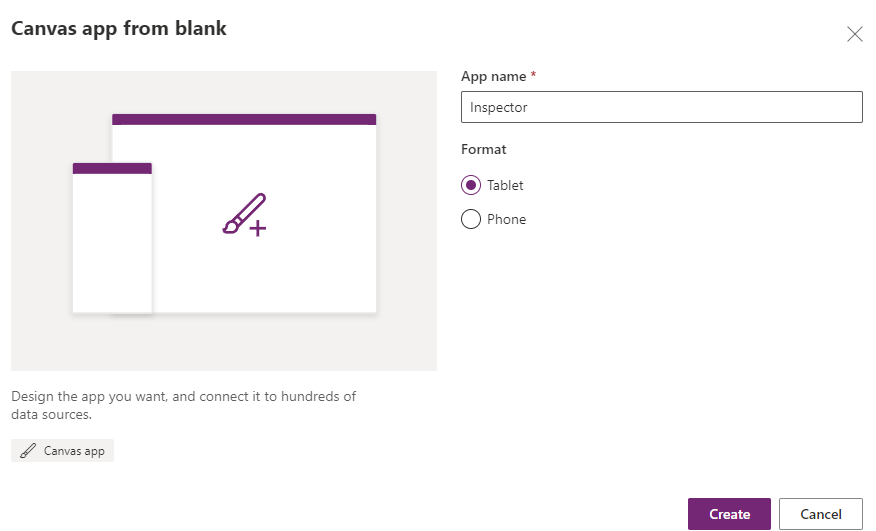
Select + New and then select **App Canvas app**. - Enter Inspector for App Name, select Tablet format, and select Create.
-
On the Welcome to Power Apps Studio popup, select Skip
-
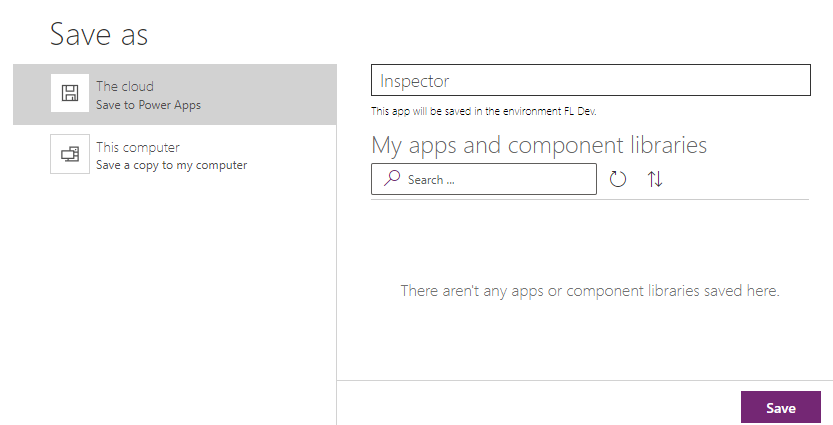
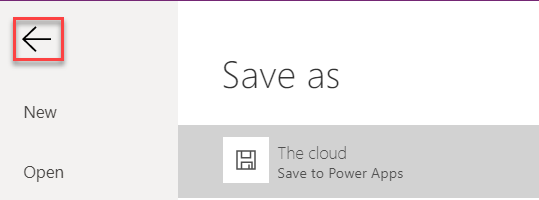
Select File and then select Save As.
-
Select The Cloud and select Save. This will make sure that the changes are not lost if the app closes unexpectedly.
- Select on the <- back button.
-
-
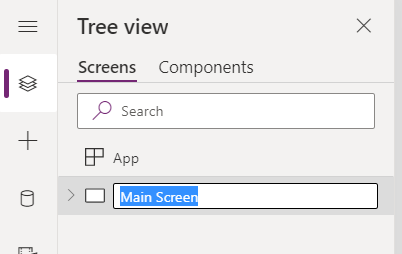
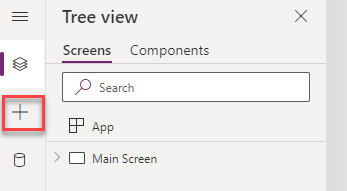
Rename Screen1.
-
Go to the Tree View and double click on Screen1.
-
Rename it Main Screen.
-
-
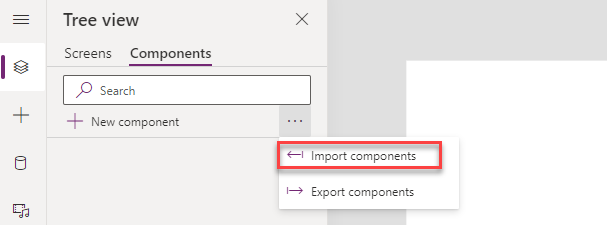
Import Component.
-
Select the Components tab.
-
Select the … (Component Options) button and select Import Components.
-
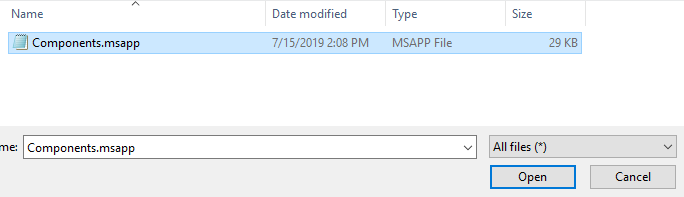
Select Upload File.
-
Browse to the lab resources folder (L03\Resources), select the Components.msapp file and select Open.
-
-
Add the Header component to the MainScreen.
-
Select the Screens tab.
-
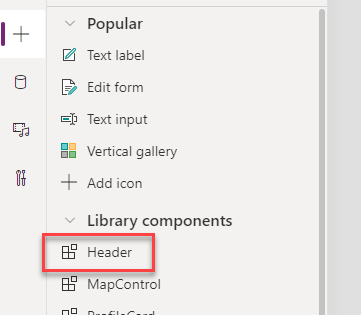
Select + Insert.
- Expand Library components and select Header.
-
Select Tree View.
-
Rename Header_1 to Main Header by double click on Header_1.
-
-
Change the Main Header properties
-
Select Main Header.
-
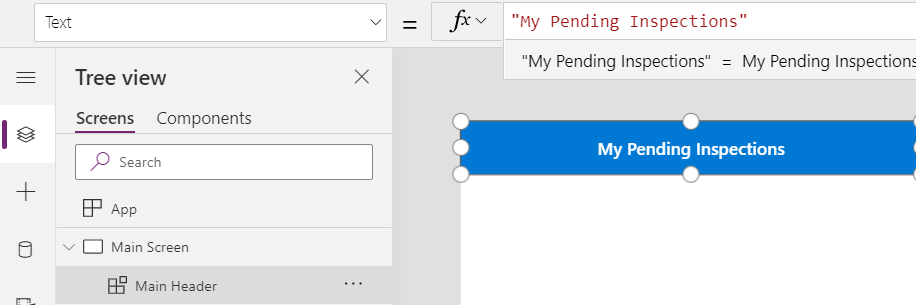
Change the Text field of the Main Header to My Pending Inspections. This can be done by selecting “Text” property in the dropdown below top menu. Make sure that you have selected the Main Header control while doing this step.
-
Change the Width value of the Main Header to the formula below.
Parent.Width

-
Task #2: Add Data Source
-
Add Permit and Inspection as data source.
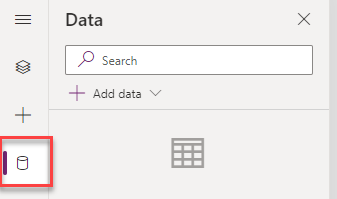
- Select the Data Sources tab.
-
Select Add data.
-
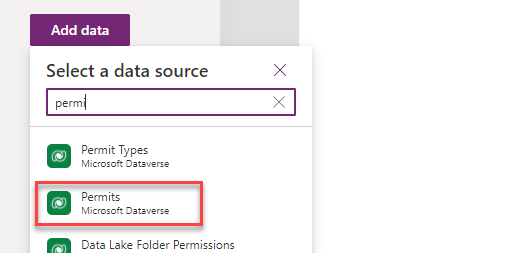
Search for Permit and select Permits.
-
Select + Add data
-
Search for Inspection and select Inspections.
-
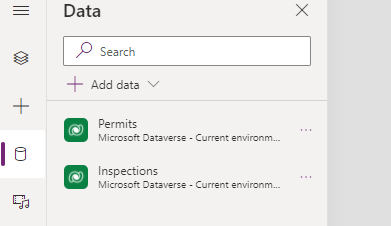
You should now have both Permits and Inspections in your app.
Task #3: Add Inspection Gallery
-
Add Gallery
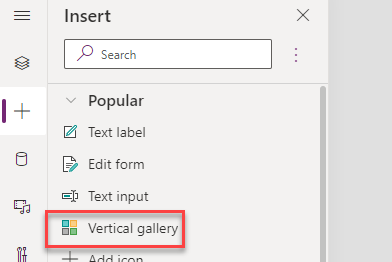
- Select + Insert and then select Vertical Gallery. Vertical Gallery will be added to the MainScreen.
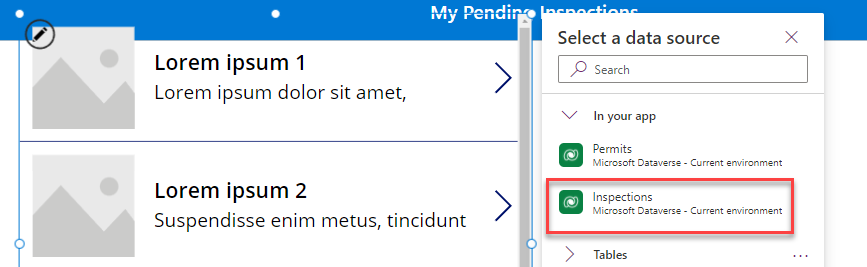
- Select Inspections for Data Source.
-
Select the Tree View tab.
-
Rename Gallery_1 to Inspection List.
-
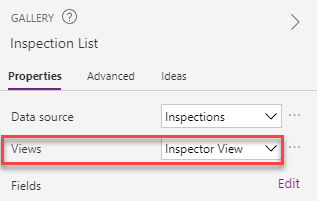
Select the inspector view
-
Make sure you have the Inspection List control selected.
-
Go to the Properties pane and select Inspector View for Views.
-
-
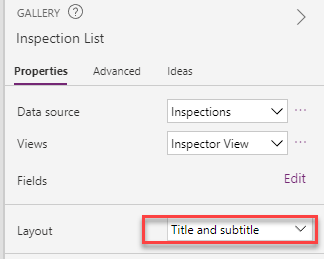
Change the Inspection List control layout
-
Go to the Properties pane and select the Layout dropdown.
-
Select Title and Subtitle.
-
-
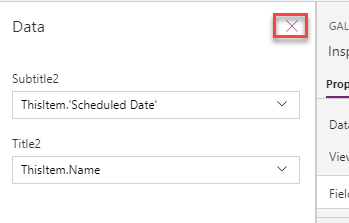
Verify the selected columns.
- Go to the Properties pane and select the Edit fields button.
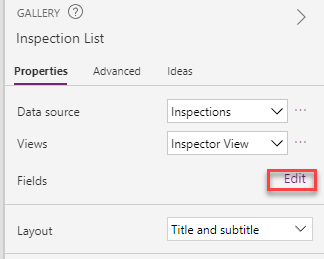
- Confirm that Scheduled Date is selected for Subtitle and Name is selected for Title. Close the Data pane.
-
Change date time to date only.
- Expand the Inspection List and select Subtitle.
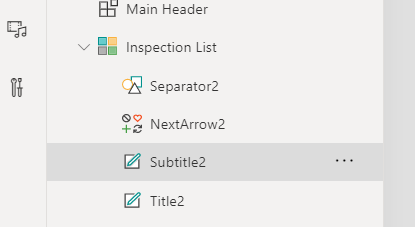
-
Change the Text property of the control to the formula below.
DateValue(Text(ThisItem.'Scheduled Date'),"en")
-
Resize the Gallery
-
Select the Inspection List gallery.
-
Select Width property from the formula dropdown and enter the formula below.
Parent.Width -
Select Height property and set it to the formula below.
Parent.Height - ('Main Header'.Height*2) -
Select the Y property from the dropdown and set it to formula below.
'Main Header'.Height -
Select the X property from the dropdown and set it to formula below.
'Main Header'.X
-
Task #4: Add Inspection Details Screen
-
Add new screen
- Click New Screen and select Blank.
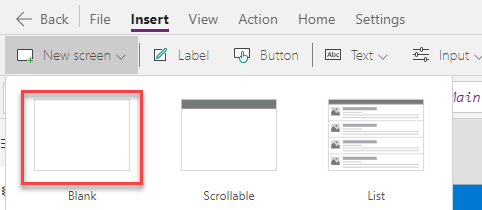
- Rename the new screen Details Screen by double clicking on the control in Tree View.
-
Add Header to the Details Screen and edit
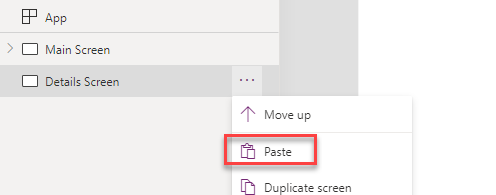
- Go to the Main Screen and copy the Main Header.
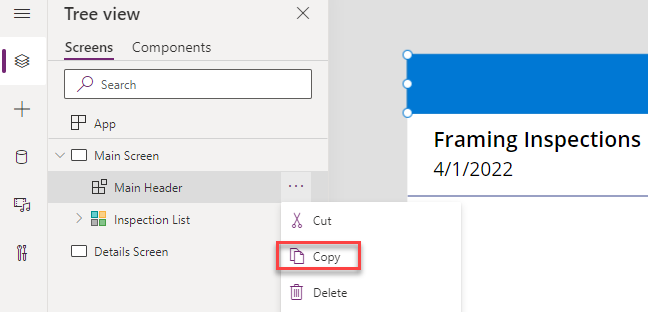
- Go to the Details Screen and paste the Header.
-
Rename the Header you Details Header by double clicking on the control in Tree View.
-
Select the Text property of the Details Header and set it to formula below.
'Inspection List'.Selected.Name

-
Add Form to the Details Screen.
-
Select the Details Screen.
-
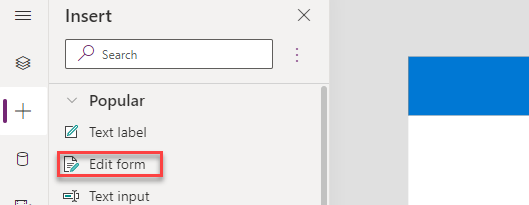
Select + Insert and then select Edit Form.
-
Select the Tree View tab.
-
Rename the form Inspection Form.
-
Resize the Edit form as:
-
Select the InspectionForm.
-
Select Width property from the formula dropdown and enter the formula below.
Parent.Width
-
-
Select Height property and set it to the formula below.
Parent.Height - ('Details Header'.Height*2) -
Select the Y property from the dropdown and set it to formula below.
'Details Header'.Height
-
-
Select the X property from the dropdown and set it to formula below.
'Details Header'.X -
The form should now look like the image below.
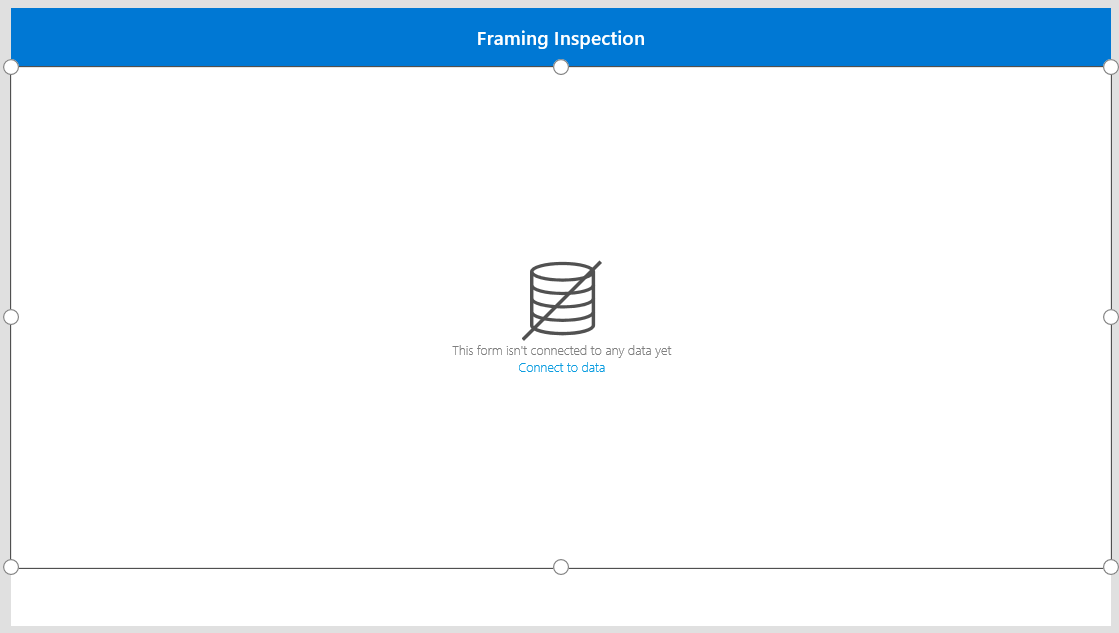
-
Set the Inspection Form data source
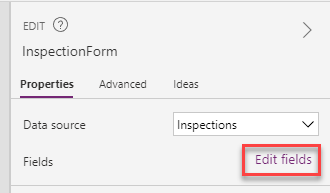
- Select the Inspection Form and select the DataSource as Inspections table.

-
Set the Item value to the formula below.
'Inspection List'.Selected

-
Edit Inspection Form fields.
-
Select the Inspection Form.
-
Go to the Properties pane and select the Edit fields button.
-
Select + Add Field.
-
Select Status Reason, Scheduled Date, Name and Comments.
-
Select Add.
-
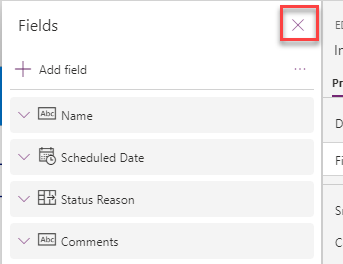
The columns should be ordered as shown in the image below. You can drag/drop to rearrange the columns. Close the Fields pane.
-
-
Change the Scheduled Date to show date only.
-
Go to the Tree View and expand the Inspection Form.
-
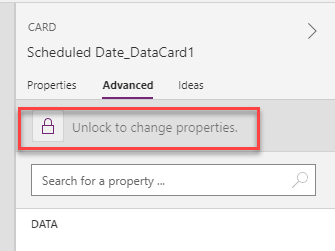
Select the Scheduled Date data card.
-
Go to the Properties pane and select the Advanced tab.
-
Select Unlock to change Properties.
-
Expand the Scheduled Date card.
-
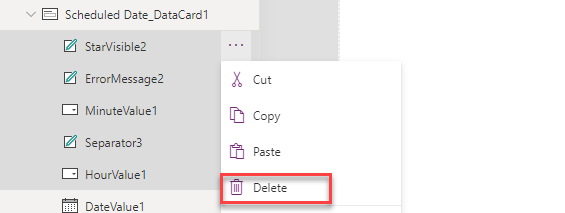
Select StarVisible, ErrorMesage, MinuteValue, Separator, and HourValue.
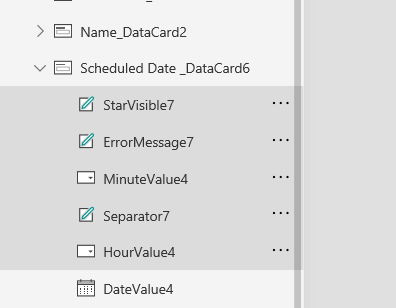
- Delete the selected controls. When the controls are deleted, you will see an error message.
-
Select the Scheduled Date DataCard.
-
Go to formula bar and select Update.

- Remove everything after the SelectedDate. This should remove the error message from the app.

-
-
Make the Name and Scheduled Date columns read-only
-
Select the Inspection Form.
-
Go to the Properties pane and select Edit fields.
-
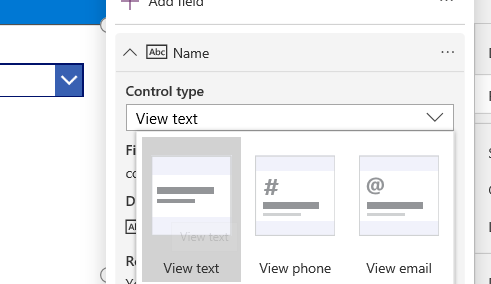
Expand the Name field.
-
Select the Control Type dropdown and select View Text.
-
Expand the Scheduled Date field. Observe the change.
-
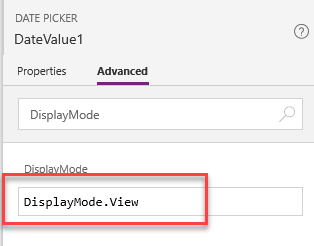
Notice we cannot change this the same way because we’ve customized it. From the Tree View select DateValue control inside the Scheduled Date Datacard and go to the Advanced tab of the Properties pane.
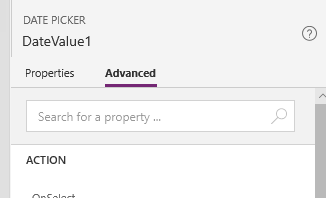
-
Search for DisplayMode property and remove the existing formula and replace it with the following:
DisplayMode.View
-
-
Change the Status Reason label.
-
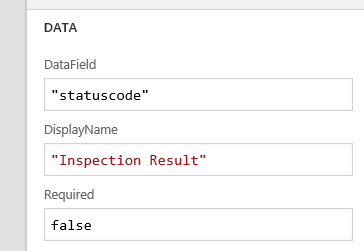
Select the Status Reason data card.
-
Go to the Properties pane and the Advanced tab, select Unlock to change properties.
-
Change the DisplayName to Inspection Result.
-
-
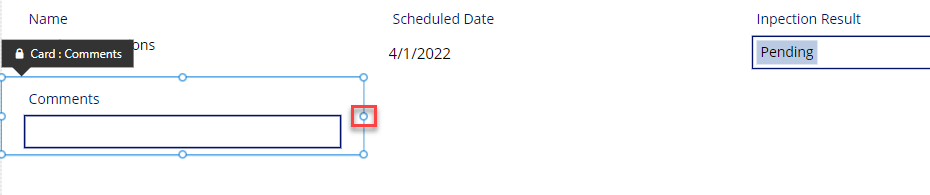
Resize the Comments data card.
-
Select the Comments data card.
-
Select and drag the right edge to the far right of the screen.
-
Go to the Advanced tab of Properties pane and select Unlock to change properties.
-
Set the Height value to 300.
-
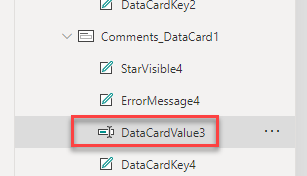
Select the DataCardValue control.
-
Set the Height value to 300.
-
Change the Mode to the formula below.
TextMode.MultiLine

-
-
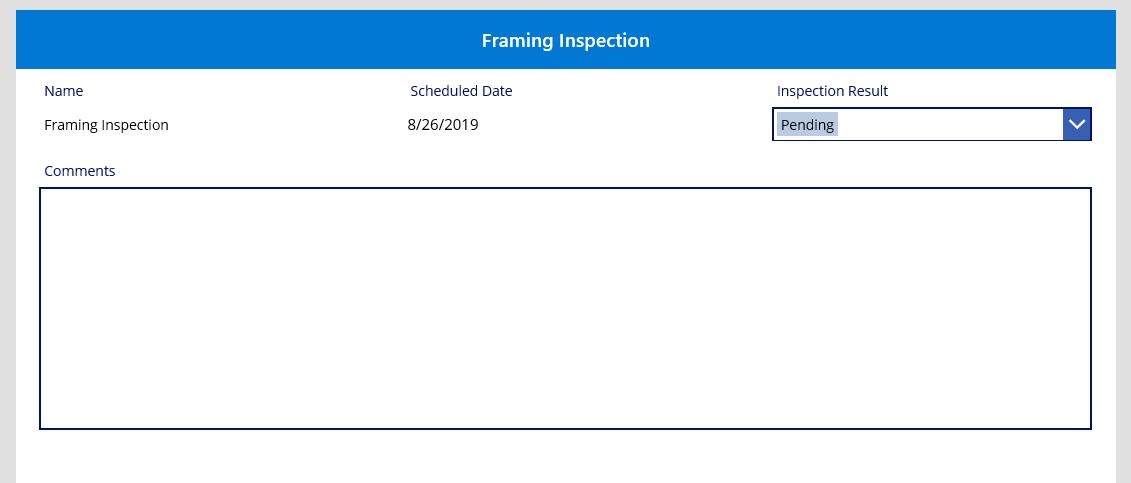
Make sure your form looks like the image below. Save your work.
Task #5: Submit the Inspection Result
-
Add submit button to the details screen.
-
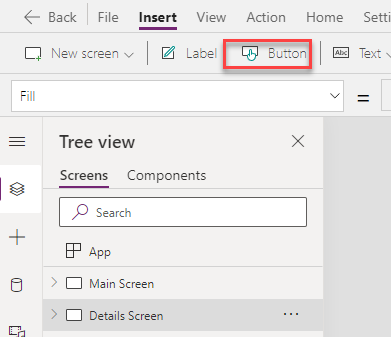
Select the Details Screen. Make sure that you have selected the screen and not selected the Edit Form.
-
Go to the Insert tab and select Button.
-
Rename the button Submit Button.
-
Change the Text value of the button to Submit.
-
Place the button below the form via drag and drop.
-
-
Submit the inspection result.
-
Select the Submit Button.
-
Set the OnSelect value of the submit button to the formula below. Remove the false expression and update it. This formula will submit the form and then navigate back to the MainScreen.

-
-
Add navigation from the main screen to the details screen.
-
Go to the Main Screen and select the Inspection List.
-
Set the OnSelect property of the Inspection List to the formula below. Remove the already existing false expression.
Navigate('Details Screen', ScreenTransition.Cover)
-
Task #6: Test Application
-
Start the application
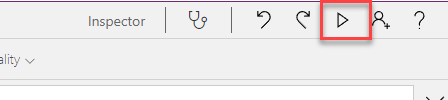
- Select the Main Screen and select Preview the App.
- The application should load and show at least one inspection. Select the inspection.

- The application should navigate to the details screen. Change the Inspection Result to Passed, provide a comment in the textbox as “Framing inspection was completed.”, and select Submit.

- The inspection should be submitted, and the application should navigate back to the Main Screen. Select Close.

-
Save and publish the application
-
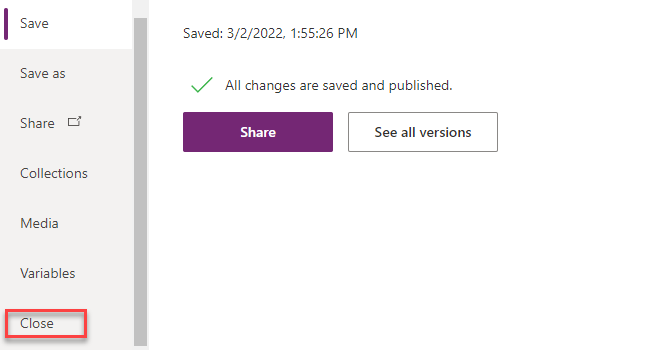
Select File and then select Save.
-
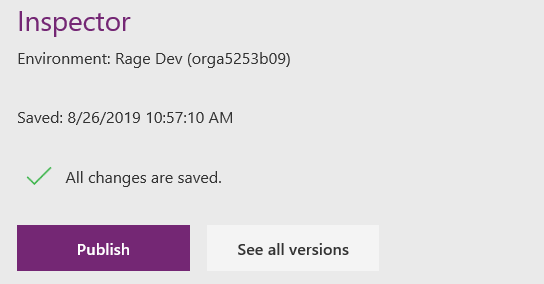
Select Publish.
-
Select Publish this Version.
-
Select Close.
-
-
Confirm the inspection record was updated
-
Navigate to Power Apps maker portal
-
Select your Dev environment.
-
Select Apps and launch the Permit Management Application.
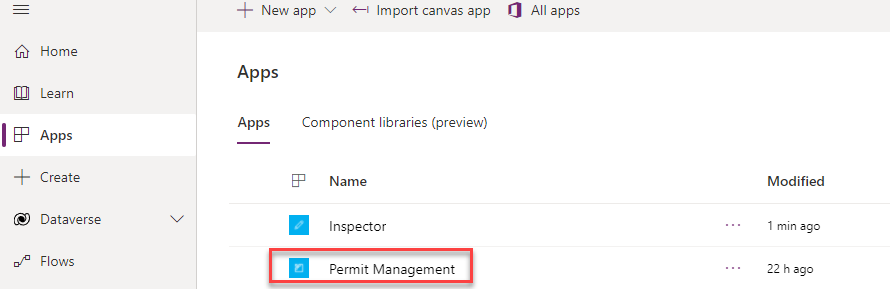
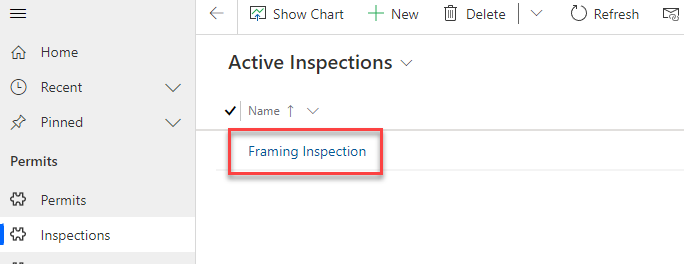
- Select Inspections and open Framing Inspection.
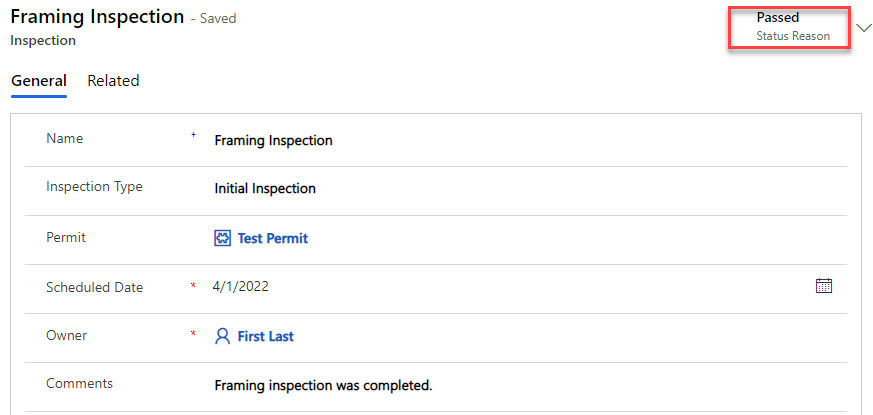
- The Status Reason of the inspection should be Passed, and the comment should be updated to the comment you provided.
- Close the Permit Management application.
-
Exercise #2: Export/Import Solution
Objective: In this exercise, you will export the solution you created in the development environment and import it to the production environment.
Task #1: Export solution.
-
Select the Permit Management solution.
-
Sign in to Power Apps maker portal
-
Make sure you have your Dev environment selected.
-
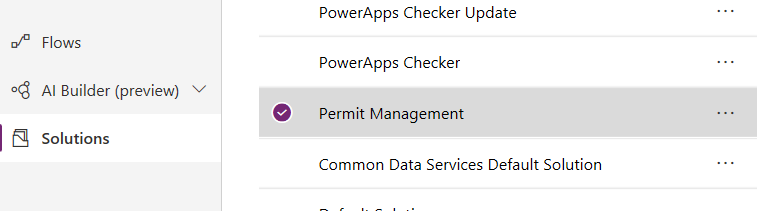
Select Solutions and select the Permit Management solution.
-
-
Run solution checker.
- Select Solution Checker and then select Run.

- Wait for the run to complete.

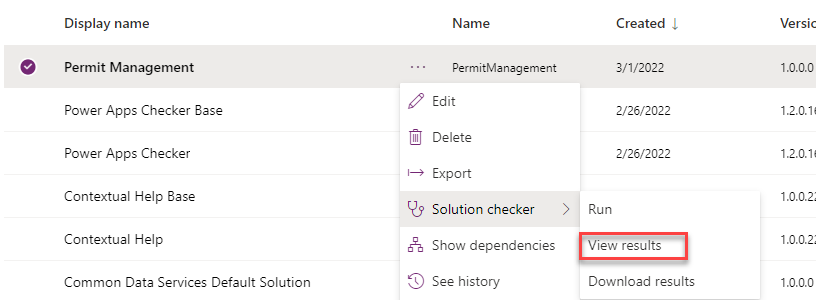
- Select on the More Commands of the Permit Management solution.
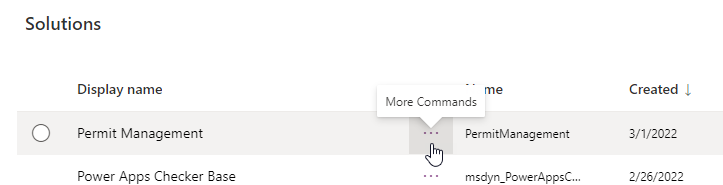
- Select Solution Checker and select View Results.
-
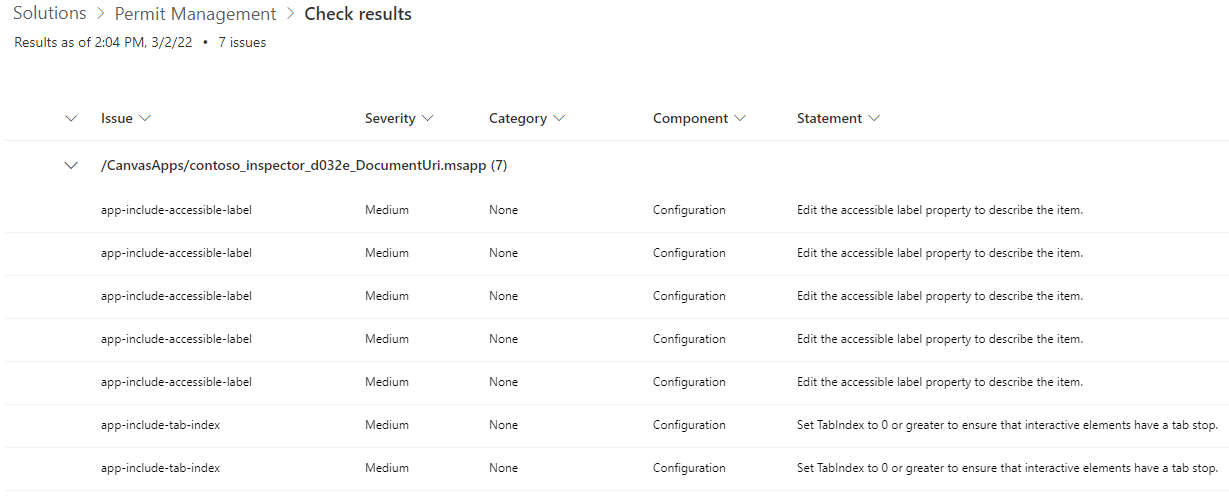
You will see several issues reported
-
To resolve the issues, follow these steps:
-
Select Apps
-
Select … next to Inspector app and select Edit
-
Select App checked icon on the toolbar

-
-
Select Recheck All
-
Expand Accessible.
-
Select an issue. This will open the screen with the control and prompt to enter AccessibleLabel property.
-
Enter text value as appropriate

-
Repeat the process for all controls with missing accessible labels
-
Expand Missing tab stop node
-
Select control, enter a value for the TabIndex, e.g. 0
-
Tips node may contain the following message
“Use another method instead of HTML, or remove the HTML from this element.” -
This message is related to Map component we imported as part of the component bundle. This component can be safely deleted as it’s not used by the app.
-
Fix other app issues as appropriate.
-
-
Select File and then select Save.
-
Select Publish.
-
Switch to Power Apps maker portal
-
Select Solutions then select Permit Management solution
-
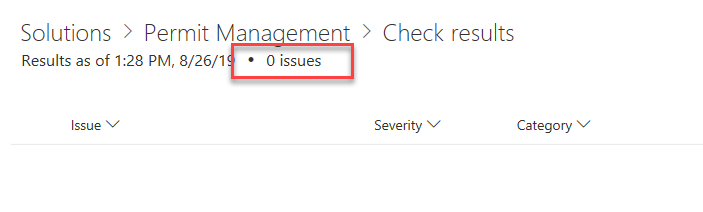
Select Solution checker then select Run and wait for the run to complete.
-
There should be zero issues.
-
Export managed solution
-
Select Solutions and then select the Permit Management solution.
-
Select Export.
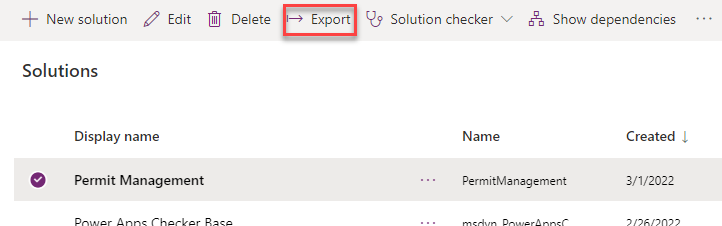
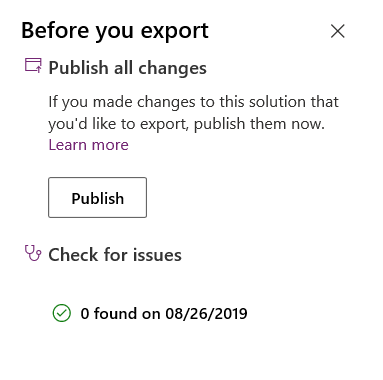
- Select Publish and wait for the publishing to complete.
-
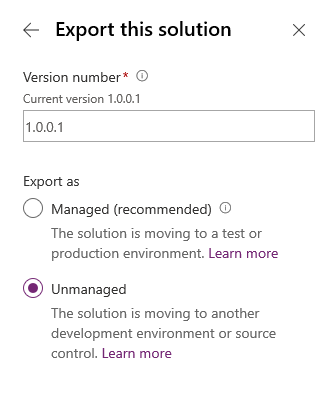
Select Next.
-
Select Managed and then select Export.

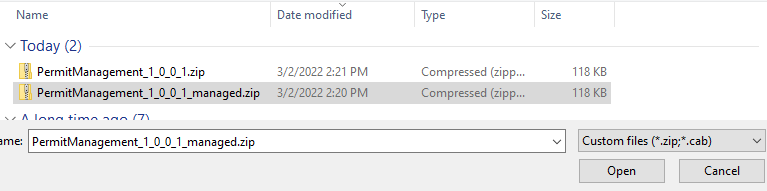
- Save the solution on your machine.
-
-
Export unmanaged solution
-
Select Export again.
-
Select Next.
-
Edit the version number to match the Managed solution you just exported, select Unmanaged and select Export.
- Save the unmanaged solution on your machine.
-
Task #2: Import solution.
-
Import the Permit Management solution.
-
Sign in to Power Apps maker portal
-
Make sure you have your Prod environment selected. Note If you are using the community plan environment as instructed (e.g: [username]’s Environment), you may need to create a database before you proceed to the next step.
-
-
Import solution
-
Select Solutions and then select Import.
-
Select Browse.
-
Select the Managed solution you exported and then select Open.
-
Select Next.
-
Select Import.
-
Wait for import to complete.
-
Navigate to both the model-driven and canvas apps you’ve created and add a few records, test the apps.
-