NOTE
Effective November 2020:
- Common Data Service has been renamed to Microsoft Dataverse. Learn more
- Some terminology in Microsoft Dataverse has been updated. For example, entity is now table and field is now column. Learn more
Lab 06: Power Virtual Agents in Teams
Scenario
Your organization is trying to recycle E-waste and decided to schedule a quarterly E-waste pickup service. Facilities department created an Excel file in OneDrive for business and want employees to be able to add their name and information about the item they want to get picked up to the list.
In this exercise, you will create a Power Virtual Agents bot that will get the information from users and add them to the pickup list.
Requirement
- Bot should be able to get information about the item.
- Bot should be able to get information about the user.
- Bot should be able to add the new item to the list.
What you will learn
- How to create a Power Virtual Agents in Teams.
- How to publish Power Virtual Agents.
- How to use Power Virtual Agents flow template.
Detailed steps
Exercise 1 – Create PVA bot
Task 1 - Add Excel file to OneDrive
In this task, you will add an Excel file to your OneDrive for business and add new rows to this file using PVA and Power Automate.
- Navigate to Microsoft Teams
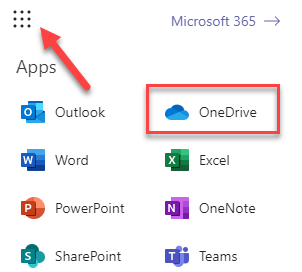
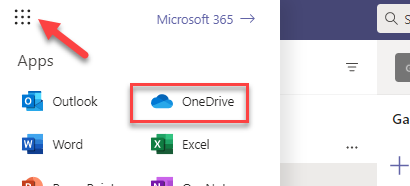
- Click on the App launcher and select OneDrive.
- Click Upload and select Files.

- Browse to the lab resources folder, select the Recycle.xlsx file, and click Open.
- Click to open the file you just added.
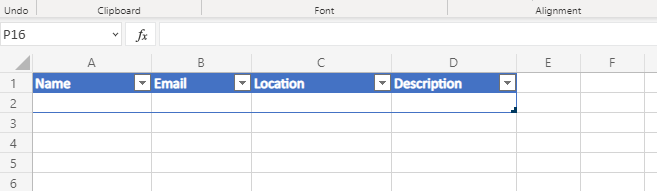
- The should have just headers. Close the file and OneDrive browser tabs.
Task 2 - Install PVA
In this task, you will install PVA.
- Navigate to Microsoft Teams
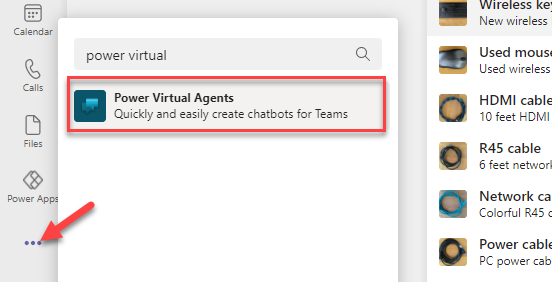
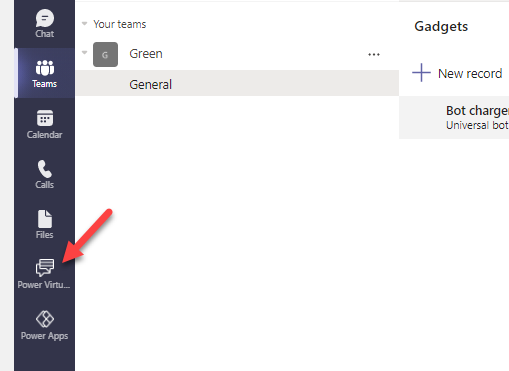
- Click on the …More added apps, search for power virtual, and select Power Virtual Agents.
- Click Add.
- Right click on the Power Virtual Agents and select Pin. (If the Power Virtual Agents menu is not coming on the left menu, then click again on … More added apps and pin it from the recents.)

- Do not navigate away from this page.
Task 3 - Create bot
In this task, you will create the bot.
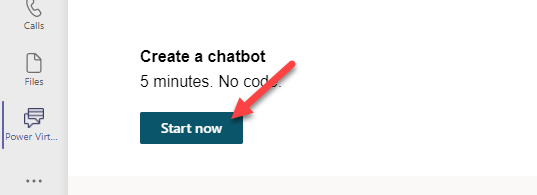
- Select Power Virtual Agents and click Start now.
- Select the Green team you created and click Continue.
- Enter Green Bot for name, select English (US) for language, and then click Create.
- Wait for the bot to be created.
- Click Test your bot in the bottom left.
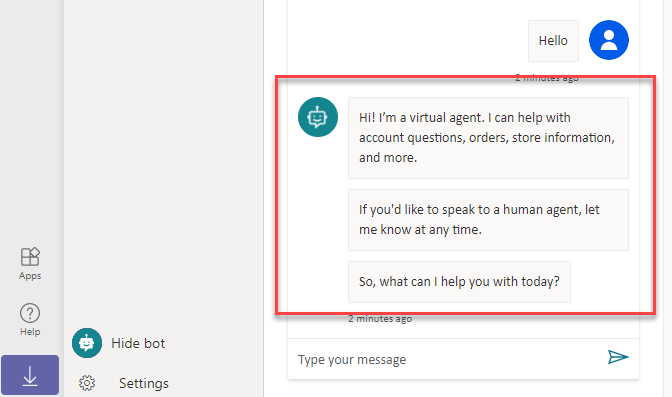
- Type Hello in the text box and click Send.
- The bot should respond with the default greeting. You will edit this greeting in the next task.
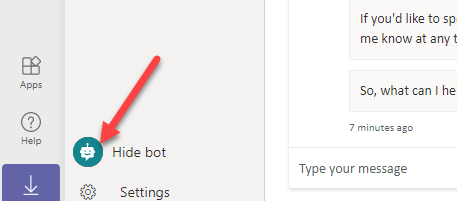
- You can show/hide the bot by clicking on the bot icon located in the bottom left. This will give the authoring canvas more room.
- Do not navigate away from this page.
Task 4 - Edit greeting
In this task, you will edit the default greeting.
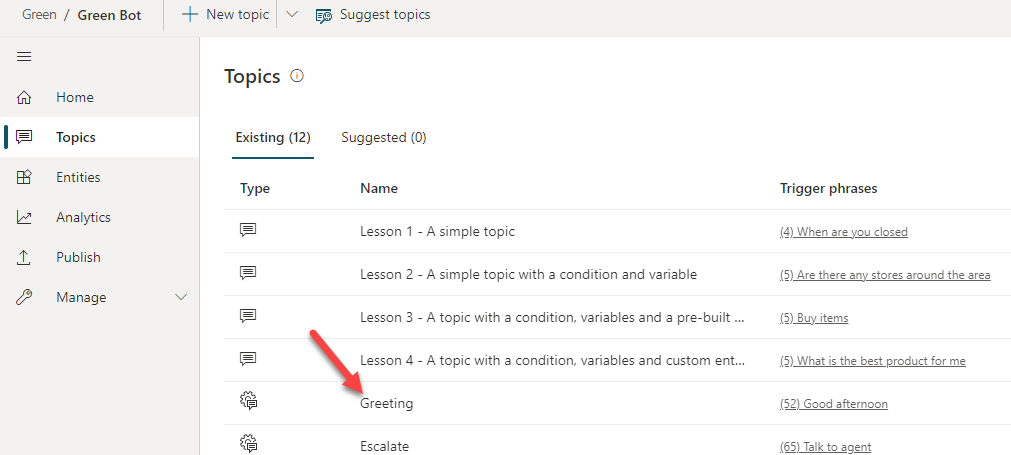
- Select Topics and click to open the Greeting topic
- Take a look and see the trigger phrases for this topic.
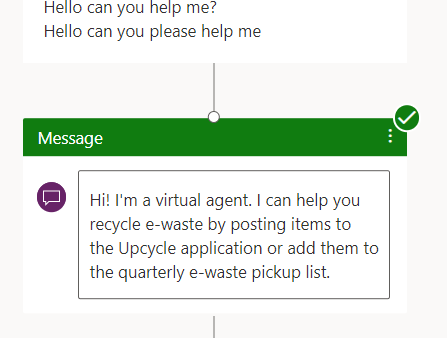
- On the authoring canvas go to the first Message and replace the message with the text below.
Hi! I'm a virtual agent. I can help you recycle e-waste by posting items to the Upcycle application or add them to the quarterly e-waste pickup list.
- Click Save.
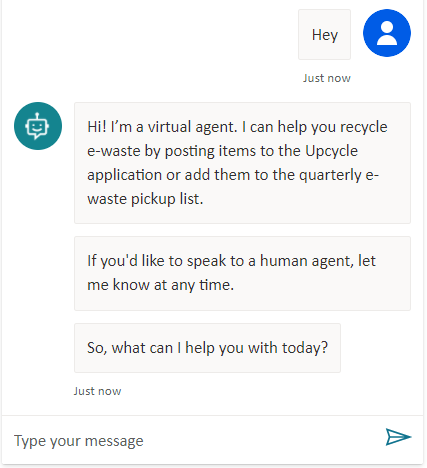
- Click Test your bot to show the bot.
- Type Hey and click Send.
- The bot should now use your updated message.
- Hide the bot.
- Do not navigate away from this page.
Task 5 - Create topic
In this task, you will create a new topic for the bot so it can respond to inquiries.
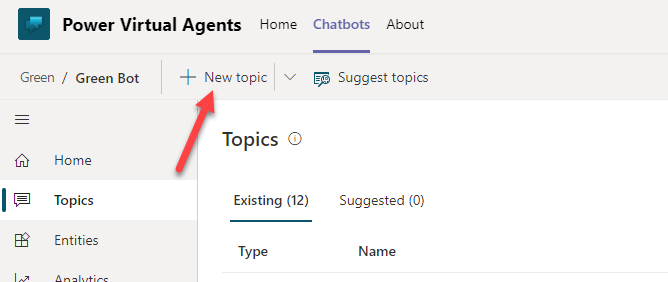
- Select Topics and click + New topic.
- Click Details to open Details pane.
- Enter Recycle Reuse Reduce for Name.
- Click Trigger phrases.
- Copy the multi-line text below and paste it into Add phrases input box.
Recycle
E-waste
Green
Add me
Upcycle
Reuse
Reduce
Recycle list
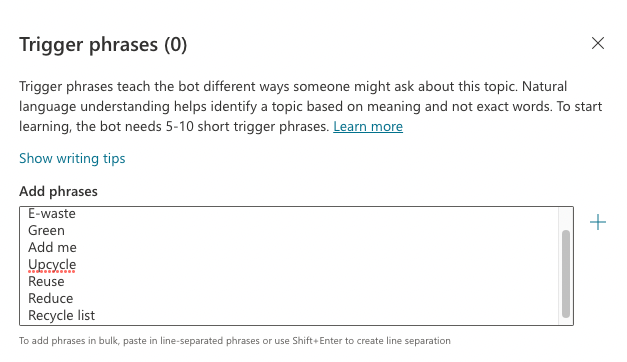
- Click + to add entries for trigger phrases in bulk.
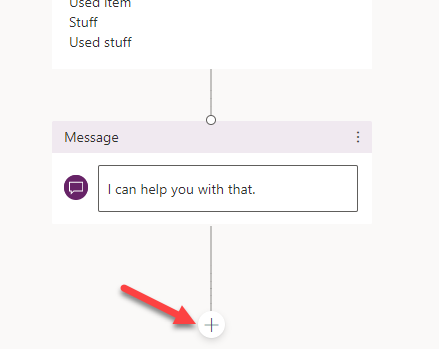
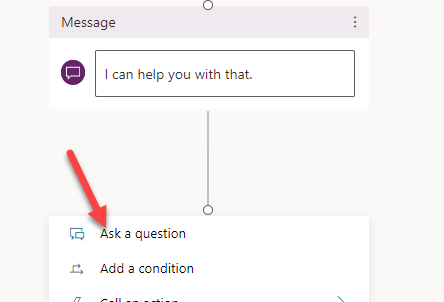
- Click on the first message, enter I can help you with that. And then click on the + Add node button.
- Select Ask a question.
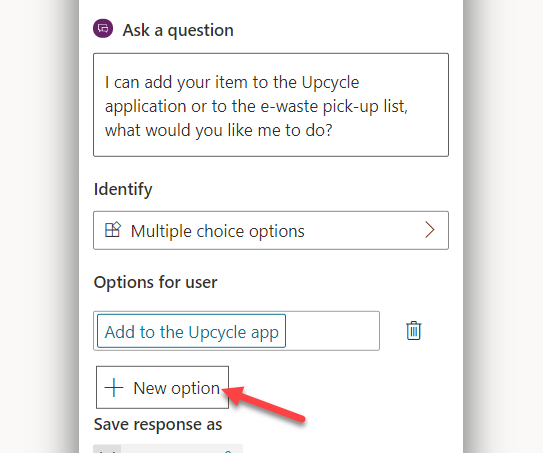
- Enter the text below in the Ask a question textbox.
I can add your item to the Upcycle application or to the e-waste pick-up list. What would you like me to do?
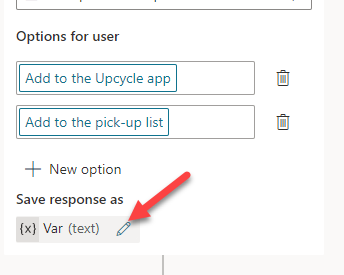
- Make sure you have Multiple choice options selected for Identity, type Add to the Upcycle app for first option and click + New option.
-
Type Add to the pick-up list as another option.
-
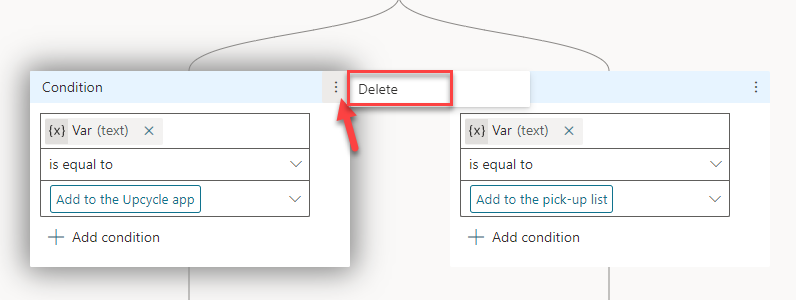
You should now have two conditions. Click on the … Options button of one of the conditions and click Delete. We are deleting the conditions because adding item to the pick-up list and adding item to the Upcycle application required similar information.
- Change the second input value in Condition menu to has value.
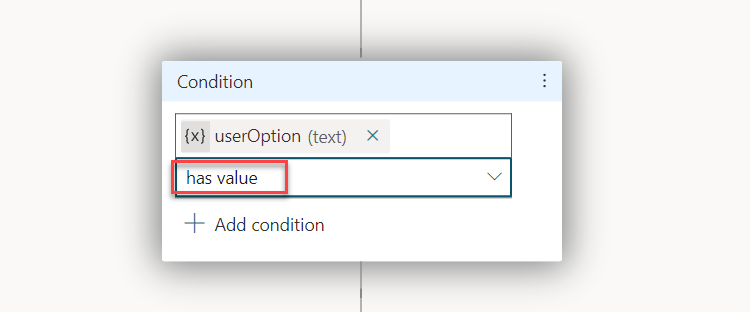
- Click on the edit variable icon.
- Change the variable name to UserOption and close the variable properties pane.

-
Click + Add node and select Ask a question
-
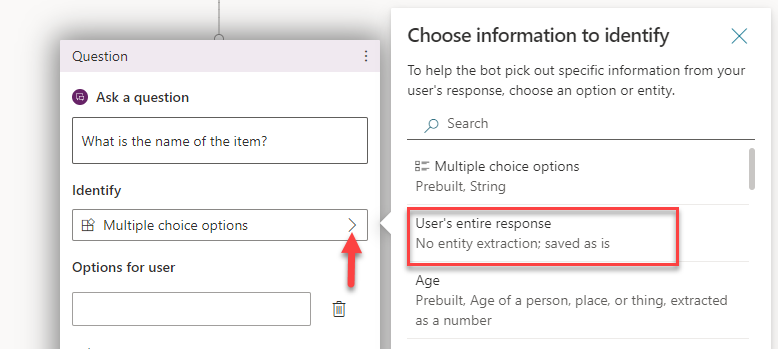
Enter the text below in the Ask a question textbox.
What is the name of the item?
- Click on the Identify dropdown and select User’s entire response.
- Click on the Edit variable icon.
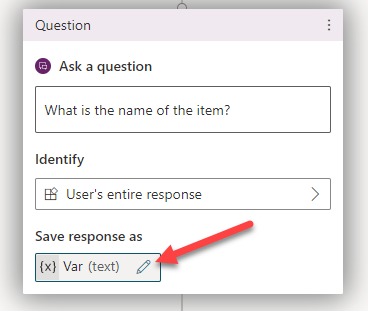
- Change the variable Name to ItemName and close the variable properties pane.
- Click + Add node after the question.
- Select Ask a question again.
- Enter the text below in the Ask a question textbox.
What is the description of this item?
- Click on the Identify dropdown and select User’s entire response again.
- Click on the Edit variable icon again.
- Change the variable Name to Description and close the variable properties pane.
- Click + Add node after the question.
- Select Ask a question one more time.
- Enter the text below in the Ask a question textbox.
What is the location of this item?
- Click on the Identify dropdown and select User’s entire response again.
- Click on the Edit variable icon again.
- Change the variable Name to Location and close the variable properties pane.
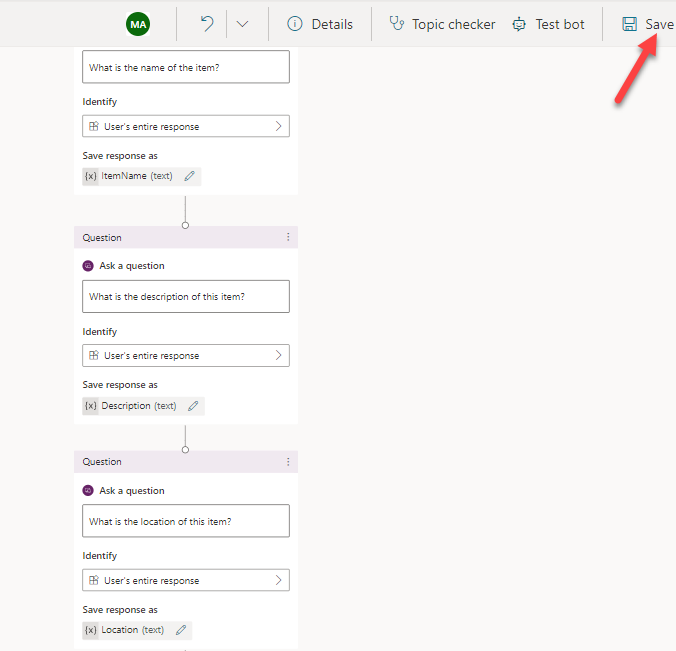
- The three questions should now look like the image below. Click Save
- Do not navigate away from this page.
Task 6 - Create flow
In this task, you will create a flow that will add the item to the recycle list or to the Upcycle application depending on the user option.
- Go to the last question, click + Add node and select Call an action.

- Click Create a flow.
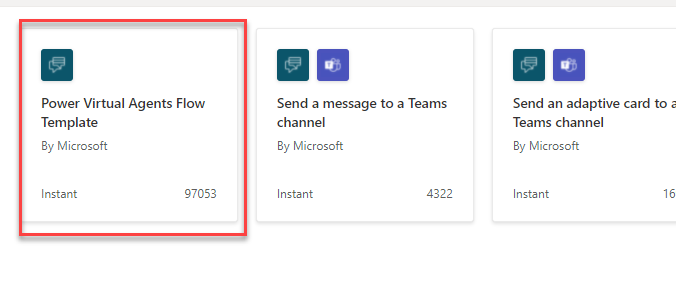
- Select Power Virtual Agents Flow Template
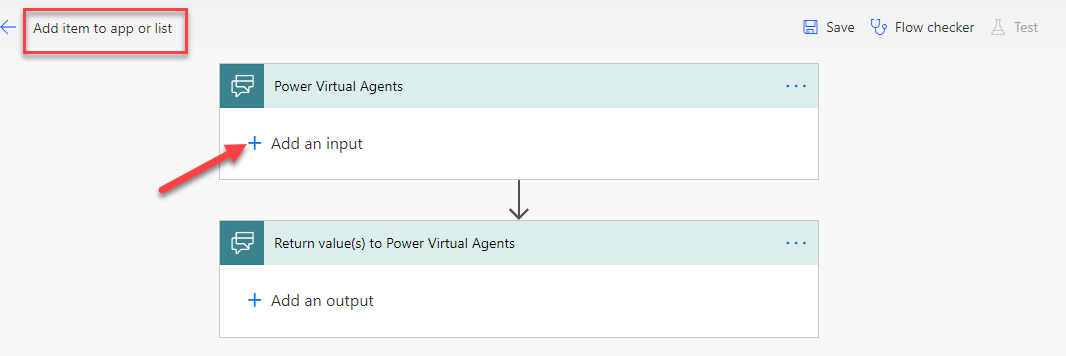
- Rename the flow Add item to app or list and click + Add an input.
- Select Text.
- Enter User ID and click + Add an input again.
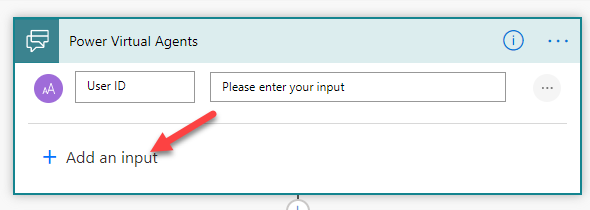
- Select Text.
- Enter UserOption and click + Add an input one more time.
- Select Text.
- Enter ItemName and click + Add an input one more time.
- Select Text.
- Enter Description and click + Add an input one more time.
- Select Text.
- Enter Location.
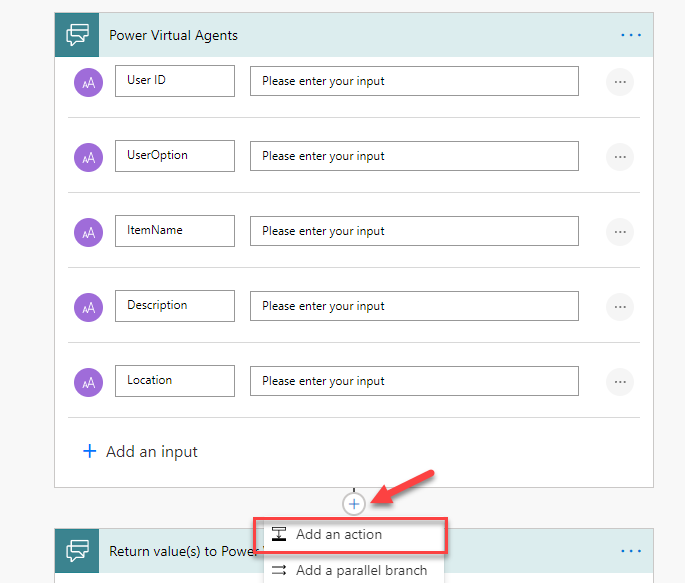
- You should now have five inputs.
- Click + Insert a new step and select Add an action.
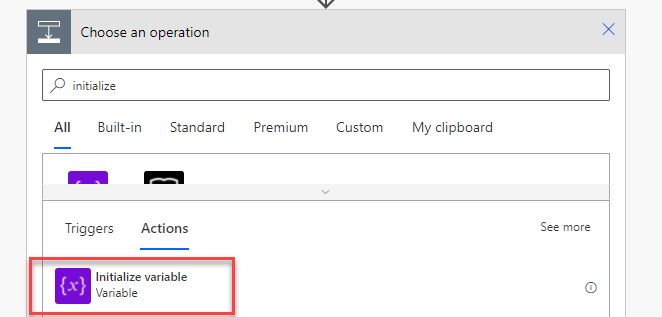
- Search for initialize and select Initialize variable.
- Enter Response to bot for Name, select String for Type.
- Click Insert a new step and select Add an action.
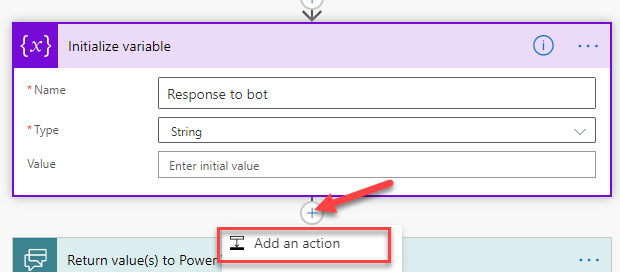
- Click + Insert a new step again and select Add an action.
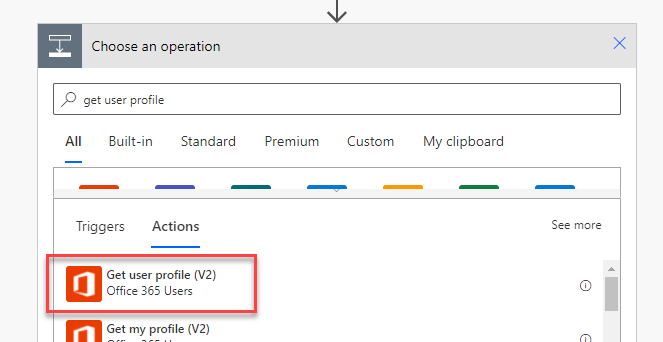
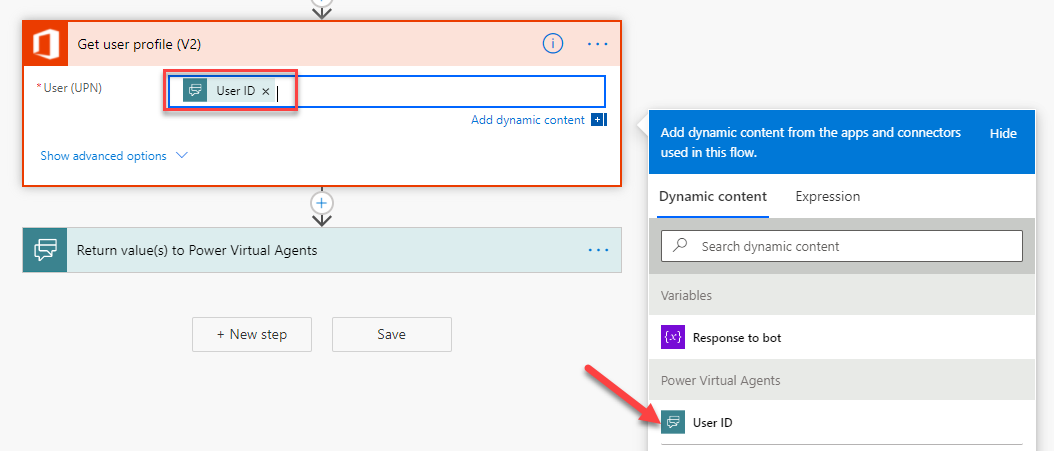
- Search for get user profile and select Get user profile (V2).
- Click on the User (UPN) field and select User ID from the dynamic content pane.
- Click + Insert a new step again and select Add an action.
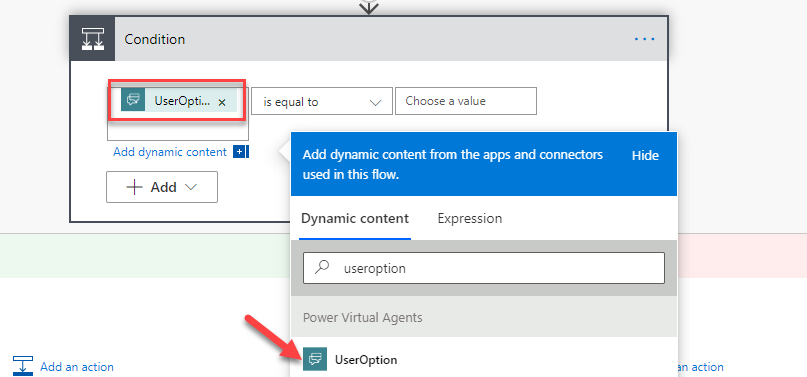
- Search for condition and select Condition.
- Click on the first Choose a value field and select UserOption from the dynamic content pane.
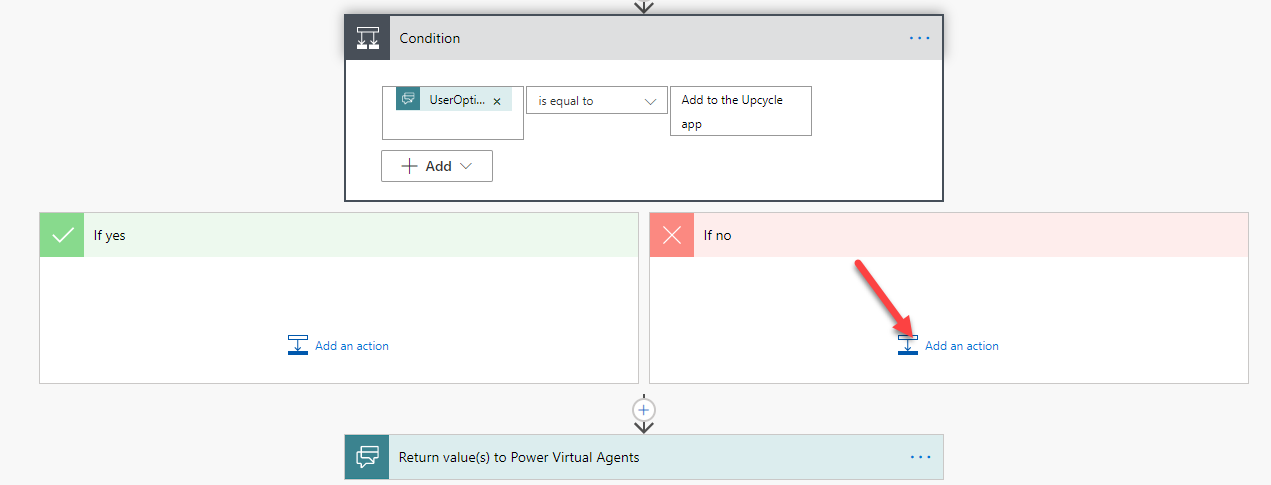
- Select is equal to and type Add to the Upcycle app.
- Go to the if no branch and click Add an action.
- Search for add a row and select Add a row into a table from Excel Online (Business).
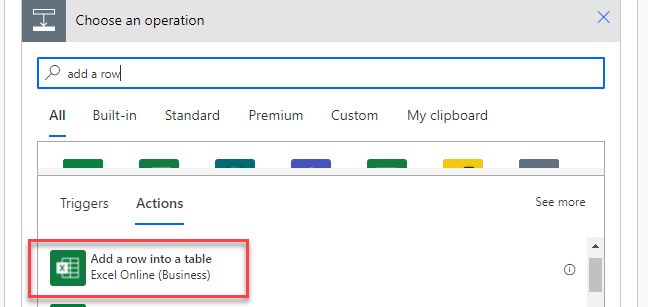
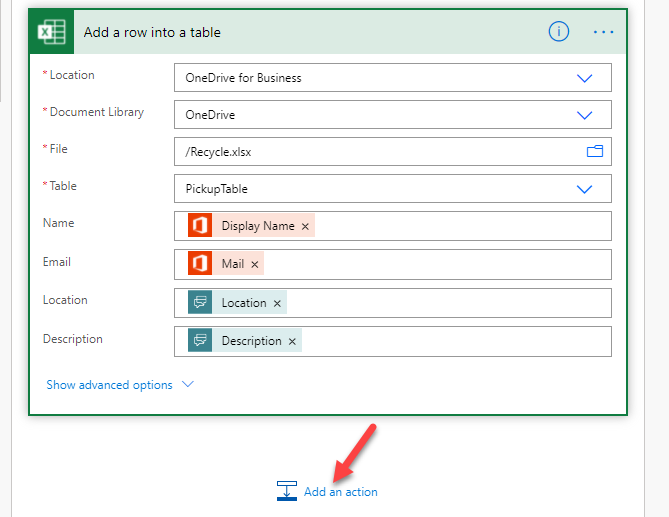
- Select OneDrive for Business for Location, OneDrive for Document Library, Recycle.xlsx for File and PickupTable for table.
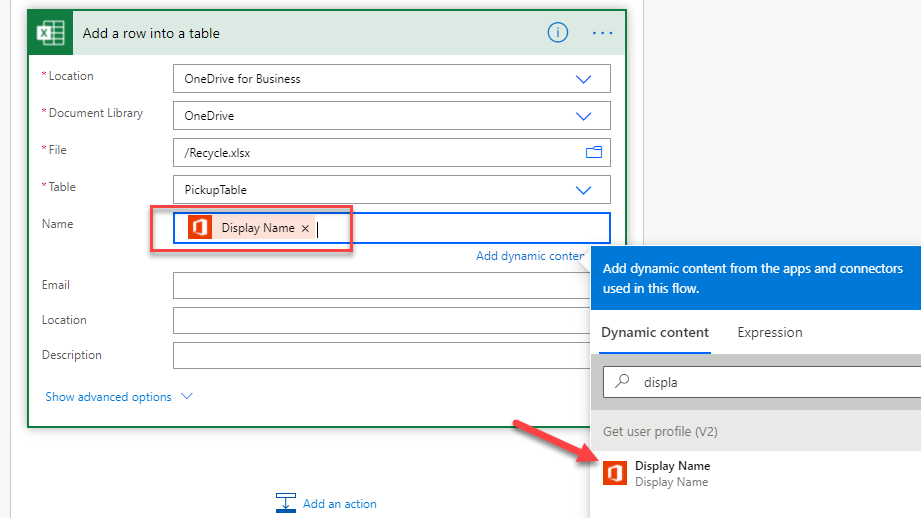
- Click on the Name field and select Display Name from the dynamic content pane.
- Click on the Email field and select Mail from the dynamic content pane.
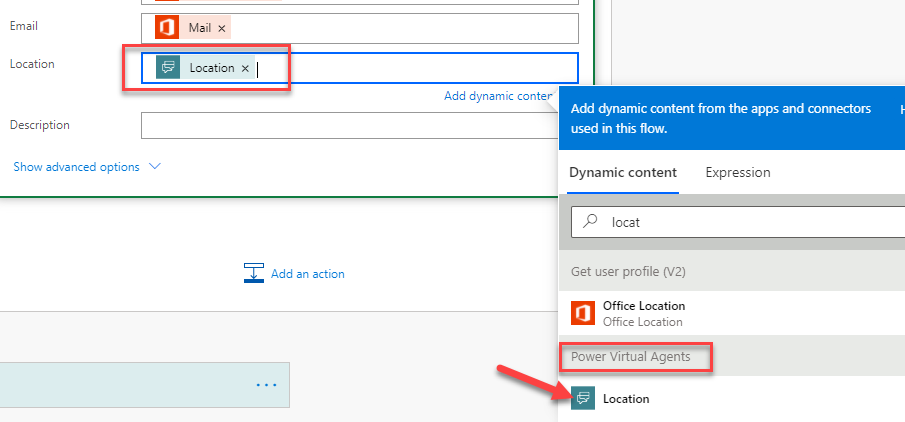
- Click on the Location field and select the Location dynamic content from the Power Virtual Agents step in the dynamic content pane.
- Click on the Description field and select Description from the dynamic content pane.
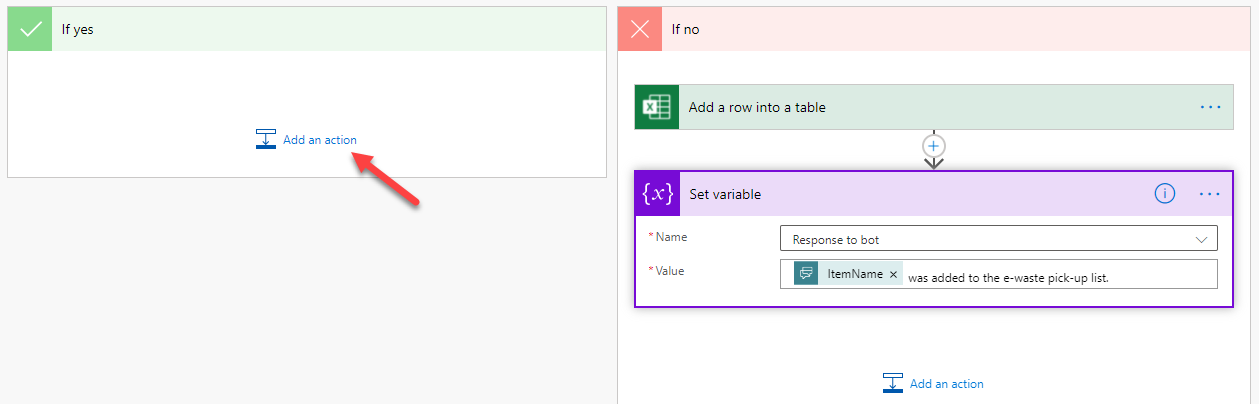
- The flow step should now look like the image below. Click Add an action
- Search for set variable and select Set variable.
- Select Response to bot for name, click Value field and select ItemName from the dynamic content pane.
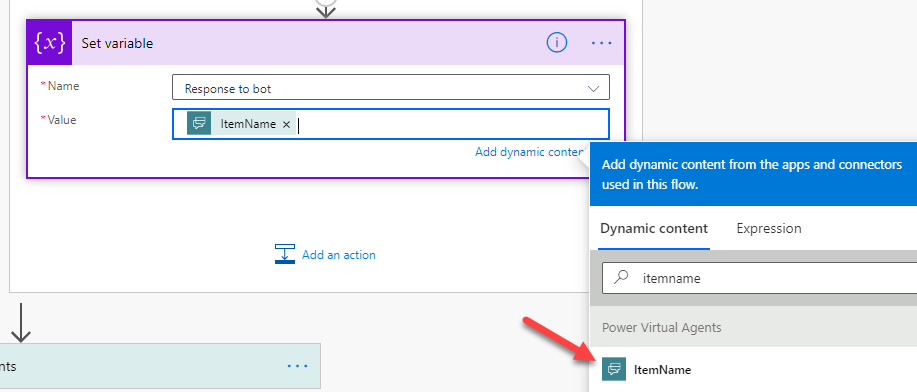
- Add the text below after the ItemName.
was added to the e-waste pick-up list.
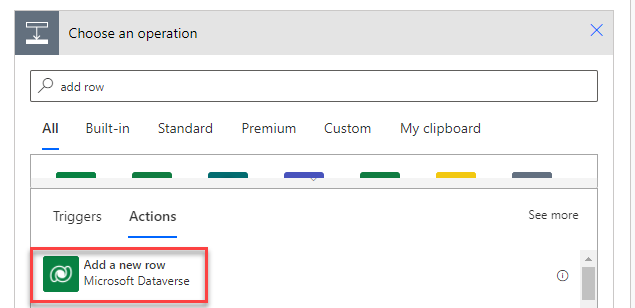
- Go to the If yes branch and click Add an action.
- Search for add new row and select Add a new row from Microsoft Dataverse.
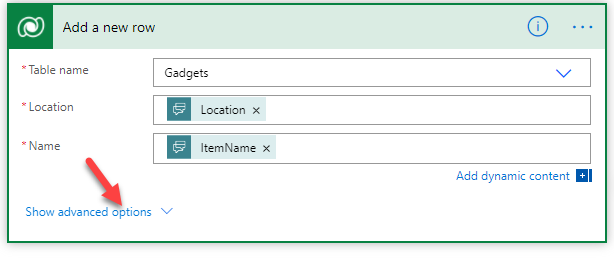
- Select Gadgets for the table name.
- Click on the Location field and select Location from the dynamic content pane.
- Click on the Name field and select ItemName from the dynamic content pane.
- Click Show advanced options.
- Select Available for Availability, click on the Description field and select Description from the dynamic content pane.
- Click Add an action after the add a new row step.
- Search for set variable and select Set variable.
- Select Response to bot for Name, click on the Value field and select ItemName from the dynamic content pane.
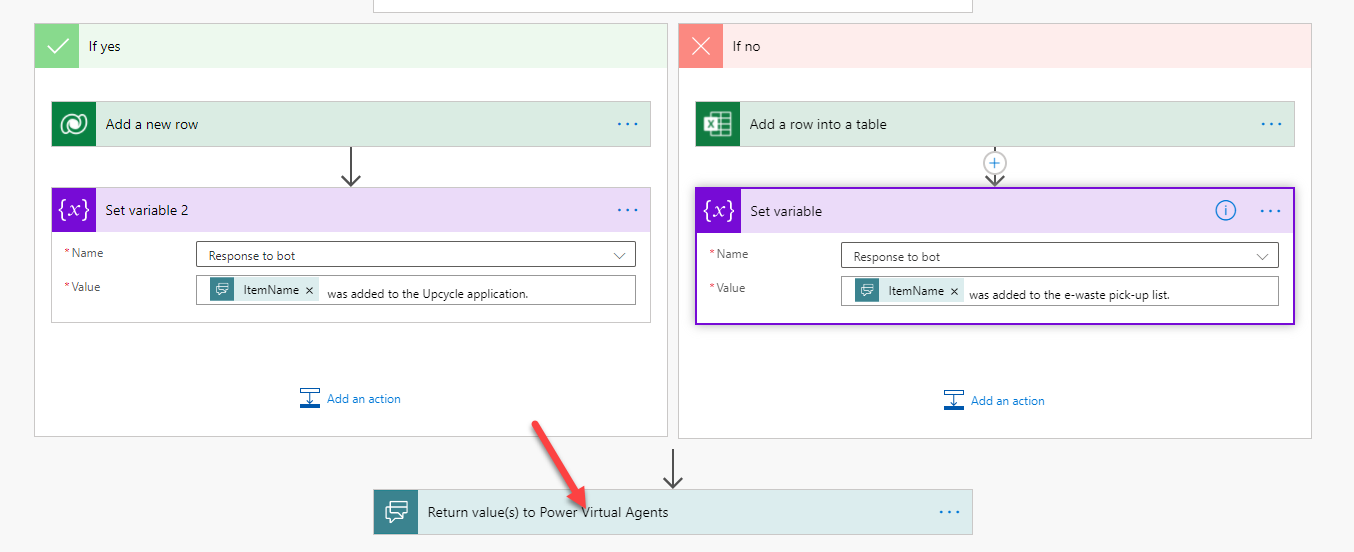
- Add the text below after the ItemName.
was added to the Upcycle application.
- The two branches of the condition should now look like the image below. Click to expand the Return value(s) to Power Virtual Agents step.
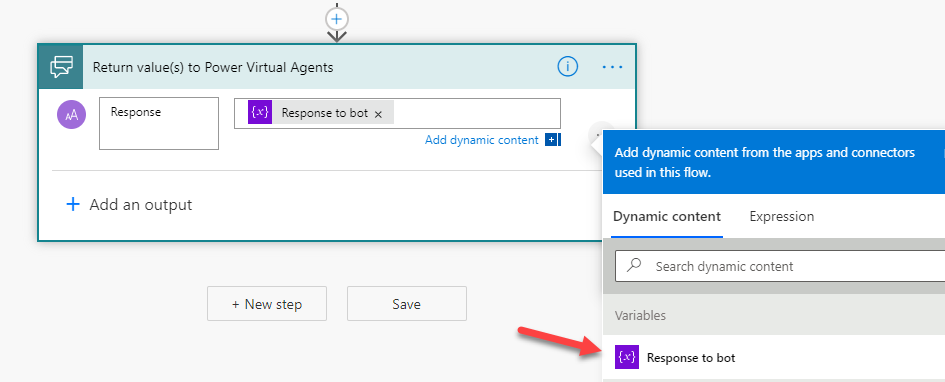
- Click + Add an output.
- Select Text.
- Enter Response, click on the value field, and select Response to bot from the dynamic content pane.
- Click Save to save the flow.
- Click on the <- back button next to the flow name.
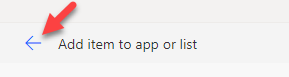
- You should now be back to the bot authoring canvas.
- Do not navigate away from this page.
Task 7 - Call flow
In this task, you will call the flow as an action from the Power Virtual Agents bot.
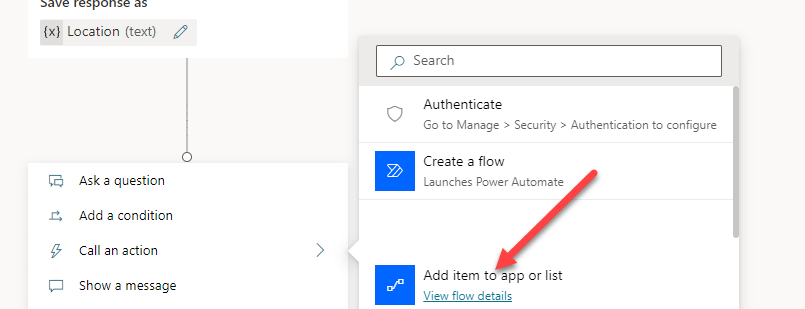
- Go to the last question, click + Add node and select Call an action.
- Select the Add item to app or list flow you created.
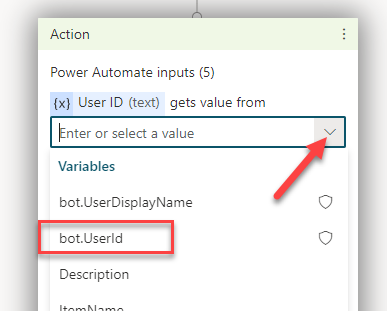
- Click on the User ID and select bot.UserId.
- Click on the UserOption and select UserOption.
- Click on the ItemName and select ItemName.
- Click on the Description and select Description.
- Click on the Location and select Location.
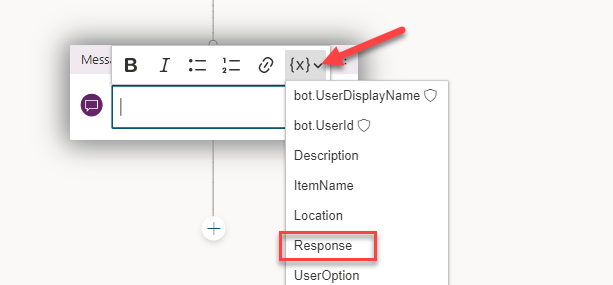
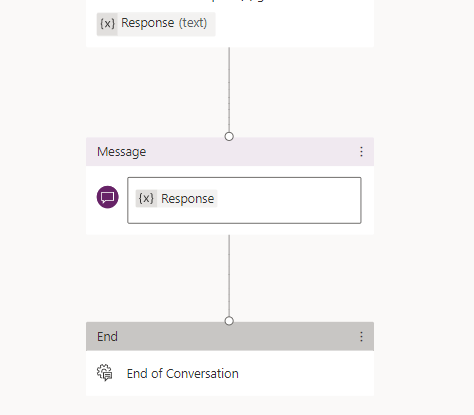
- Click + Add node and select Show a message.

- Click on the Insert variable icon and select Response.
- Click + Add node and select End with survey.
- The end of the bot conversation should look like the image below.
- Click save to save your changes and wait for the bot to be saved.
- Do not navigate away from this page.
Exercise 2 – Test and publish the bot
Task 1 - Test bot
In this task, you will test the bot.
- Show the bot if it is hidden by selecting Show Bot option on the bottom left side of the screen.
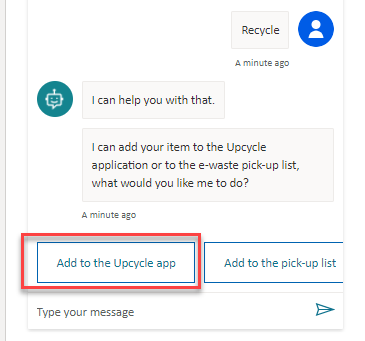
- Type Recycle and click Send.
- The bot should ask you if you want to add the item to the e-waste list or the upcycle application. Select Add to the Upcycle app.
- The bot should ask you to provide name. Enter Bot charger and click Send
- The bot should ask you the description of the item. Enter Universal bot charger and click Send.
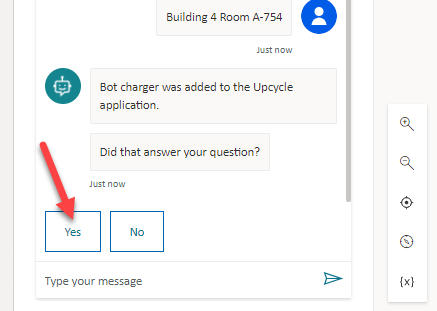
- The bot should ask you the location of the item. Enter Building 4 Room A-754 and click Send.
- The bot should tell you the item was added to the Upcycle application and ask you if your question was answered. Click Yes.
- The bot should ask you to rate your experience, give it a rating.
- The bot should thank you and ask you if it can help you with anything else. Click Yes.
- Type Reuse and click Send.
- Select Add to the pick-up list this time.
- The bot should ask you to provide name. Enter Bad bot charger and click Send
- The bot should ask you the description of the item. Enter Bad universal bot charger and click Send.
- The bot should ask you the location of the item. Enter Building 4 Room A-754 and click Send.
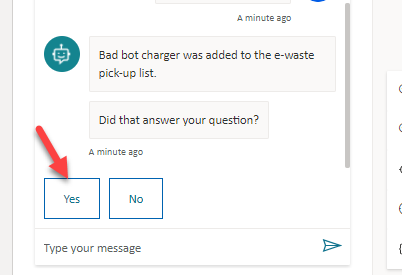
- The bot should tell you the item was added to the e-waste pick-up list and ask you if your question was answered. Click Yes.
- Rate the bot.
- Select No, thanks.
- The bot should end the conversation.
- Select Teams.
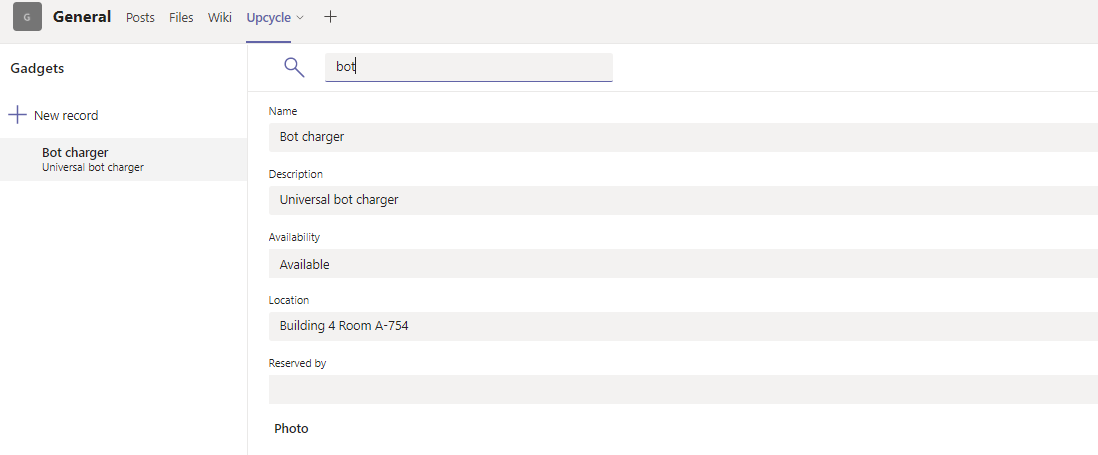
- Select Green team chat. Select the Upcycle tab.
- Search for bot. You should see the Bot charger the bot added to the application.
- Click on the App launcher and select OneDrive.
- Click to open the Recycle.xlsx file.
- You should see the Bad universal bot charger added by the bot.

- Close the Excel file.
- Close OneDrive
- You should now be back on the Upcycle application.
- Do not navigate away from this page.
Task 2 - Publish and add bot
In this task, you will publish the bot you created.
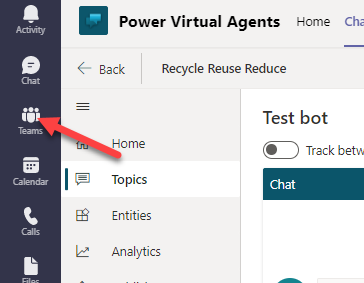
- Select Power Virtual Agents.
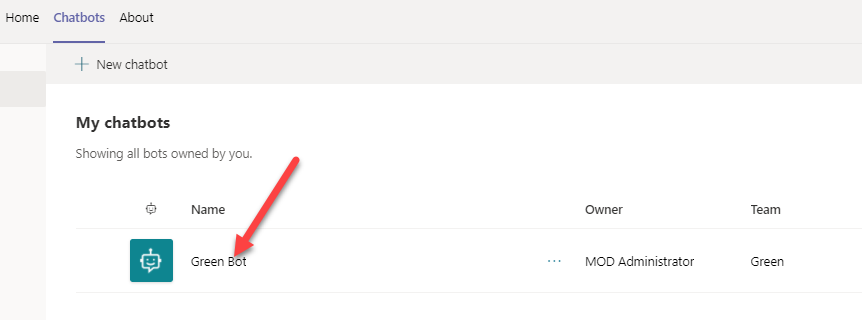
- Select the Chatbots tab and click to open the Green Bot.
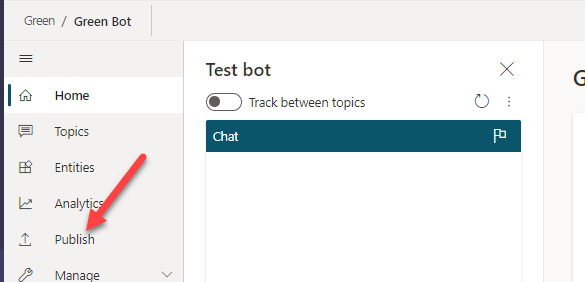
- Click Publish.
- Click Publish again.
- Click Publish on the Publish latest content pop-up and wait for the publishing to complete.
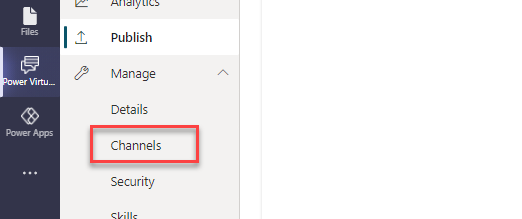
- Click to expand Manage and select Channels.
- Select Microsoft Teams.
- Click Availability options.
- Click Show to my teammates and shared users.
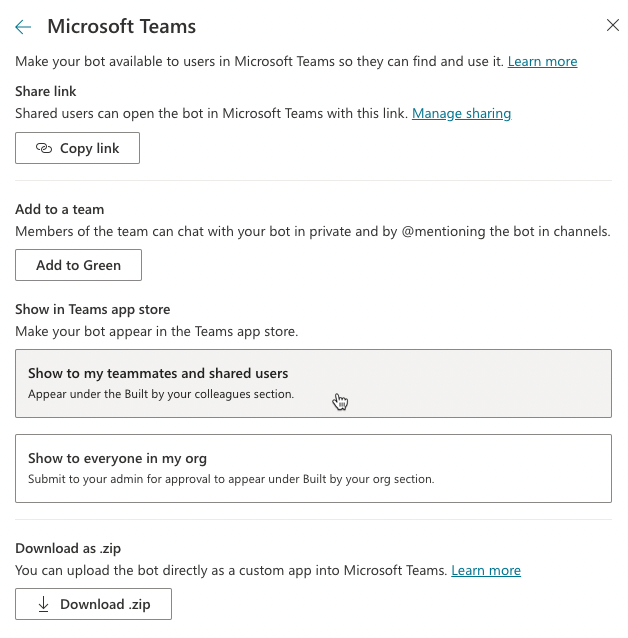
-
Click Share.
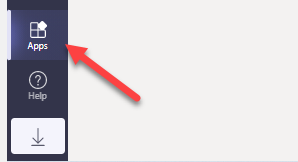
-
Select Apps.
- Select Built with Power Platform and click on the Green Bot you created.
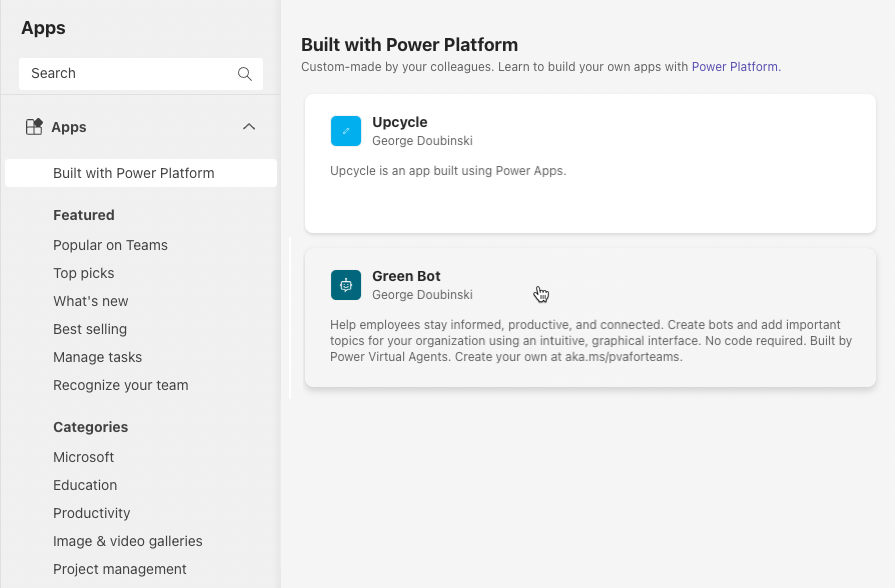
- Click Add.
- The bot should greet you. You may test the bot again.