NOTE
Effective November 2020:
- Common Data Service has been renamed to Microsoft Dataverse. Learn more
- Some terminology in Microsoft Dataverse has been updated. For example, entity is now table and field is now column. Learn more
Lab 03.2: Canvas app
In this module you will design and build a canvas app for the company employees to submit problem reports.
What you will learn
- Import and use a pre-built component library
- Create a Power Apps canvas app
- Connect to a data source
- Filter data
- Create data rows
- Use images with data rows
- Embed canvas Power App into Microsoft Teams
High-level lab steps
- Import company components
- Create app and layout main screen (including list of my items)
- Submit New Report
- Test
- Embed canvas app in Microsoft Teams
Prerequisites
- Must have completed Lab 02.1: Data model and model-driven app
Detailed steps
### Exercise 1: Create canvas application
In this exercise, you will import a solution with shared components, create a view for the Problem Report table and create a canvas application.
Task 1: Import component library solution
In this task, you will import the shared components solution into your environment. This shared component library was built by another team at your company.
-
Navigate to the Power Apps maker portal page and make sure you are in the correct environment.
-
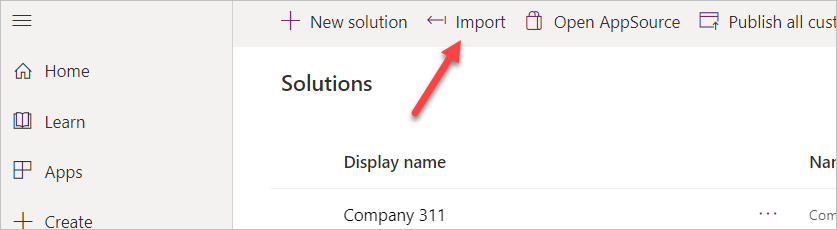
Select Solutions and click Import.
-
Click Browse.
-
Go to the course resources folder, select the Shared components solution, and click Open.
-
Click Next.
-
Click Import and wait for the import to complete.
-
Click Publish All Customizations and wait for the publishing to complete.
-
You should now see the Shared Components solution you imported. Click to open the Shared Components solution.
-
The solution should have one item in it. (Lamna Healthcare Shared Components)

IMPORTANT
There is an issue where importing the app as part of a solution may not add it to your components library. The following steps are designed to resolve the issue.
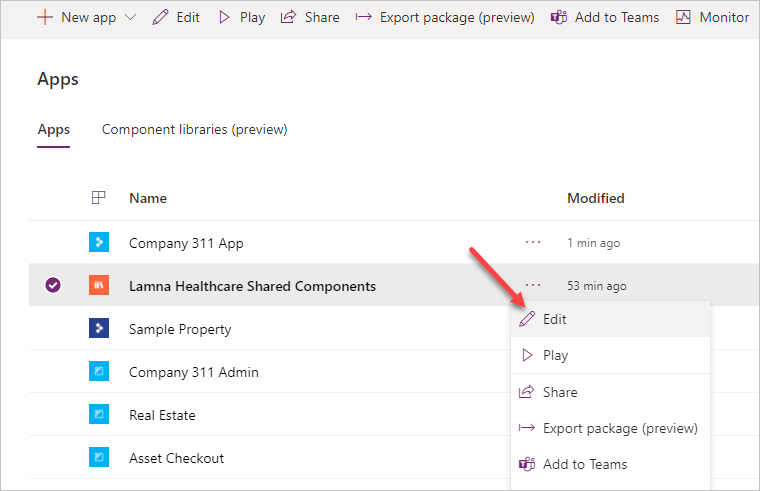
- Navigate to Apps, Select the Lamna Healthcare Shared Components App.
- Click the Edit Icon to edit the app.
- Select your Region/Country and click Get started if prompted.
NOTE
When the app is open in Edit mode, move on to next step, as the Preloader component shows a Loading icon but it is not actually waiting for something to load.
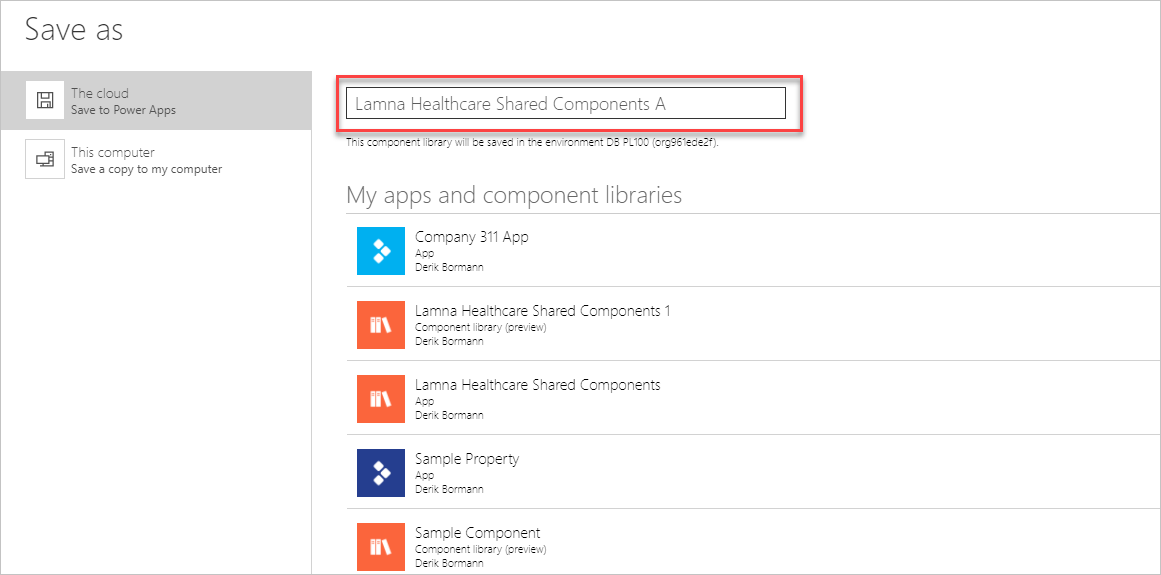
- After the app opens, click File > Save As.
- Change app name to Lamna Healthcare Share Components A and click Save.
- Click OK when prompted to save as a new library.
- Close the Lamna Healthcare Shared Components tab in your browser.
Task 2: Create view
In this task, you will create a view that will show the current user’s problem reports. Later you will use this view with the filter function in the canvas app.
-
Navigate to the Power Apps maker portal page and make sure you are in the correct environment.
-
Select Solutions and click to open the Company 311 solution.
-
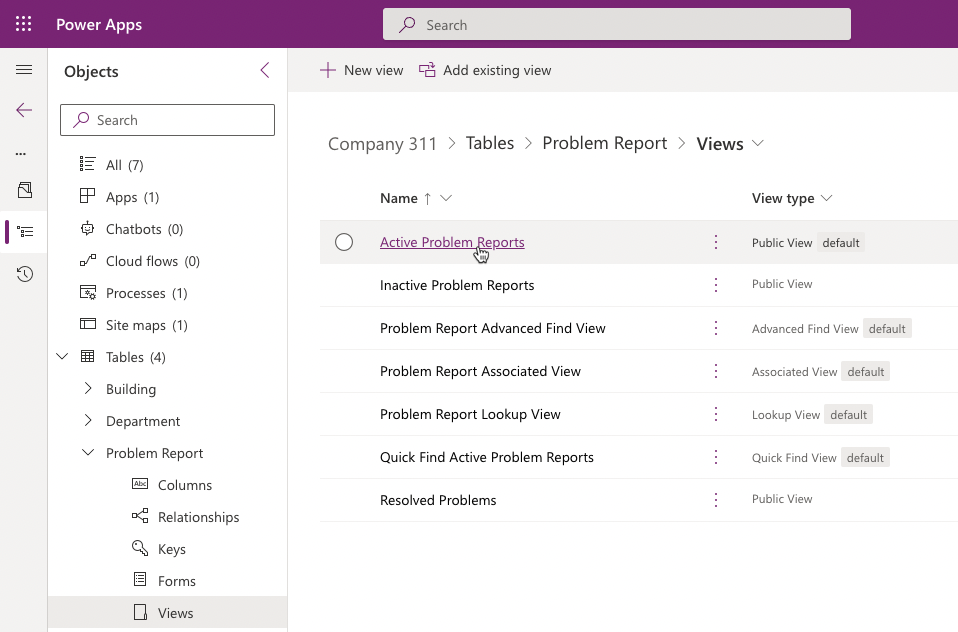
Locate and click to open the Problem Report table.
-
Select Views in the treeview navigation and click to open the Active Problem Reports view.
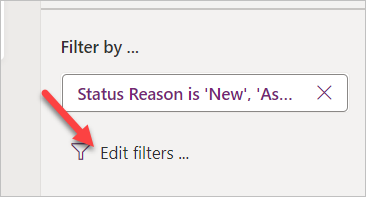
- Click Edit filters.
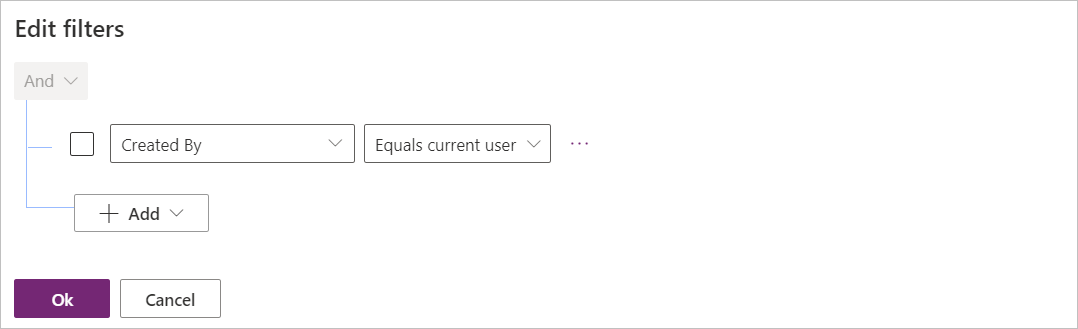
- Change the filter to Created By Equals current user and click OK.
- Click on the chevron button next to the Save button and select Save As.
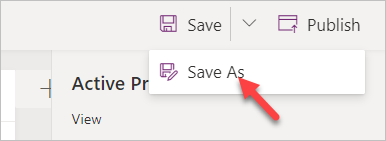
-
Enter My Reports for Name and click Save.
-
Click Publish and wait for the publishing to complete.
-
Click on the <- Back button on the command bar to go back to the Problem Report table details.
Task 3: Create the user application
In this task, you will create a canvas application using the phone form factor.
-
Navigate to the Power Apps maker portal page and make sure you are in the correct environment.
-
Select Solutions and click to open the Company 311 solution.
-
Click **+ New App Canvas app**.

-
Enter Company 311 Phone App, select Phone for format, and click Create.
-
Select Skip.
-
Go to the Tree view and double click Screen1.
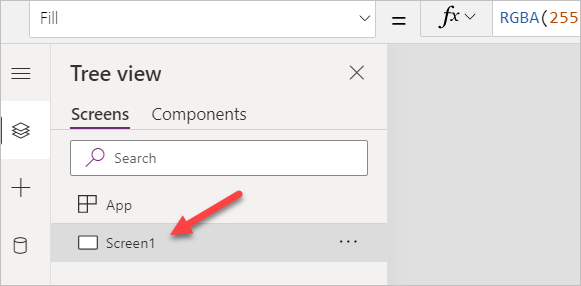
- Rename the screen Main Screen. It’s always a good idea to give your screens a meaningful name.

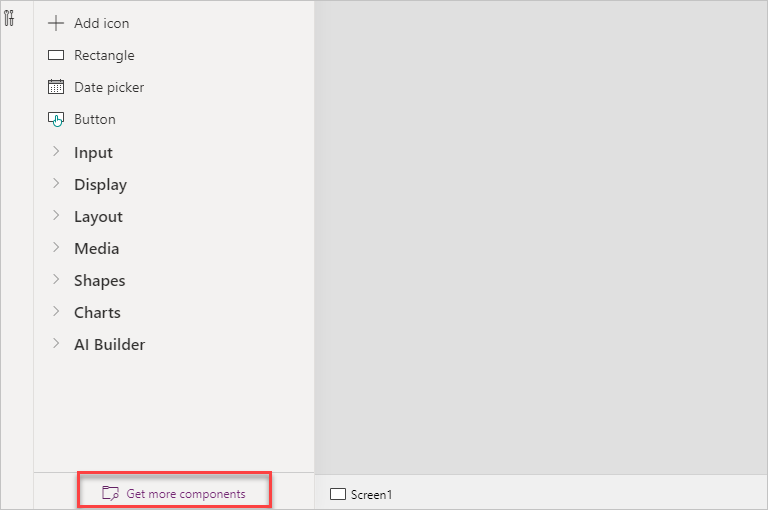
- Select the Main Screen and select on the + Insert from the left navigation pane .
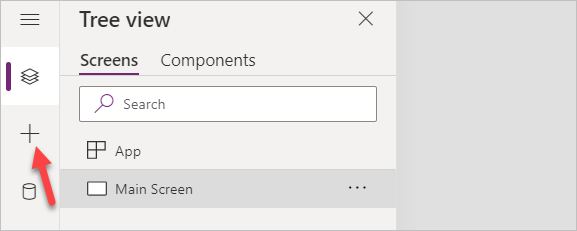
- Select Get more Components.
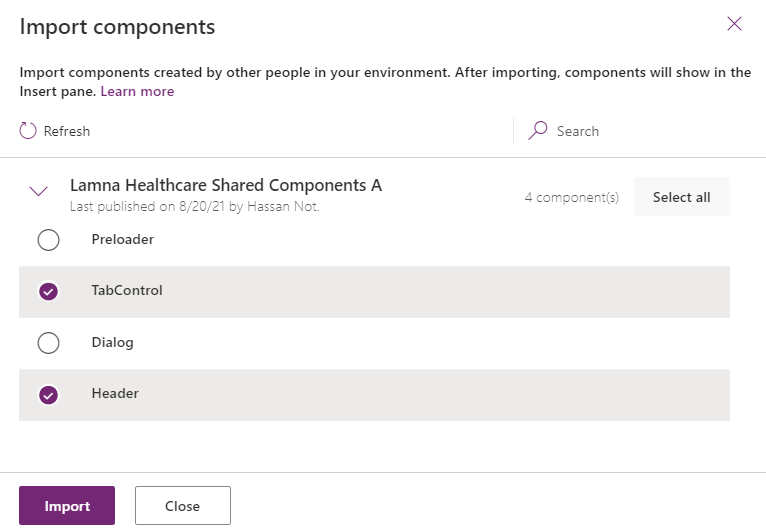
- Expand the Lamna Healthcare Shared Components A Library, select Header and Tab Control, and then click Import.
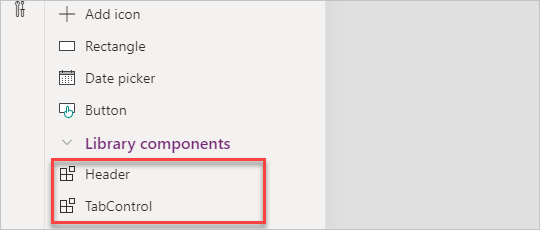
- Expand Library components, select Header Control and Tab Control. These are both components from the library you imported earlier in the lab.
-
Move the Tab Control to the bottom of the screen and the Header Control to the top of the screens.
-
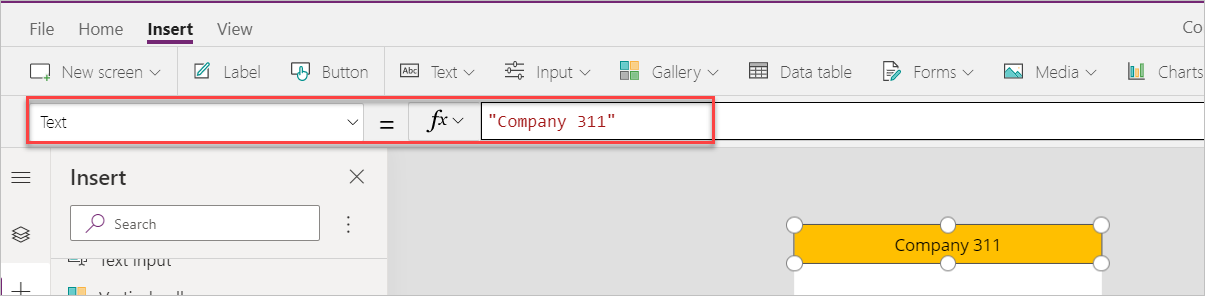
Select the Header Control and change the Text value to “Company 311”.
-
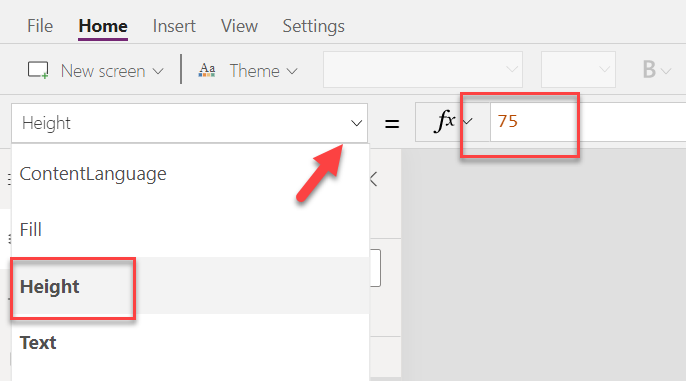
Set the Height of the Header Control to 75.
-
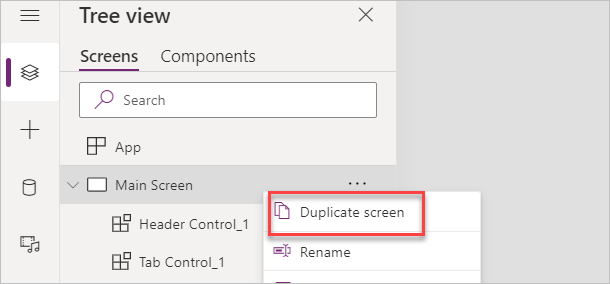
Right click on the Main Screen and select Duplicate screen.
-
Rename the new screen New Reports Screen.
-
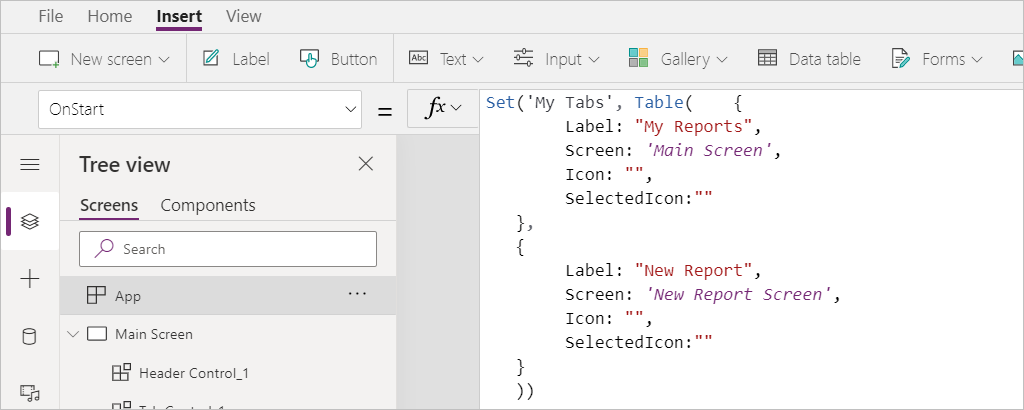
Select the Tree view, select App and change the OnStart value to the formula below. This formula will create a new variable named My Tabs and set it to a table of tab items.
Set('My Tabs', Table( {
	Label: "My Reports",
	Screen: 'Main Screen',
	Icon: "",
	SelectedIcon:""
},
{
	Label: "New Report",
	Screen: 'New Reports Screen',
	Icon: "",
	SelectedIcon:""
}
))
IMPORTANT
When expressions are copied, the quotes and double quotes are sometimes replaced with their “smart” counterparts which are not valid in formulas. If you copy and paste the expression above, make sure the resulting formula does not contain any errors.
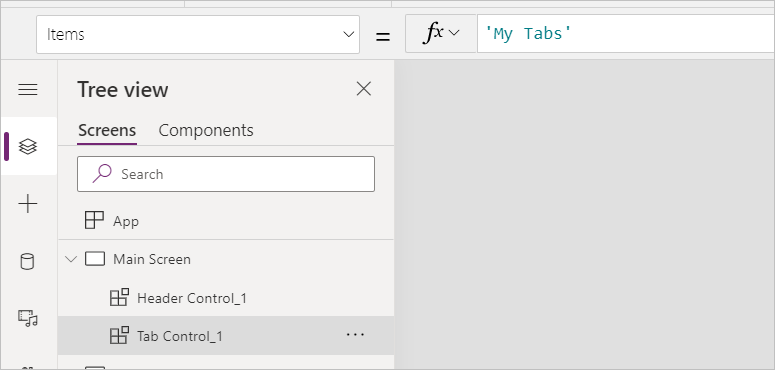
- Select the Tab Control in the Main Screen and change the Items value to ‘My Tabs’.
-
Change the SelectedColor value to WhiteSmoke.
-
Select the Tab Control inside the New Report Screen and set the Item value to ‘My Tabs’.
-
Change the SelectedColor value to WhiteSmoke.
-
Click on the … button of the App and select Run OnStart.
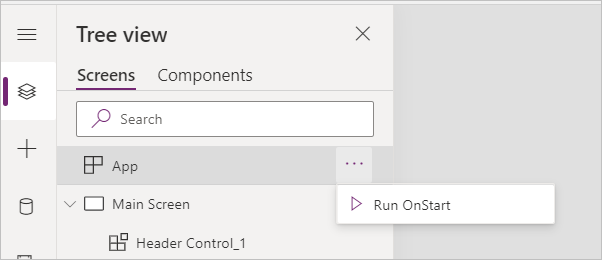
- Your tabs should now show the two tabs you added.
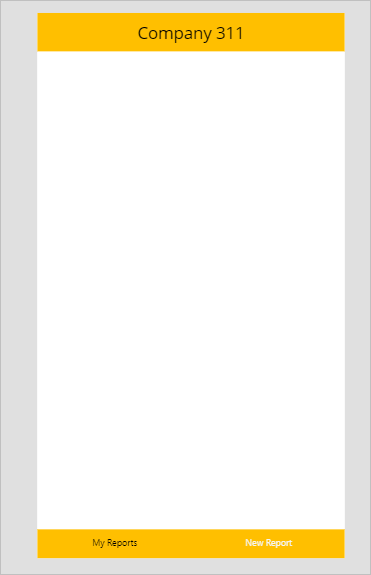
- Click File and then click Save.
-
Click on the <- Back button.
- Do not navigate away from this page.
Exercise 2: My reports
In this exercise, you will add a gallery that will show reports created by the current logged in user.
Task 1: Add gallery
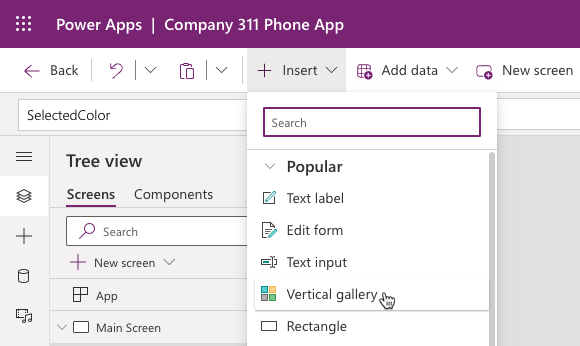
- Select the Main Screen, select Insert menu, then select Vertical gallery.
-
Rename the new gallery My Reports Gallery.
-
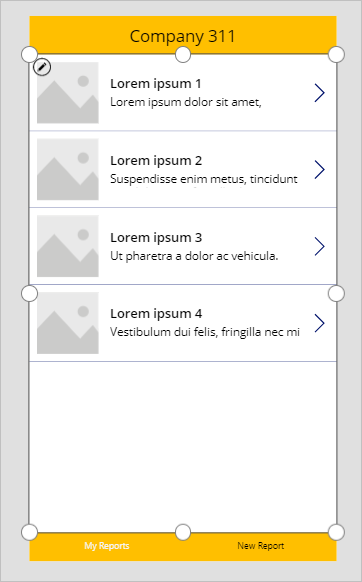
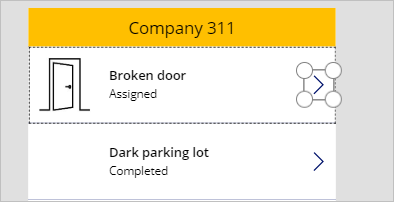
Resize and reposition My Reports Gallery and make sure the screen looks like the image below.
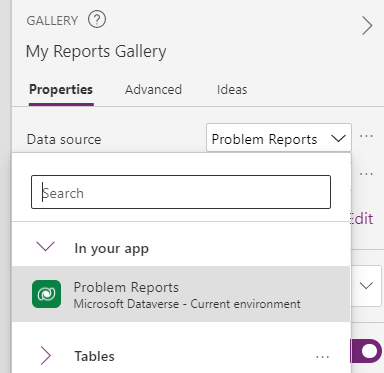
- Select My Reports Gallery, go to the Properties pane, and select Problem Reports for Data Source. If you do not see Problem Reports, click See all tables or Search for the table.
-
Select the My Reports view you created for View.
-
Click Edit fields.

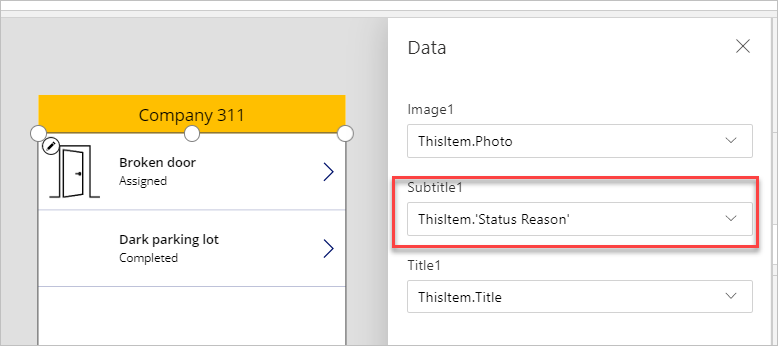
- Change Subtitle1 to statuscode. This is the Status Reason column.
- Select Image control within the gallery. Set Image value to the formula below. This allows images to be displayed correctly when view is used as a source.
LookUp('Problem Reports', 'Problem Report' = ThisItem.'Problem Report').Photo
- Click Save icon.
- Do not navigate away from this page.
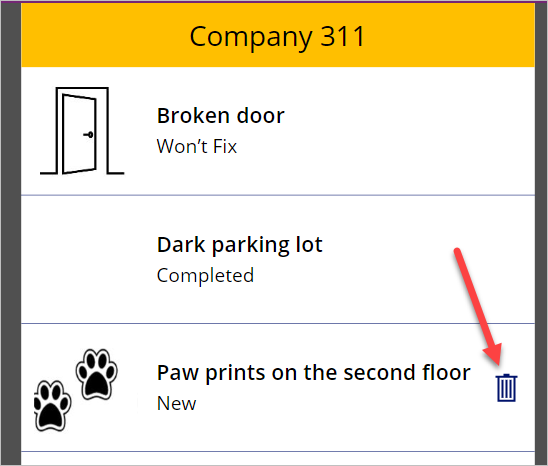
Exercise 3: Allow removing reports
In this exercise, you will allow unassigned reports to be removed. This will allow users to easily remove any reports that were accidentally created.
Task 1: Allow remove
-
Expand the My Reports Gallery.
-
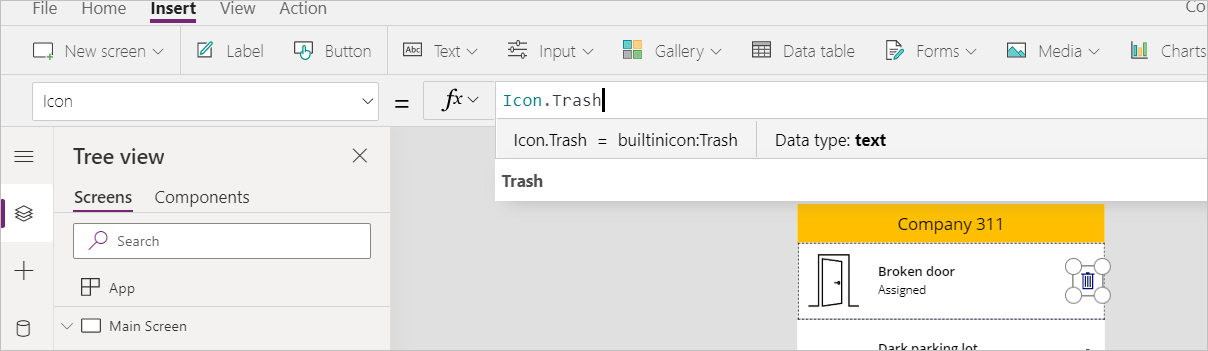
Select the Icon inside the My Reports Gallery.
- Change the Icon value to Icon.Trash.
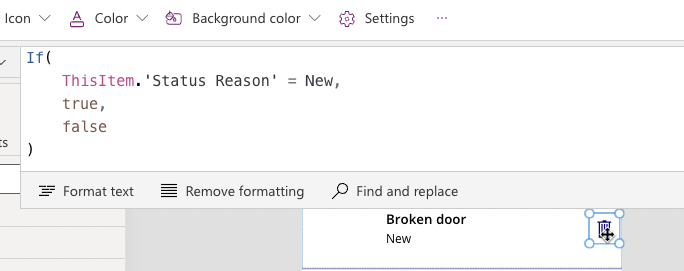
- Change the Visible value to the formula below. This formula will hide the icon if the status reason is not New.
If(ThisItem.'Status Reason' = 'Status Reason (Problem Reports)'.New, true, false)
- Make sure you still have the icon selected. Change the OnSelect value to the formula below. This formula will remove item from the data source.
Remove('Problem Reports', ThisItem)
- Click Save.
Exercise 4: Add new report
In this exercise, you will add a form to submit new problem reports.
Task 1: Add new report form
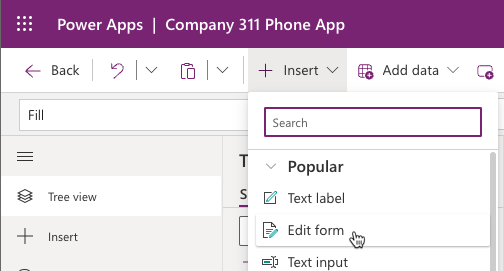
- Select the New Reports Screen, select Insert, then select Edit Form.
-
Rename the form to New Report Form.
-
Select New Report Form, go to the Properties pane, and select Problem Report for Data source.
-
Click Edit fields.
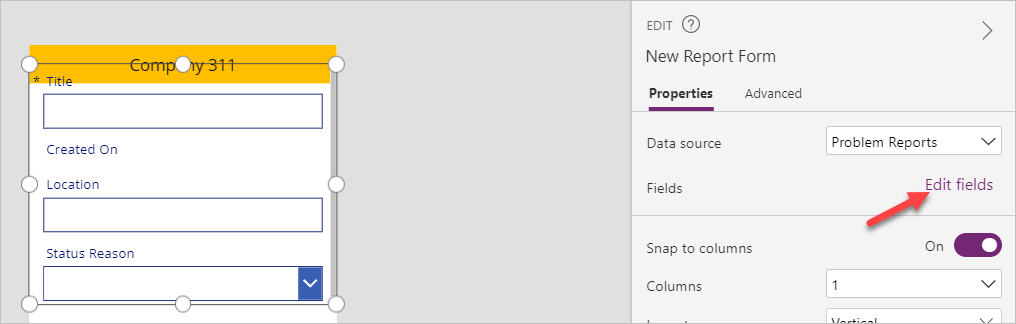
- Remove the Status Reason Column.
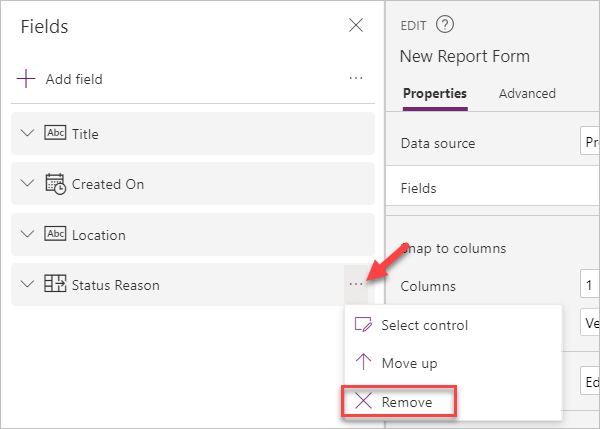
-
Remove the Created On Column.
-
Remove the Location Column.
-
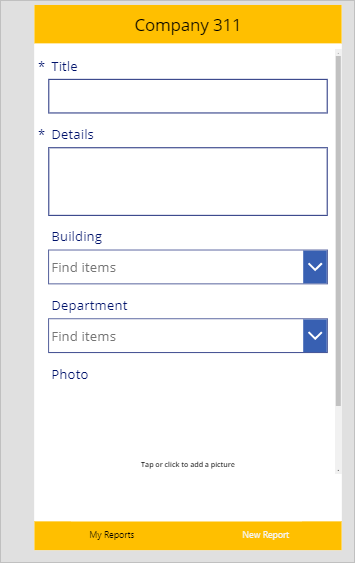
Click + Add field.
-
Select Details, Building, Department, and Photo, and then click Add.
-
Resize and reposition the form so it takes most of the page and leave enough room for a button in the bottom.
-
Select the New Reports Screen.
-
Select Insert then select Button.
-
Rename the button Submit Report.
-
Place the button below the form and make it stretch across the screen
-
Change the Submit Report button’s text property to Submit.
-
Select the Submit Report button and change the OnSelect value to the formula below. This formula will create a new Row in the Problem Reports table.
SubmitForm('New Report Form')
-
Select the New Report Form.
-
Change the OnSuccess value to the formula below. This formula will show a notification after the new Row gets created and clear the form when the record creation is successful.
Notify("Created new problem report row");NewForm('New Report Form')
-
Select the New Reports Screen.
-
Set the OnVisible value to the formula below. This formula will create a new form when the screen becomes visible.
NewForm('New Report Form')
- Click Save.
- Click Publish.
- Click Publish this version and wait for the publishing to complete.
- Do not navigate away from this page.
Exercise 5: Test the application
In this exercise, you will test the canvas application you created by submitting a problem report.
Task 1: Test application
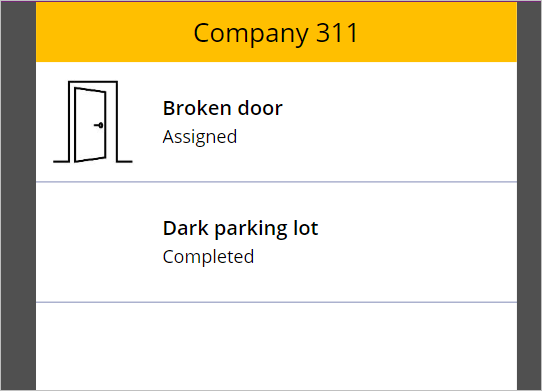
- Select the Main Screen and click Preview the app.
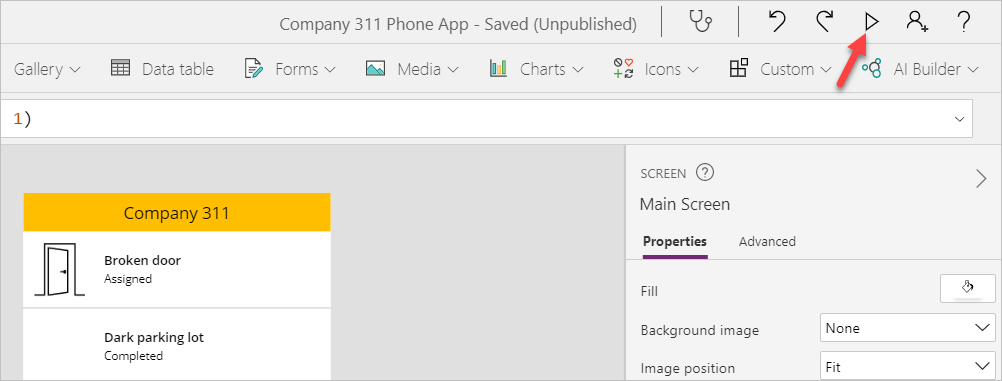
- The application should load, and the list should show all the reports you created.

-
Select the New Report tab.
-
The New Report Form should load. Fill out the form and click on the Photo Column.
-
Select an image.
-
Click Submit
-
The Row should get created successfully and you should see the success message.

-
Select the My Reports tab.
-
You should see the new report you created. Click Delete to test the delete.
- The Row should be deleted and removed from the list.
- Close the preview.
- Close the app studio by closing the browser tab.
Exercise 6: Embed canvas app in Microsoft Teams
In this exercise, you will add the Company 311 Phone App that you created earlier, to Microsoft Teams as a way for staff to be able to log issues directly within Teams.
Task 1: Setup Company 311 Team
In this task, you will setup a Microsoft Teams team for the Lamna Healthcare Company, if you have not done so previously.
-
Navigate to Microsoft Teams and sign in with the same credentials you have been using previously.
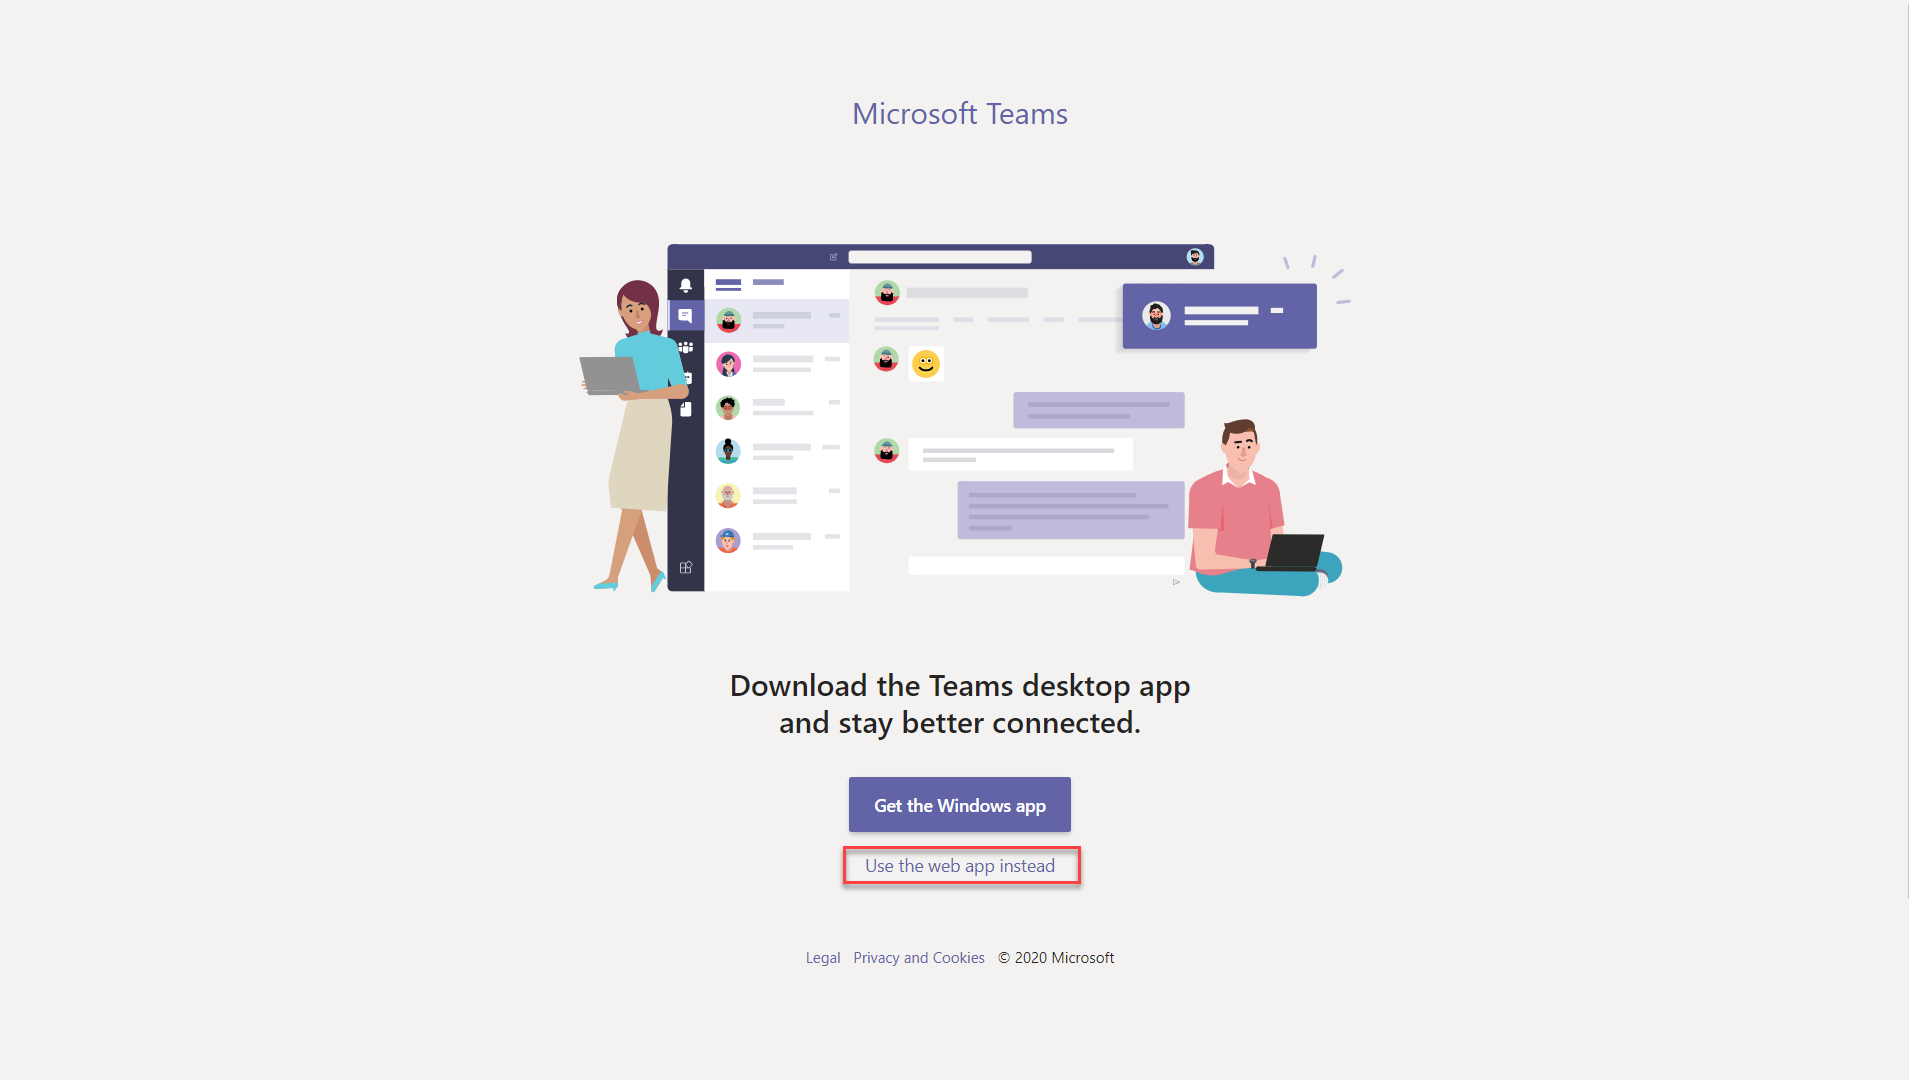
-
Select Use the web app instead on the welcome screen.
-
When the Microsoft Teams window opens, dismiss the welcome messages.
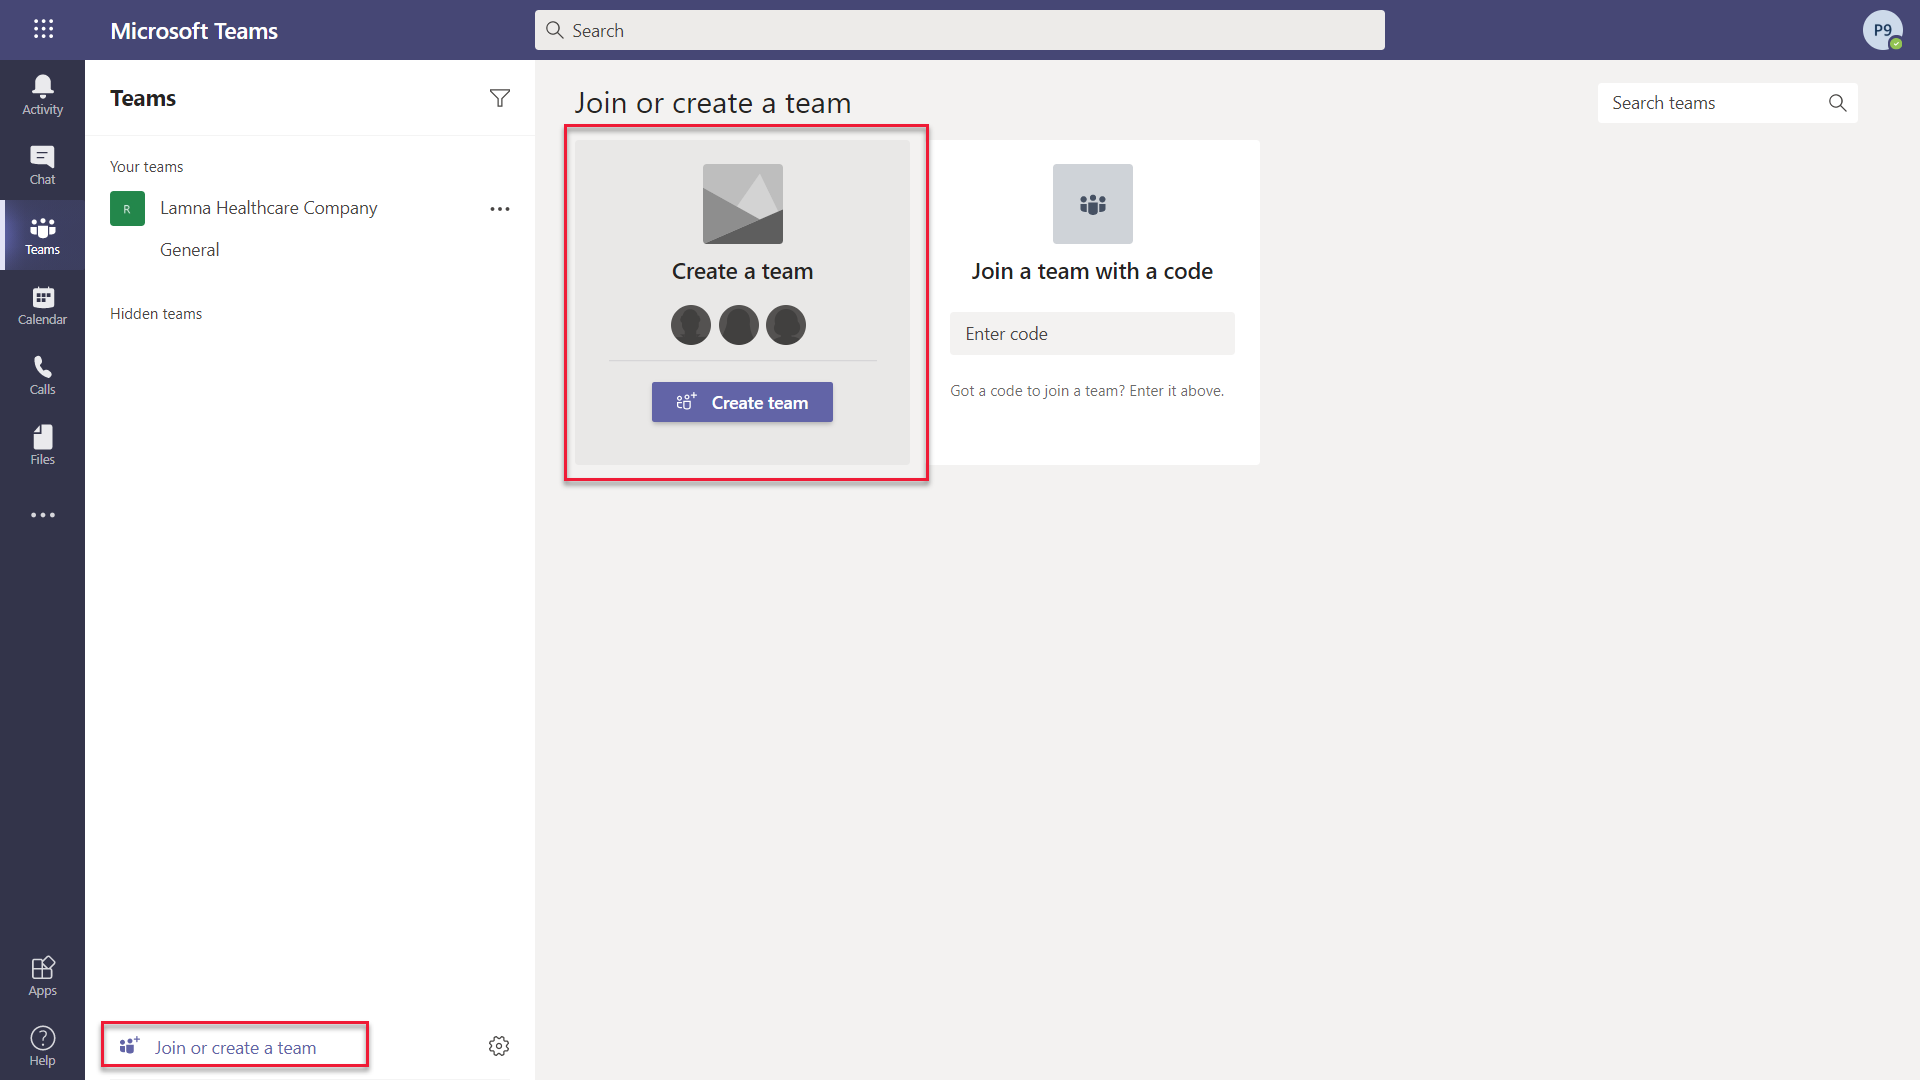
- Select Teams.
-
On the bottom left corner, choose Join or create a team.
- Select Create a team.
-
Press From scratch.
-
Select Public.
-
For the Team name enter Company 311 and select Create.
- Select Skip adding members to Company 311.
- Do not navigate away from this page.
Task 2: Add canvas app to Teams
-
Select the General channel of the Company 311 team.
-
On the top of the page, press the + symbol to add a new tab.
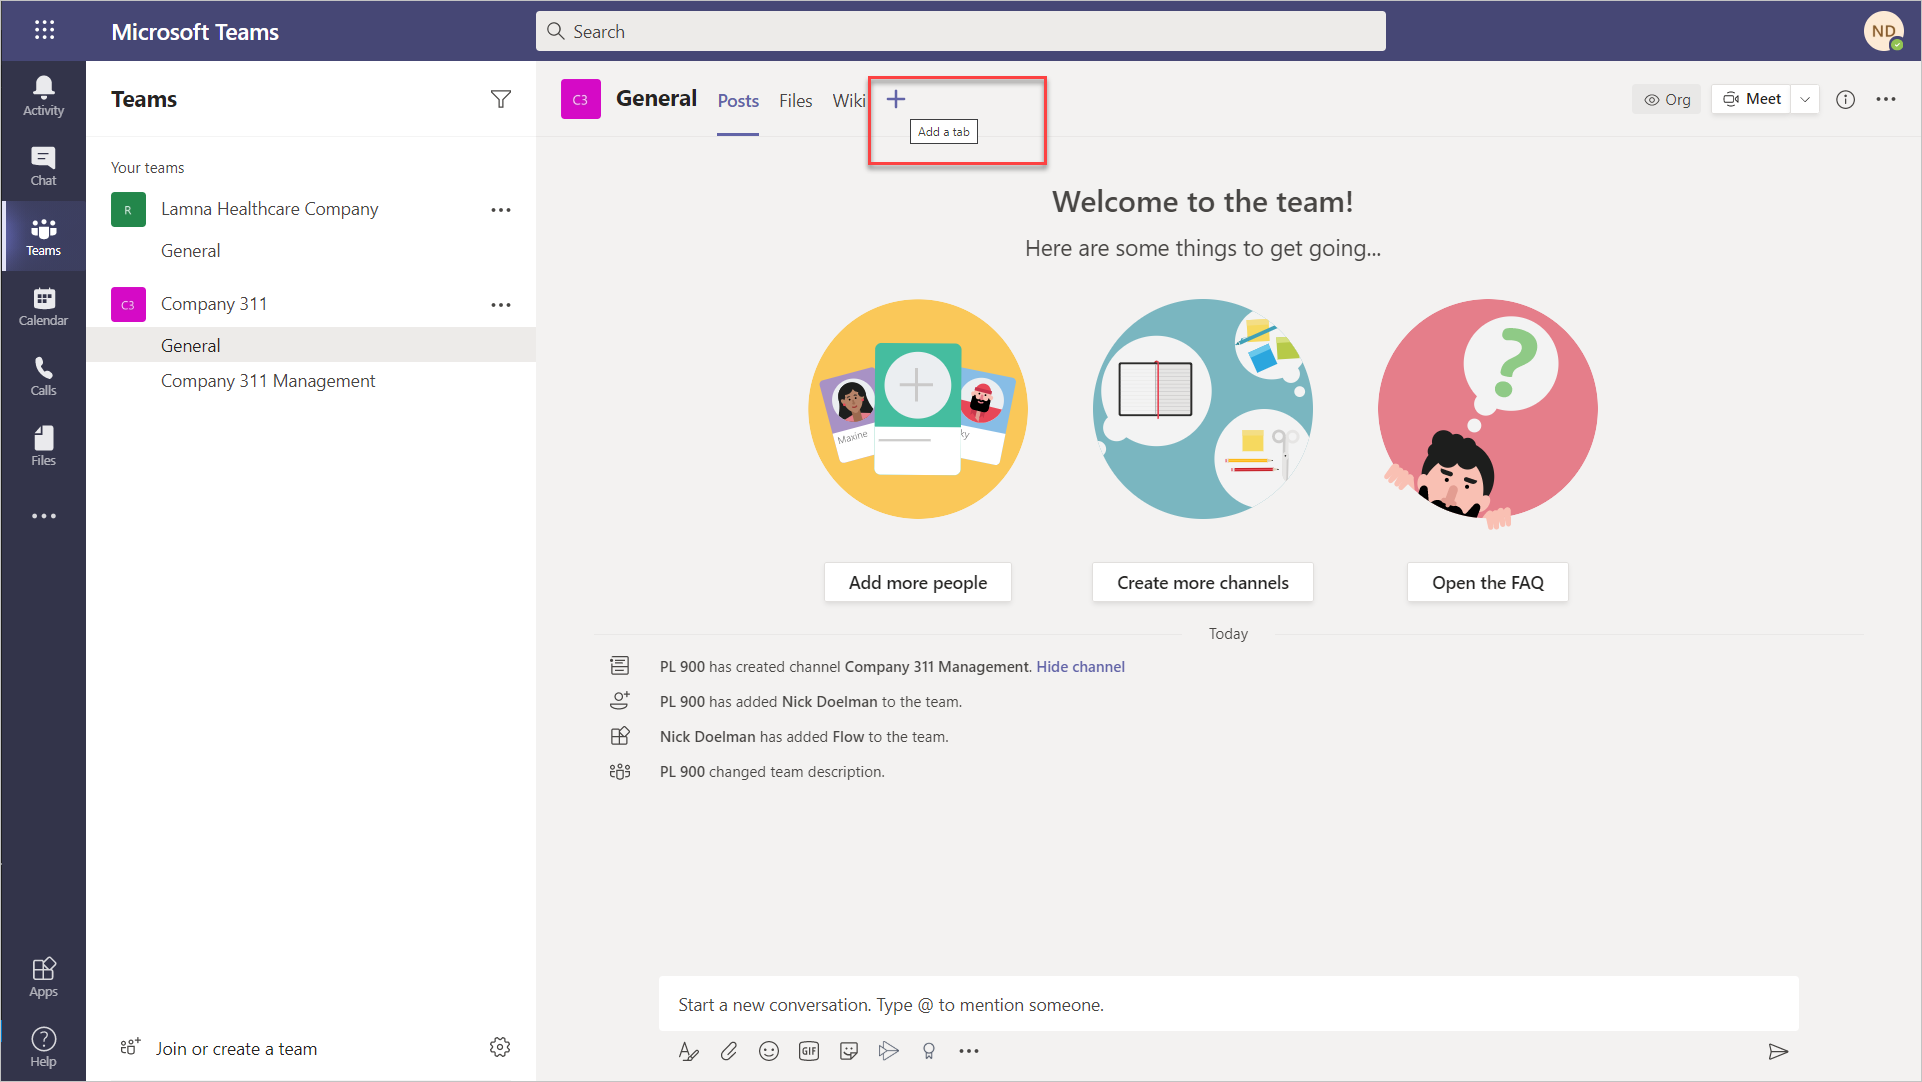
-
Search for power and select Power Apps from the results.
-
Select Add to add Power Apps to Teams
-
Select the Company 311 Phone App that you created earlier in this lab.
IMPORTANT
If you do not see the app you need to go back to the app editor and publish the app
-
Select Save.
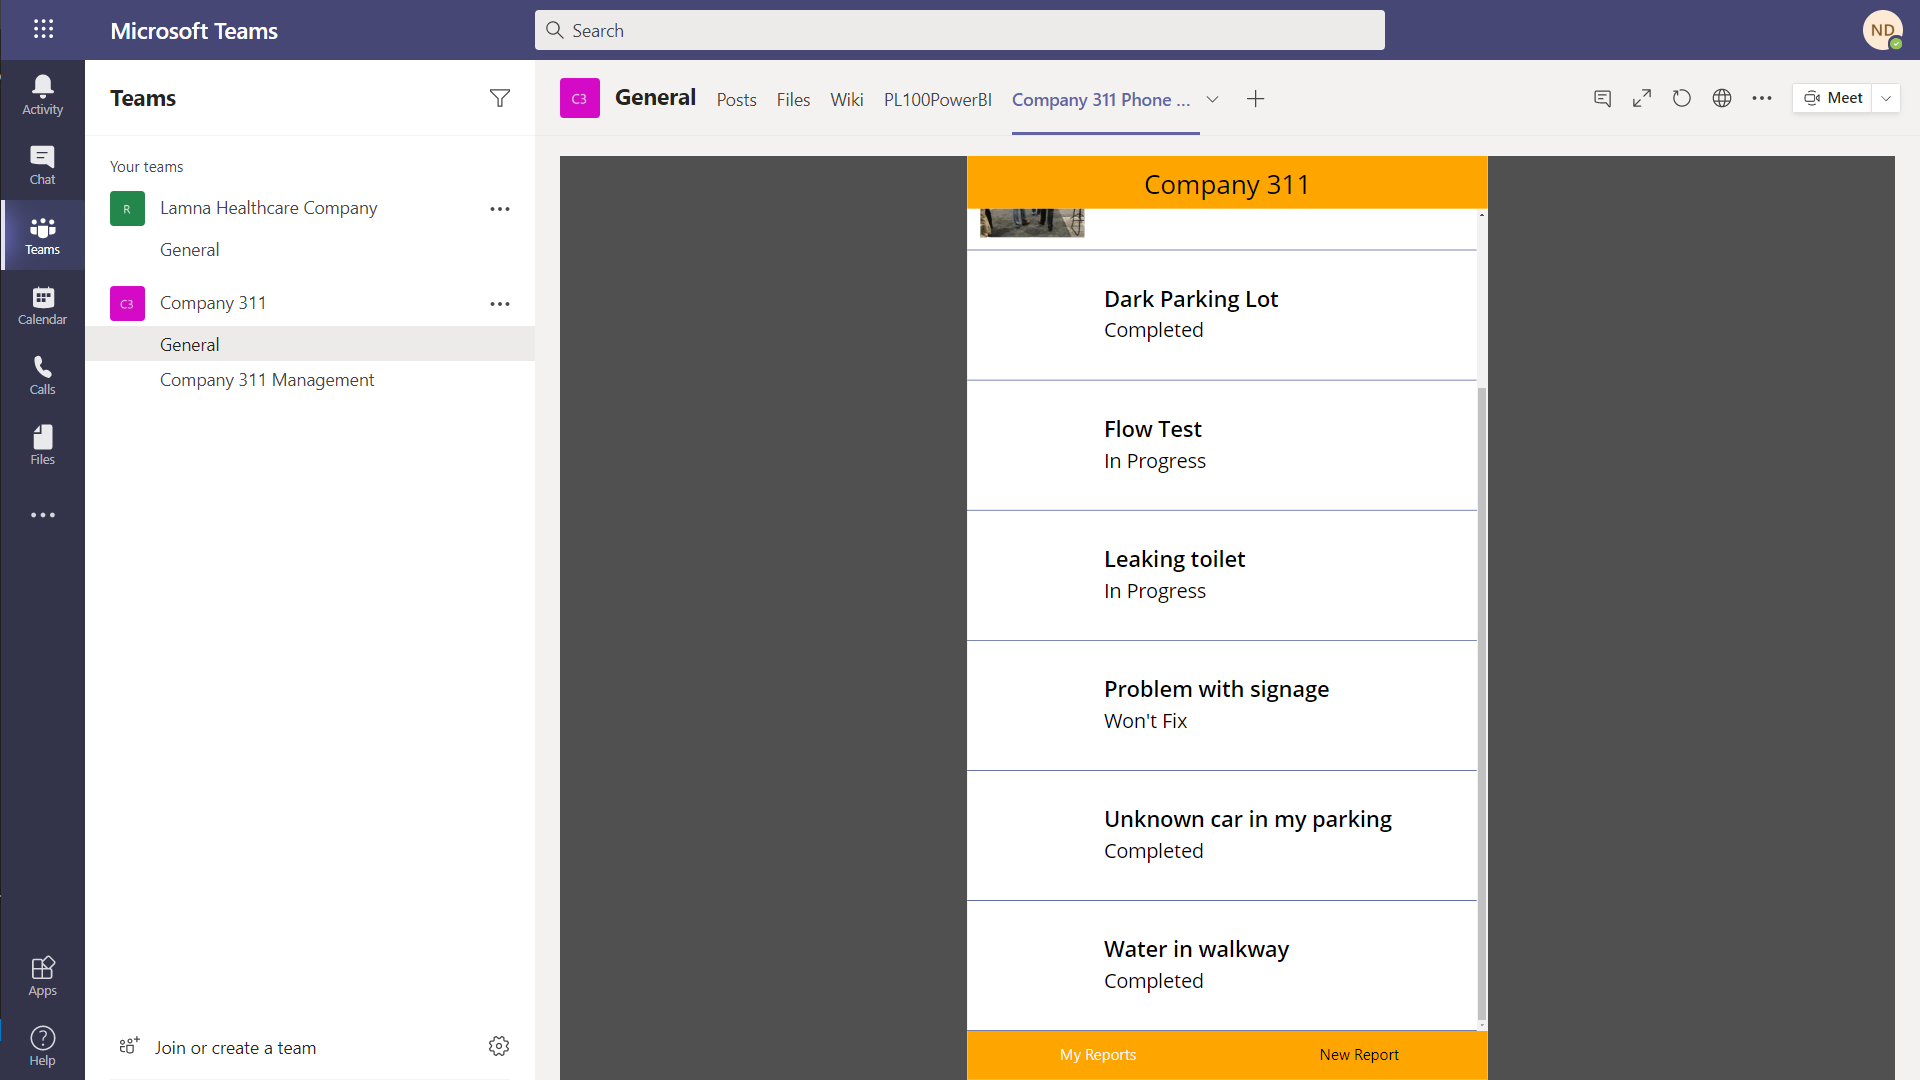
-
The Company 311 app should now appear on a tab in Microsoft Teams.